Natwest Online Banking – Printing Your Own Paper A5 Statements Online
Want to reproduce the A5 bank statements, you used to get in the post ?
Today whilst catching up on some paperwork, I discovered to my surprise that my Natwest Online Banking, had decided to set all my statements to ‘Paperless’.
I’ve had the prompts from time to time, asking me to go paperless, but I said no every time, as I use the paper ones for my accounting.
So in light of this, I did a bit of dabbling, and before you know it, I’ve managed to very simply reproduce a similar looking statement.
An online paper statement shall we say!
Please Note: In preparation:
• Purchase yourself some A5 paper, or just do like I did, and cut yourself two sheets from a sheet of A4 folded in half (repeat as necessary).
• Load your A5 paper in a ‘Portrait’ orientation, into your printer (you may need to adjust the plastic paper guides in your printer.)
Here’s how I did it :
 Step 1/ Using ‘Google Chrome’ web browser (other browsers should work similar, but for the purpose of this tutorial, i’m using Chrome.)
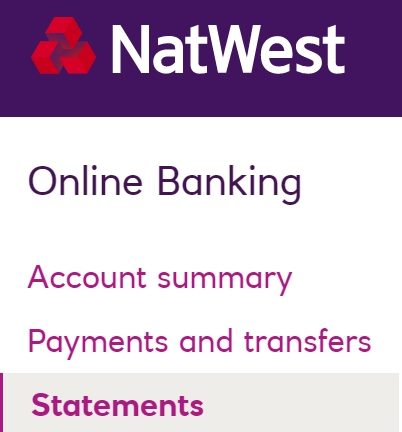
Log into your online banking, and choose the “Statements” option on the main menu.Set your desired ‘Start’ and ‘End’ dates.
Click the “View Transactions” button.
ON TO STEP 2…
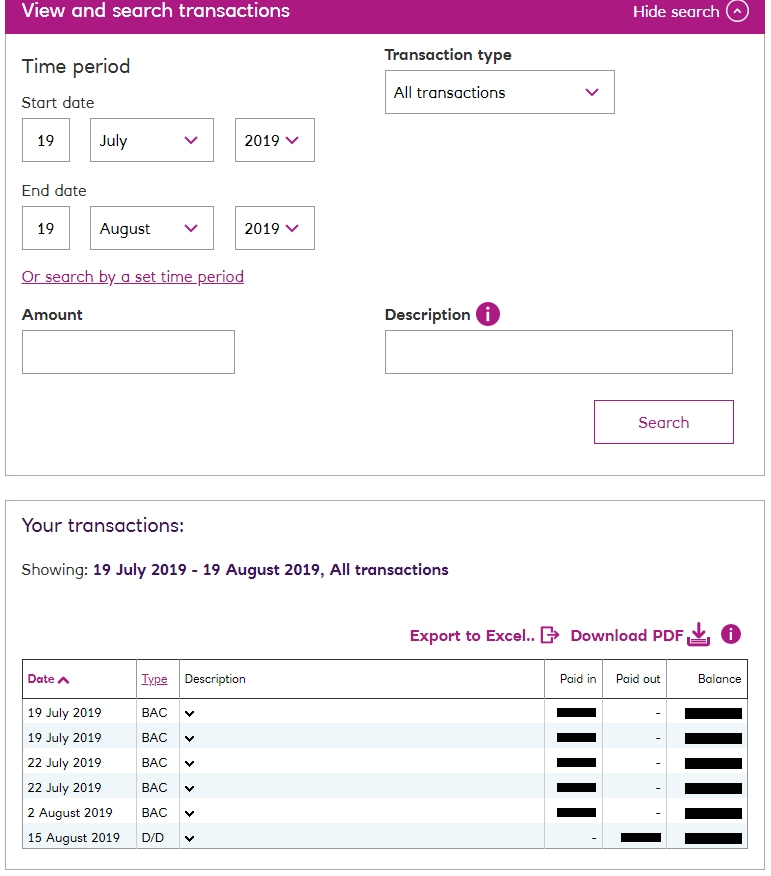 Step 2/ Your transactions should now be shown in a box below.
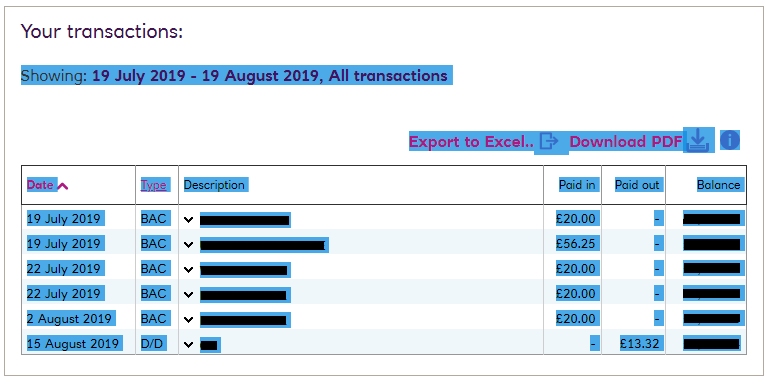 Step 3/ Time to select ‘what’ we want to be printed.
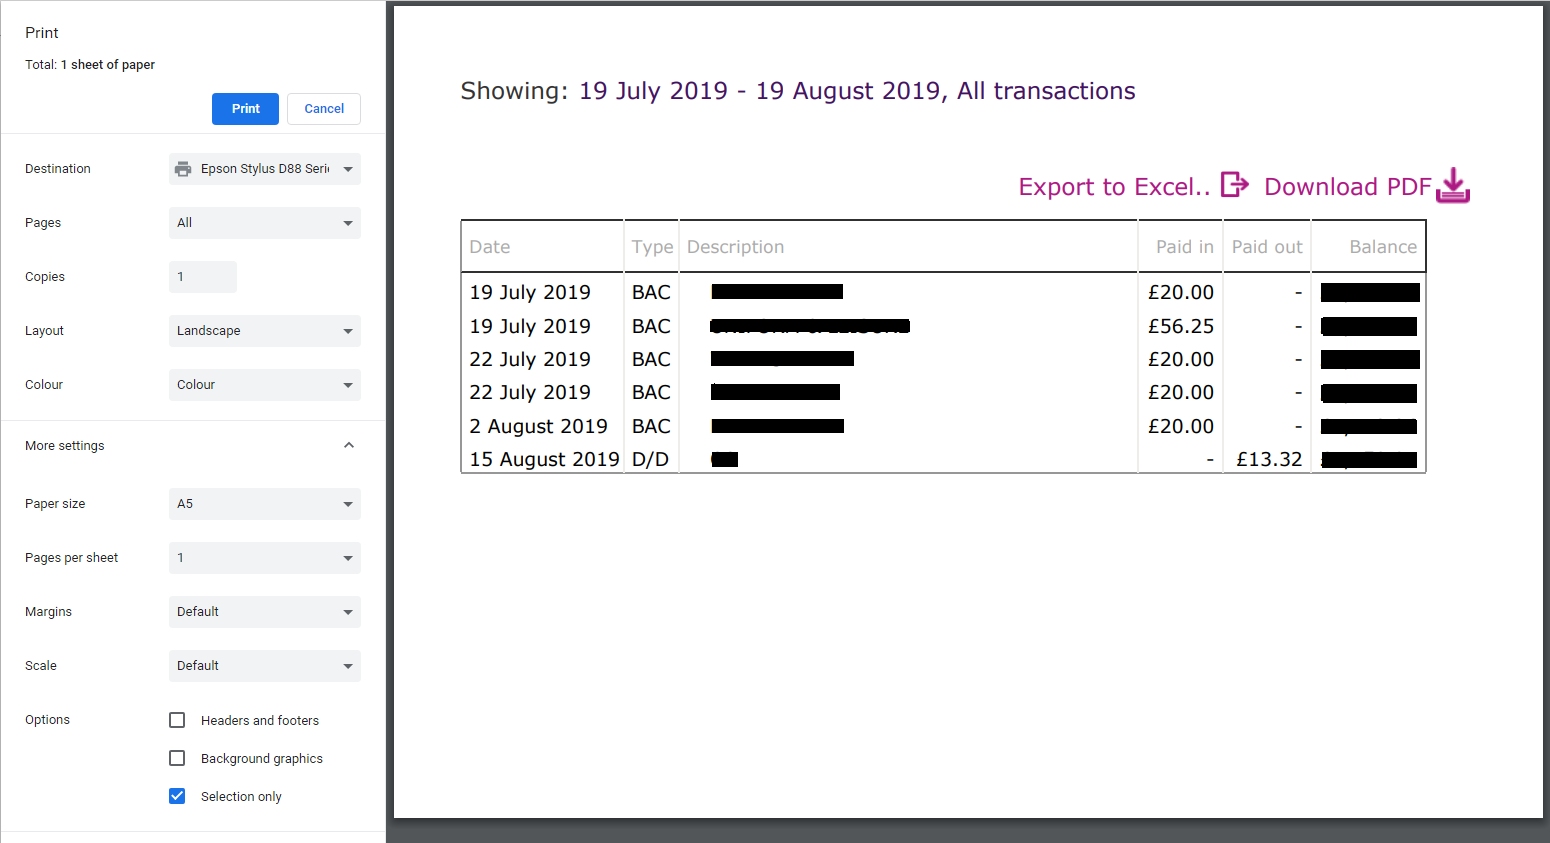 Step 4/ The ‘Print Preview’ window should now be displayed.
And That’s It !!
Really hope you’ve found this experience / tutorial useful, and please do ‘comment below’ if you have a questions or comments.
Thanks for Visiting…
 Email This Post
Comments RSS Feed