Automotive, MGB Car Restoration
DIY MGB-GT Lower Radiator/Engine Mud Shield
DON’T “BREAK THE BANK”, FOLLOW THIS MY DIY GUIDE TO MGB MUD SHIELD MANUFACTURE (MADE FROM STRONG STEEL OR ALUMINIUM)!
")
Original Cardboard MGB Mud-Shield
During my MGB-GT (1800cc engine) restoration project, I stumbled across the missing mud shield (original cardboard composite one long gone, just disintegrated).
Not knowing what the actual name of the missing part was, my first stop was the MG Owners Club spares site. Here I delved into the parts diagrams soon discovering my missing part BHH2127 (Mudshield B Rb 75).
With part number in hand, visit to Ebay was required.
However I was very quickly shocked to discover the extortionate £50+ price tag of the modern “PLASTIC” replacement.
So it was a no brainer, “If in Doubt, Do it Yourself”.
So here’s my helpful guide I would like to share with you all:
My strong / hard wearing “METAL” replacement.
With a bit of salvaging, and couple of friends with handy tools, here’s my guide to your own DIY MGB Lower Radiator/Engine Mud Shield.
Apart from looking fantastic, this much stronger / hard wearing mud-shield is surely going to last a life time, unlike the original cardboard composite style item BHH2127.
 The “Bitsa This, Bitsa That” Kit List:
For your convenience, I’ve ordered this kit list in roughly the order you will actually need them.
• minimum 500mm(L) x 400mm(W) sheet of 1.5mm(D) steel or aluminium (side of an old kitchen appliance e.g. washing machine, or heating boiler).
• (2x) 120gramm approx A3 paper (used for printing template on to. SEE PHOTO >>)
• (6x) 2mm Rivets.
• (1x) old black rubber hose, 3mm internal diameter (used to edge round large radiator hose cutout)
• (4x) 5mm x 20mm Large Head bolts, and suitable nuts.
• (4x) 5mm nuts.
• (4x) ‘wide’ 5mm washers (20mm approx diameter).
• Stanley knife, and long ruler (or side of spirit level).
• ‘Fine tip’ permanent marker pen.
• an air compressor.
• an air pencil drill (could be electric alternative obviously).
• pair of medium sized G Clamps.
• 2.5mm pilot drill bit and 6mm larger drill bit.
• a ‘nibbler’ tool, fits on a air/electric drill (optional, but highly recommended, makes the job so much easier.)
Tip: Best fitted on a small but powerful drill, awkward and clumsy to handle precisely otherwise.
• Chunky hammer & ‘wide’ semi-blunt chisel.
• Hammerite brush on black paint (or similar).
• Mole Grips.
• Stubby tip cross head screwdriver.
• Spanner to fit your 5mm nuts.
TO BE CONTINUED………
Conclusion:
Well it may be 5 years down the line, but better late than never as they say, haha!
What seems like a long long long time ago, I had the foresight to take a load of photos as I progressed through my experiment. So let me take you through my experience of creating one of these mud shields.
 Template:

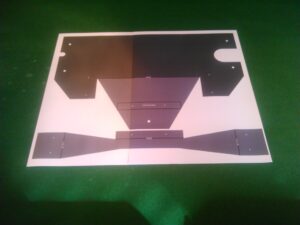
First of all was to produce some form of template, which after a bit of internet research, and taking of some measurements on my own MGB GT, I could set to on my computer.
To quote the good olde Blue Peter saying “here’s one I made earlier”.
The template I printed on to 2 sheets of ‘A3’ thickish paper (with thanks to an old friend with a A3 printer in the art trade, who very kindly let me use their printer).
I produced the 2 separate template files, with on purpose the ‘offset’ design. This allowed me then to tape the 2 parts together, without obstructing the central mounting hole.
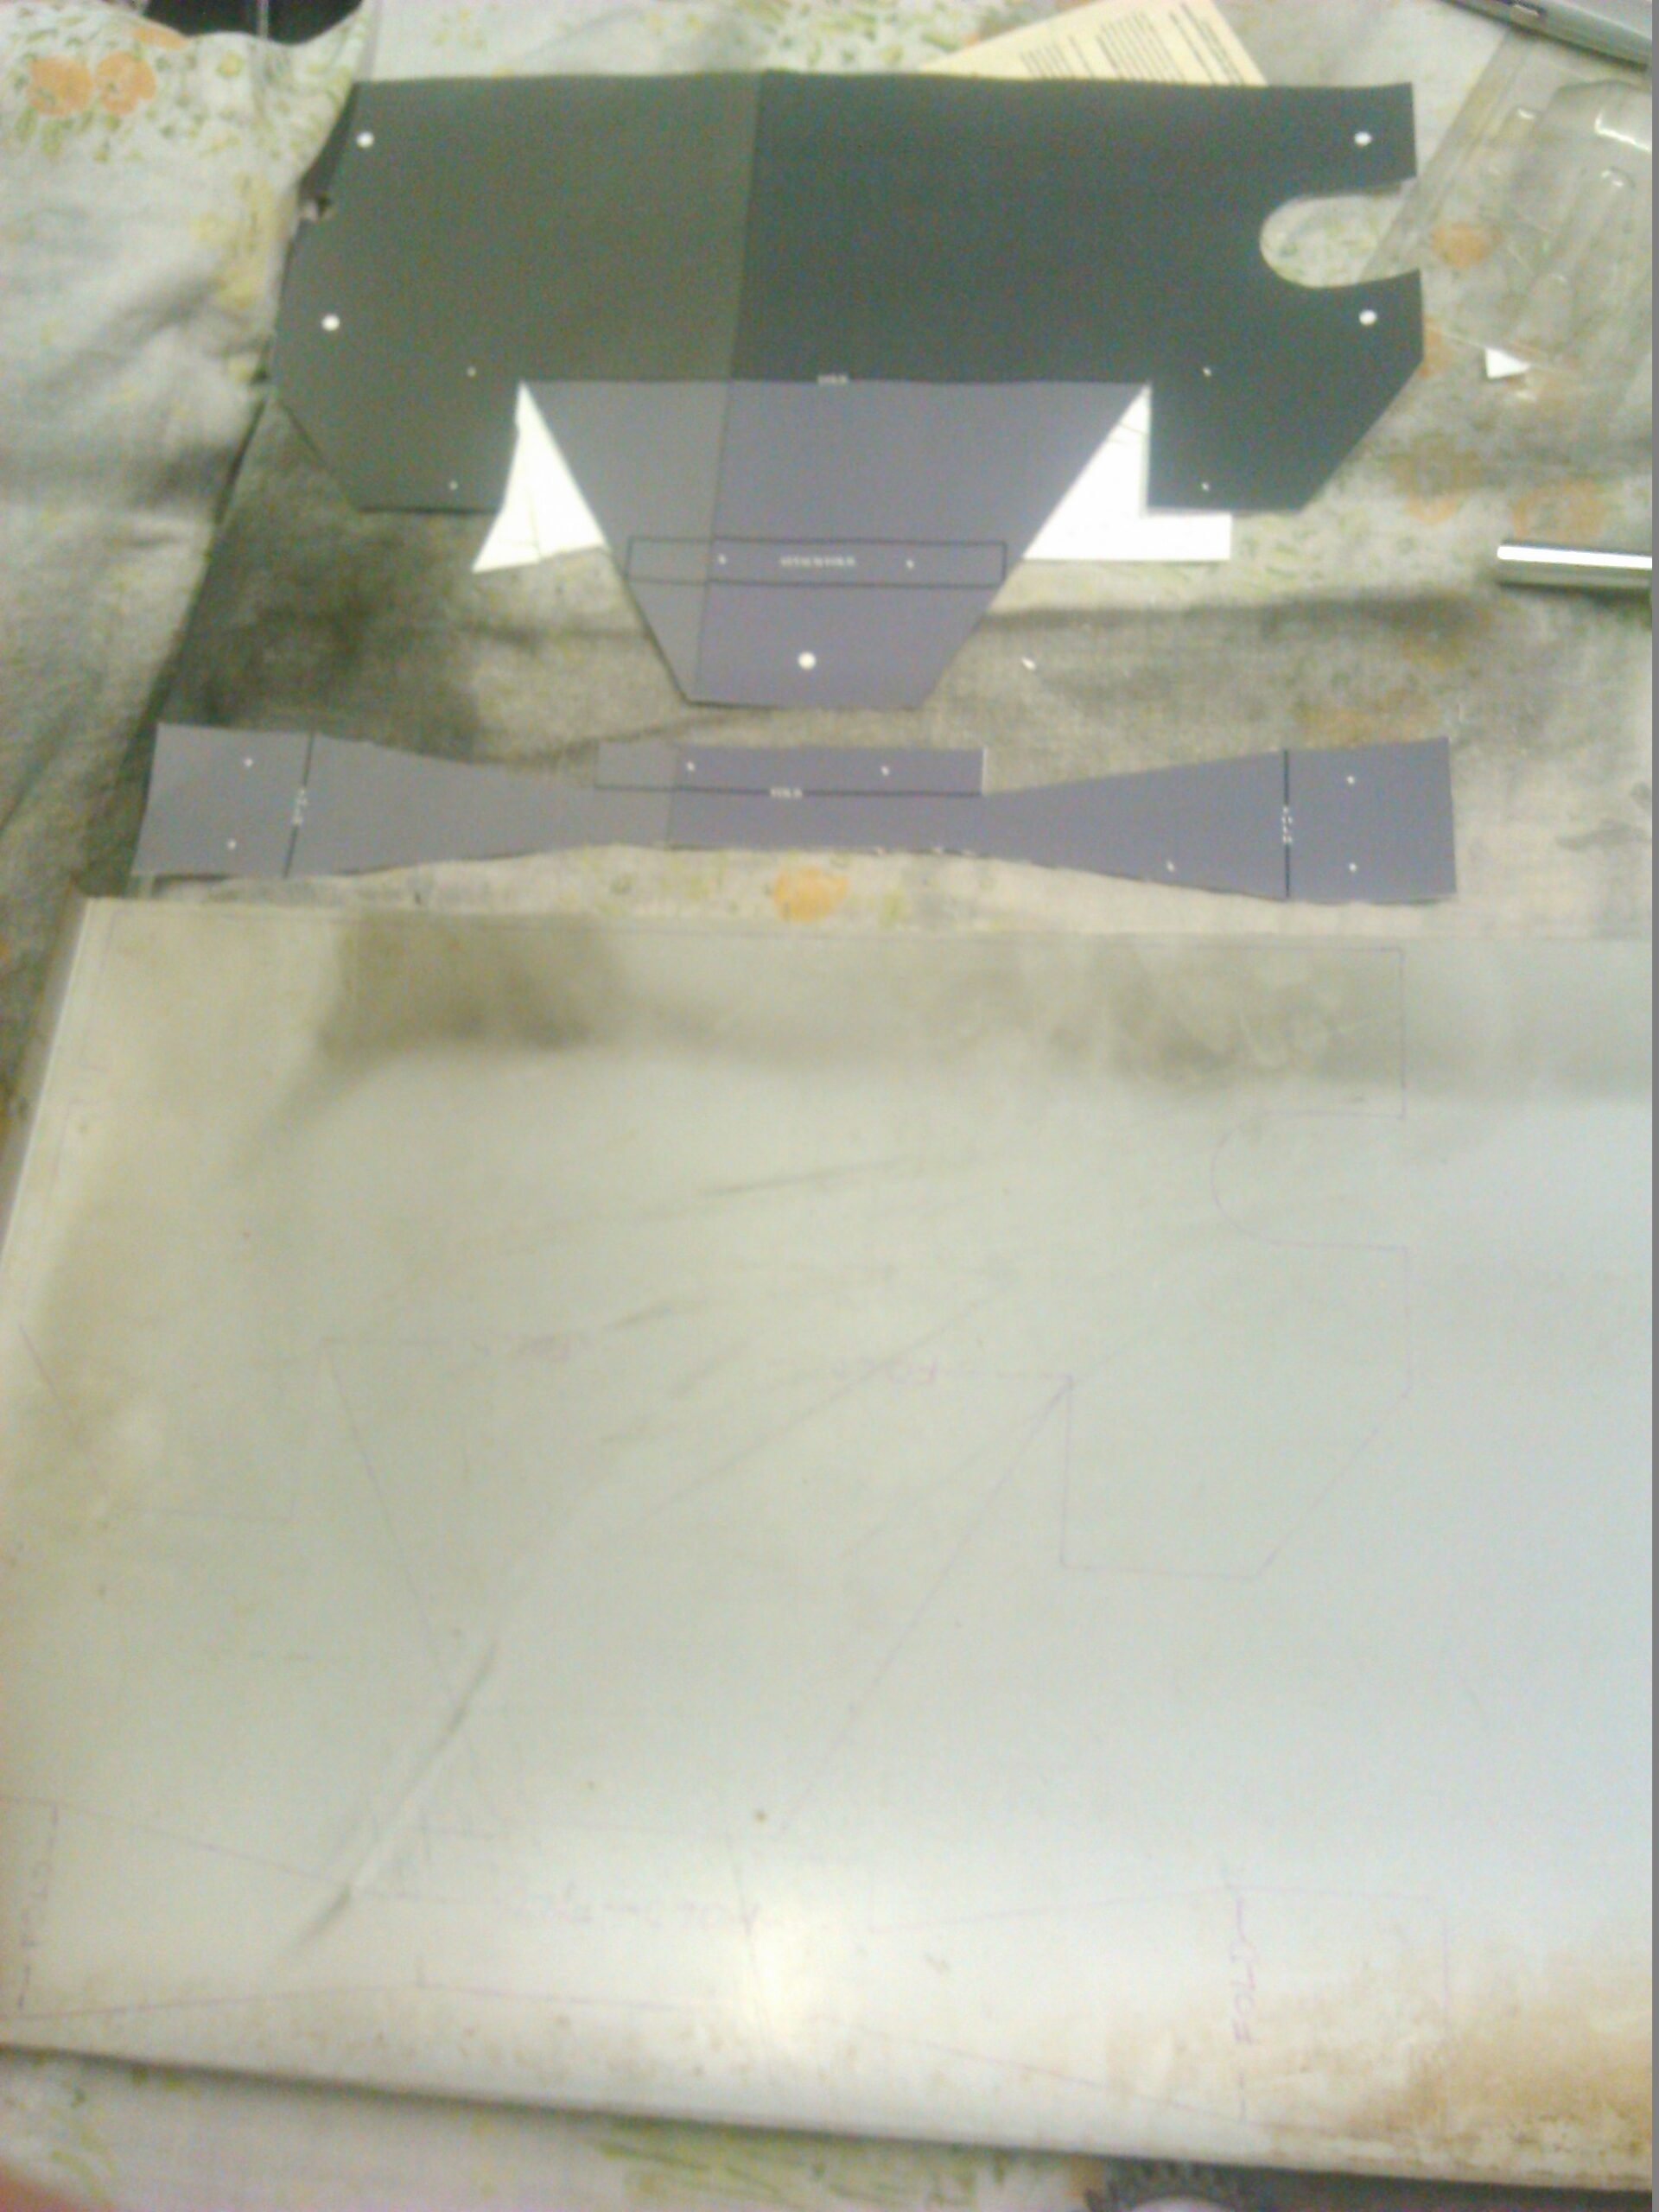
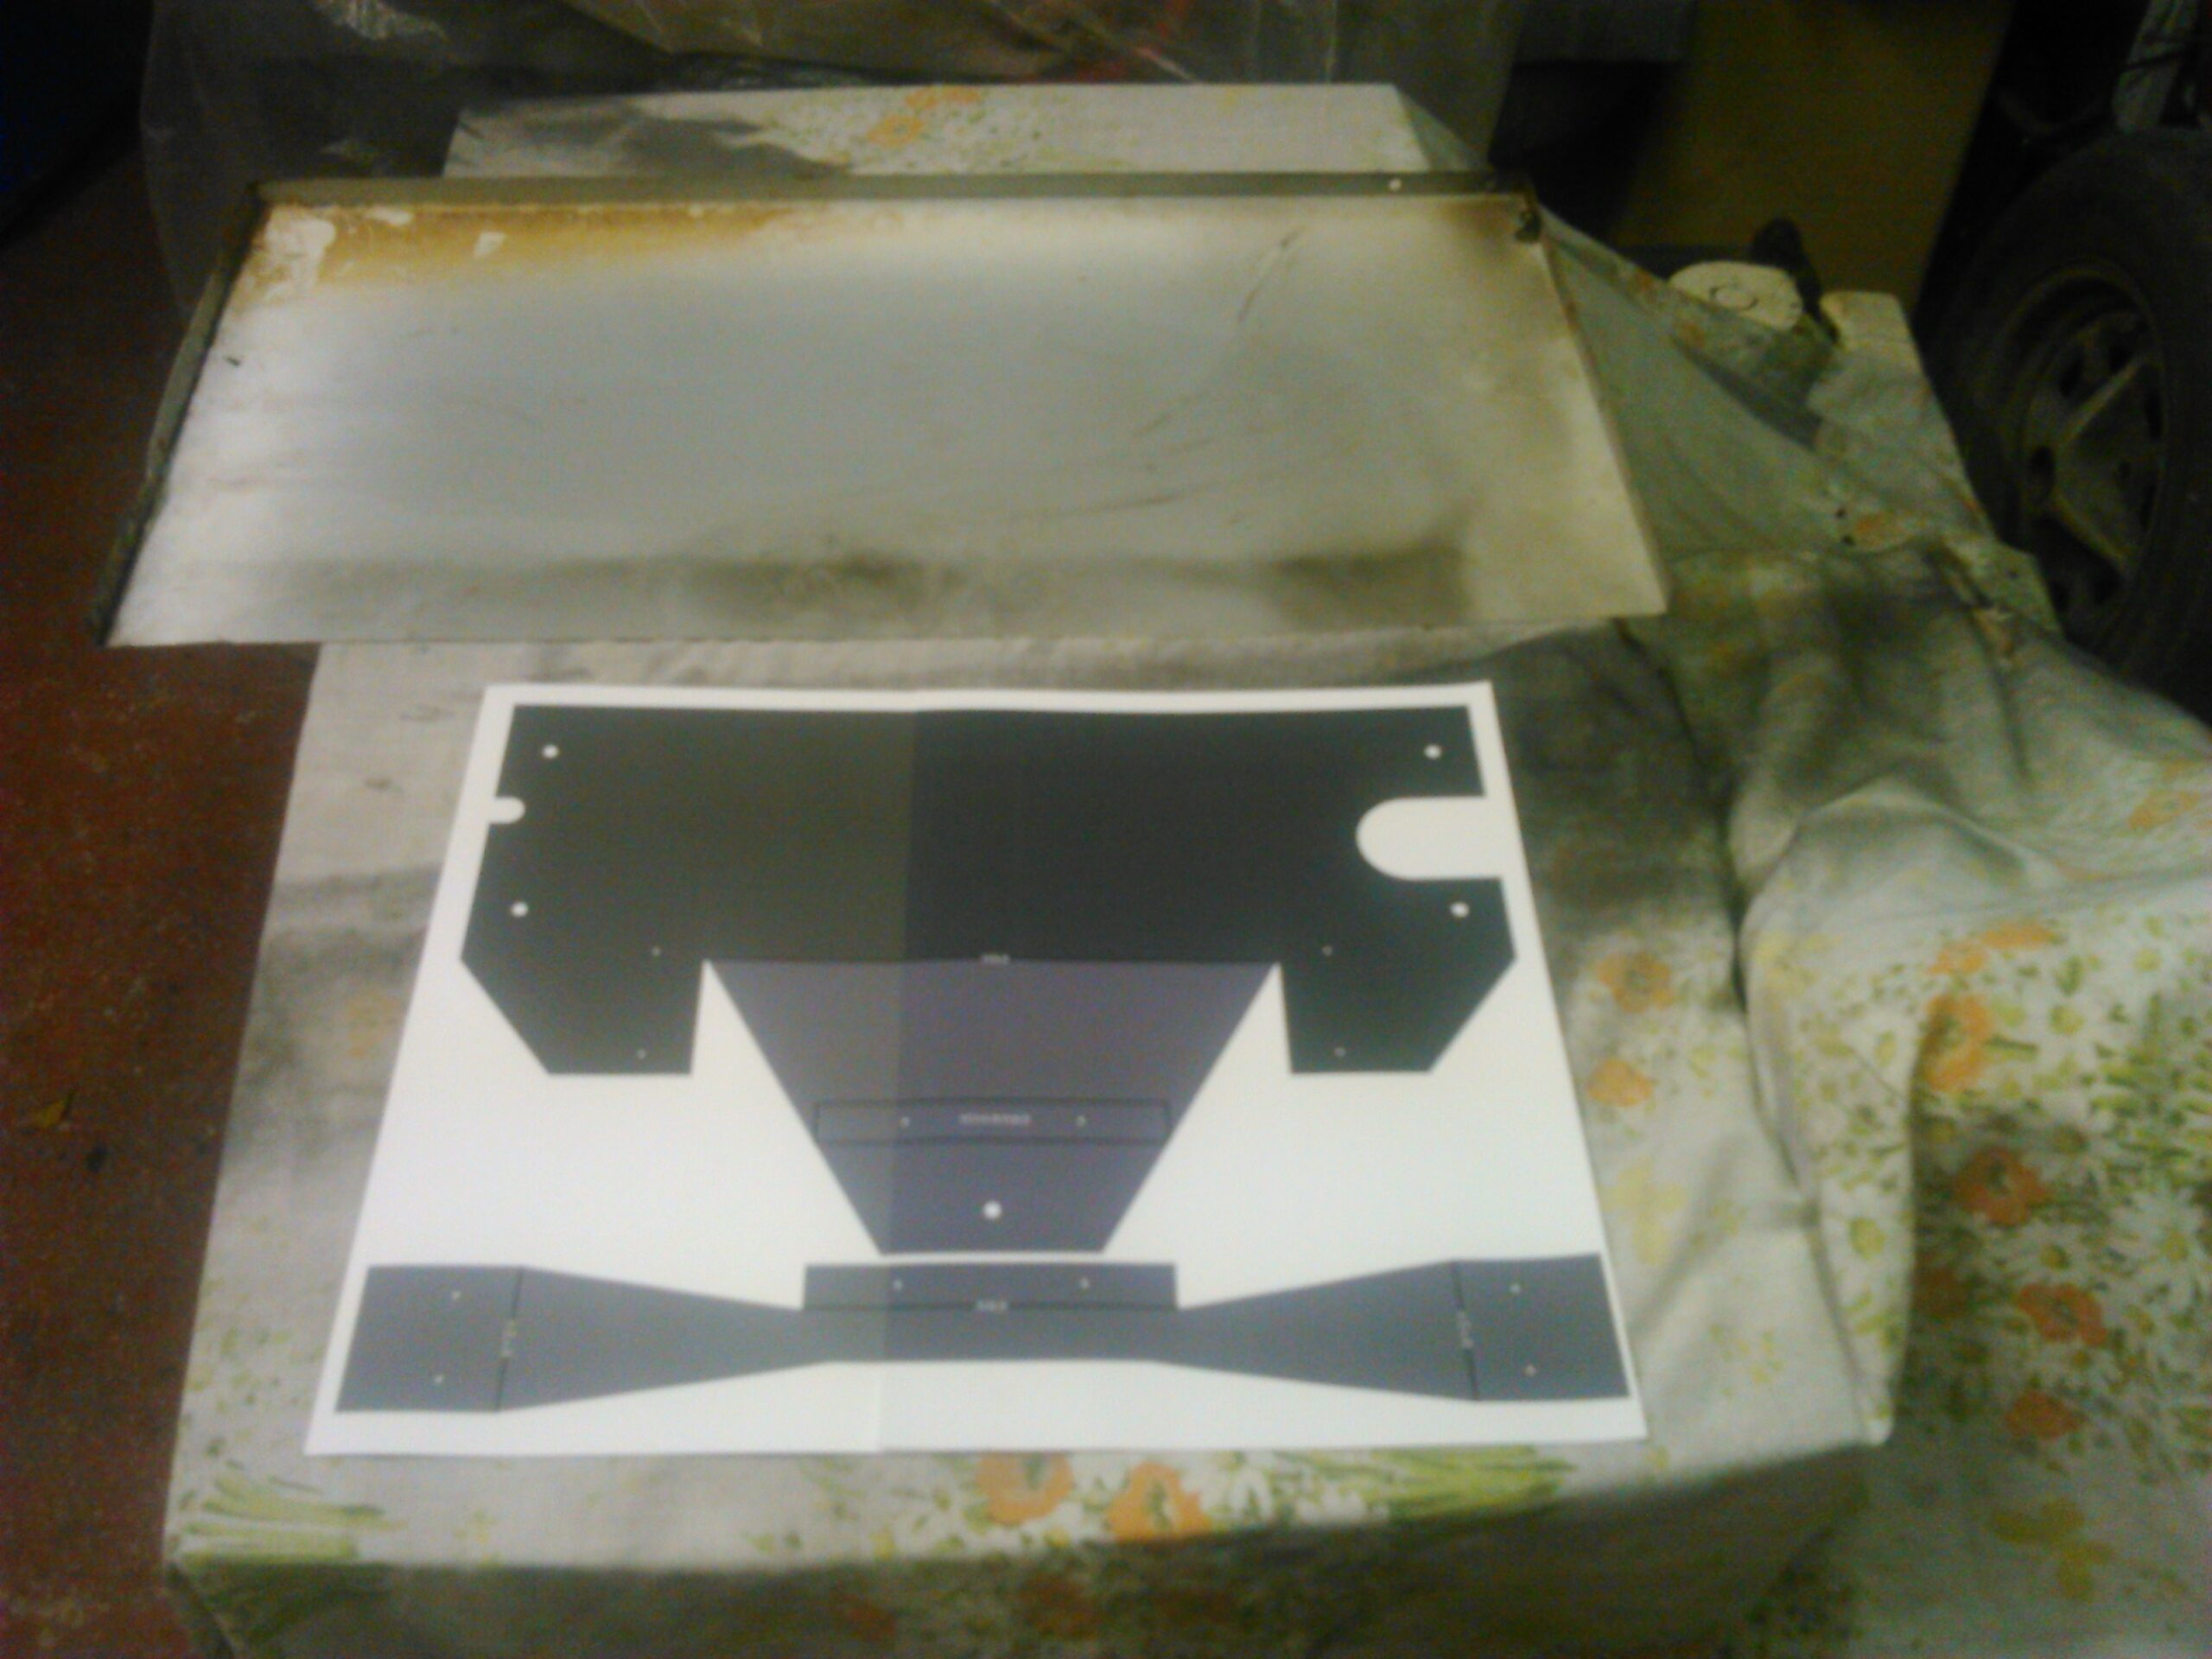 Back now in the garage next to my car, next was to find some suitable material to produce the template on to.
Over the years we had gathered a small collection of useful bits of tin / steel /aluminium, from old discarded items (bits of an old washing machine, side of a desktop computer tower, etc).
So quick rummage and bingo!
There was the side panel off an old central heating boiler, just the job!
So here we go, we’re in business, as they say.
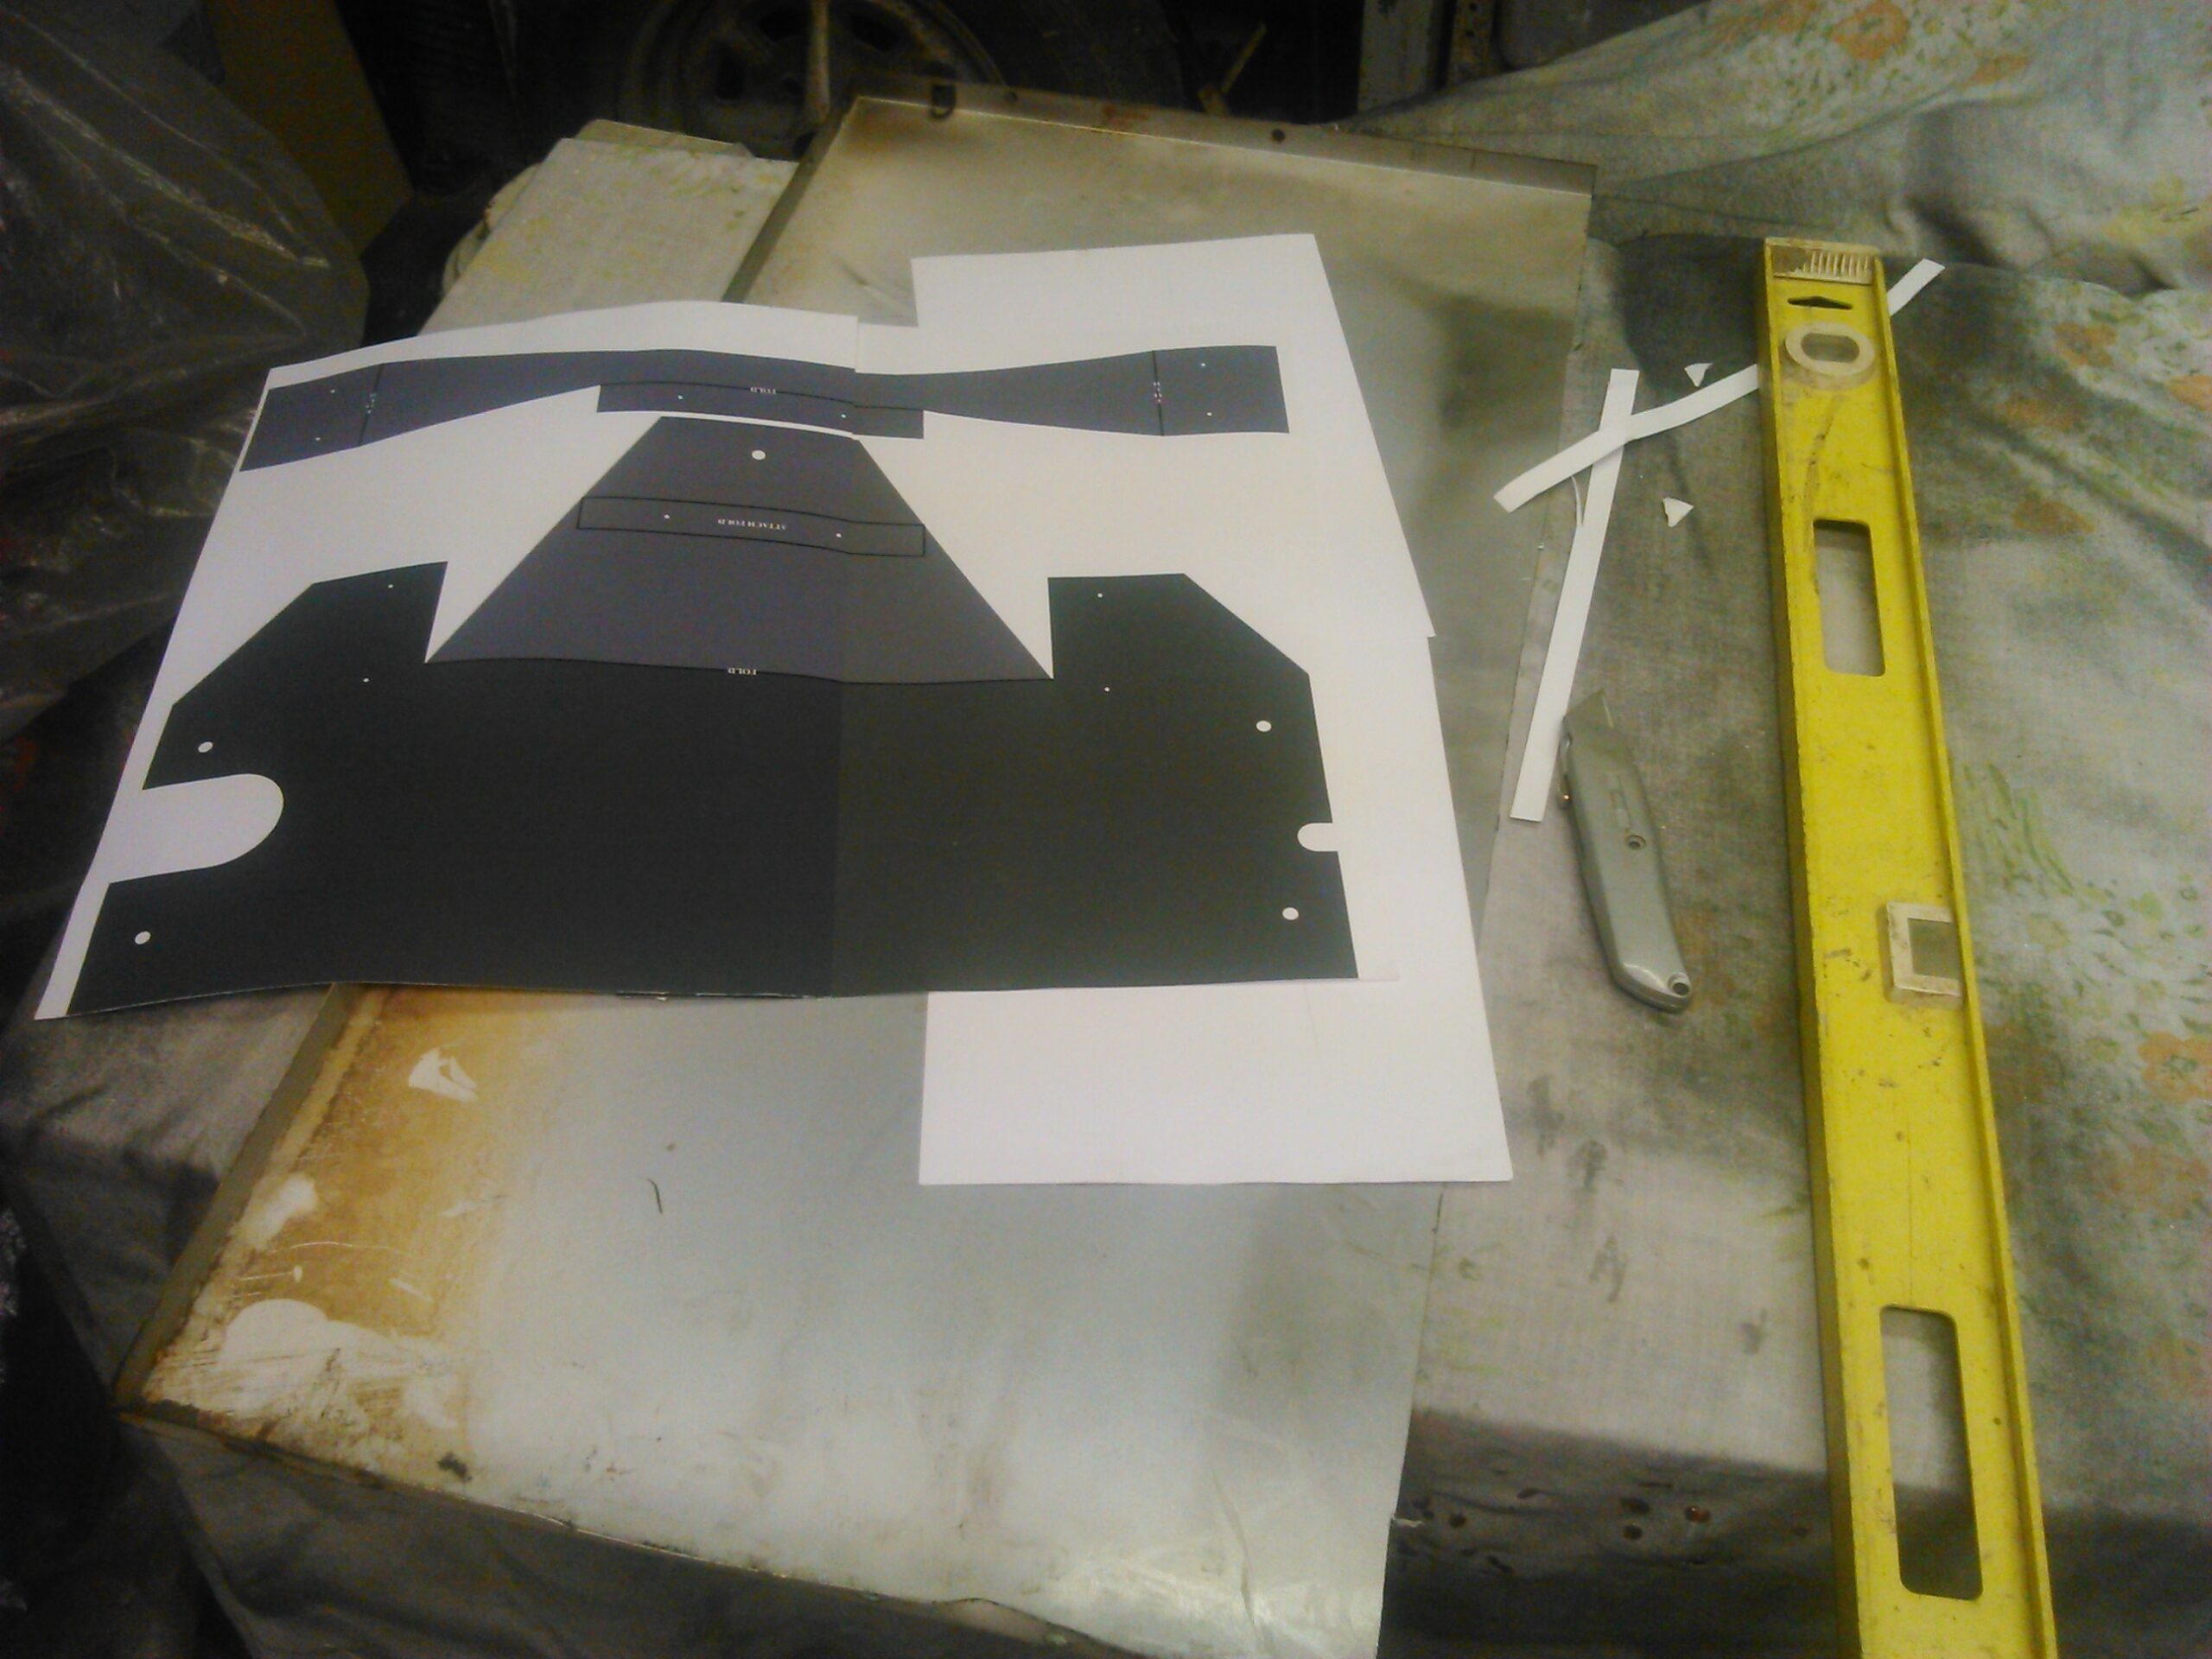
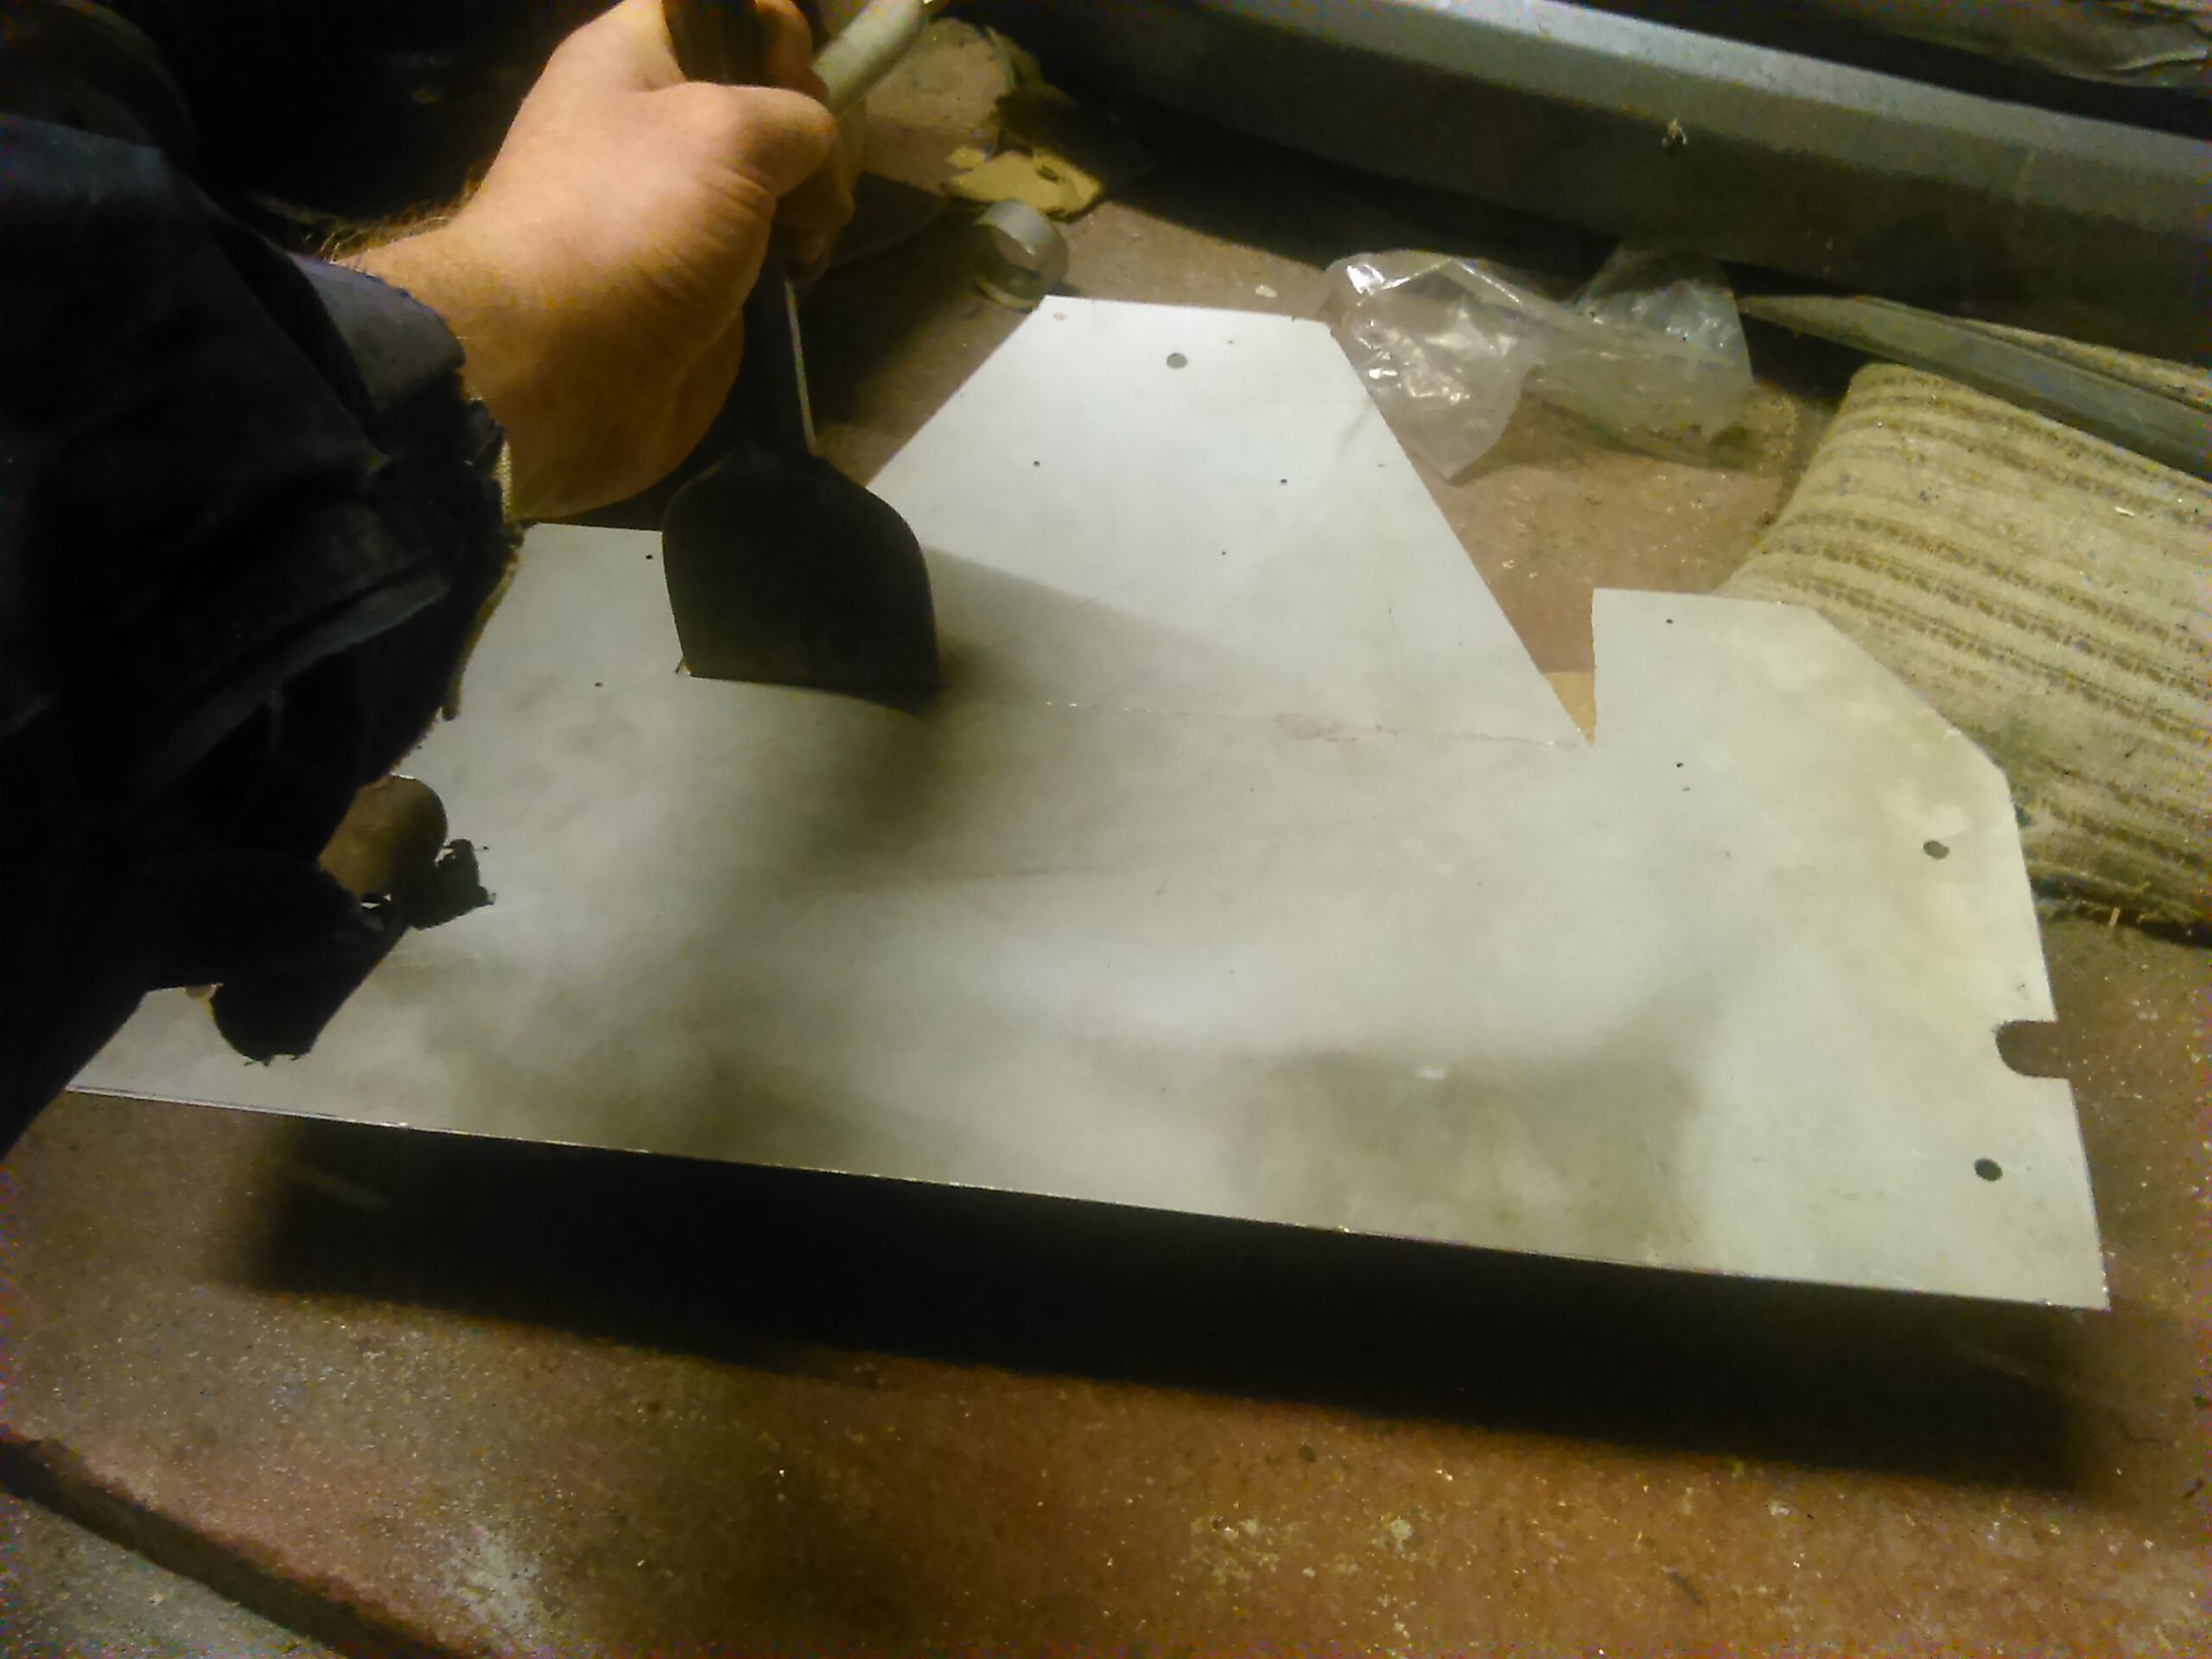
Next job was to cut out the template, simply using an ordinary stanley knife and edge of a spirit level which I had to hand.
Lastly, after cutting out the template, I could then lay both parts on to the metal sheet next to each other, and using a ‘fine tip’ permanent marker pen simply draw around the template on to the metal, also marking on the holes and the fold lines as I went along (you’ll have to look carefully on last picture to see the outline on the metal I’m afraid).
Warning: Do not mess up the paper template, you will need it again yet!

Cutting:

 Now I had the design on the metal sheet, it was time to start cutting it out.
After firing up my air compressor and attaching the nibbler tool borrowed from my dad, I got stuck in cutting out both parts. The nibbler tool proved to be very impressive, and soon made short work of the cutting process (tip: thinking back, think I used the spirit level in the picture, as a guide for the nibbler along the straight edges, with the aid of a couple of G clamps).
The tricky pipe cut outs on the large part, were made an absolute breeze with the nibbler tool.
Last little task was to just file around all the edges you’ve cut, removing the sharp edges and any burrs.
Drilling the Plate:
At this point, I now have both parts of the metal mud shield cut out, but still ‘flat’.
Next task was to drill out the mounting & rivet holes, in both parts.
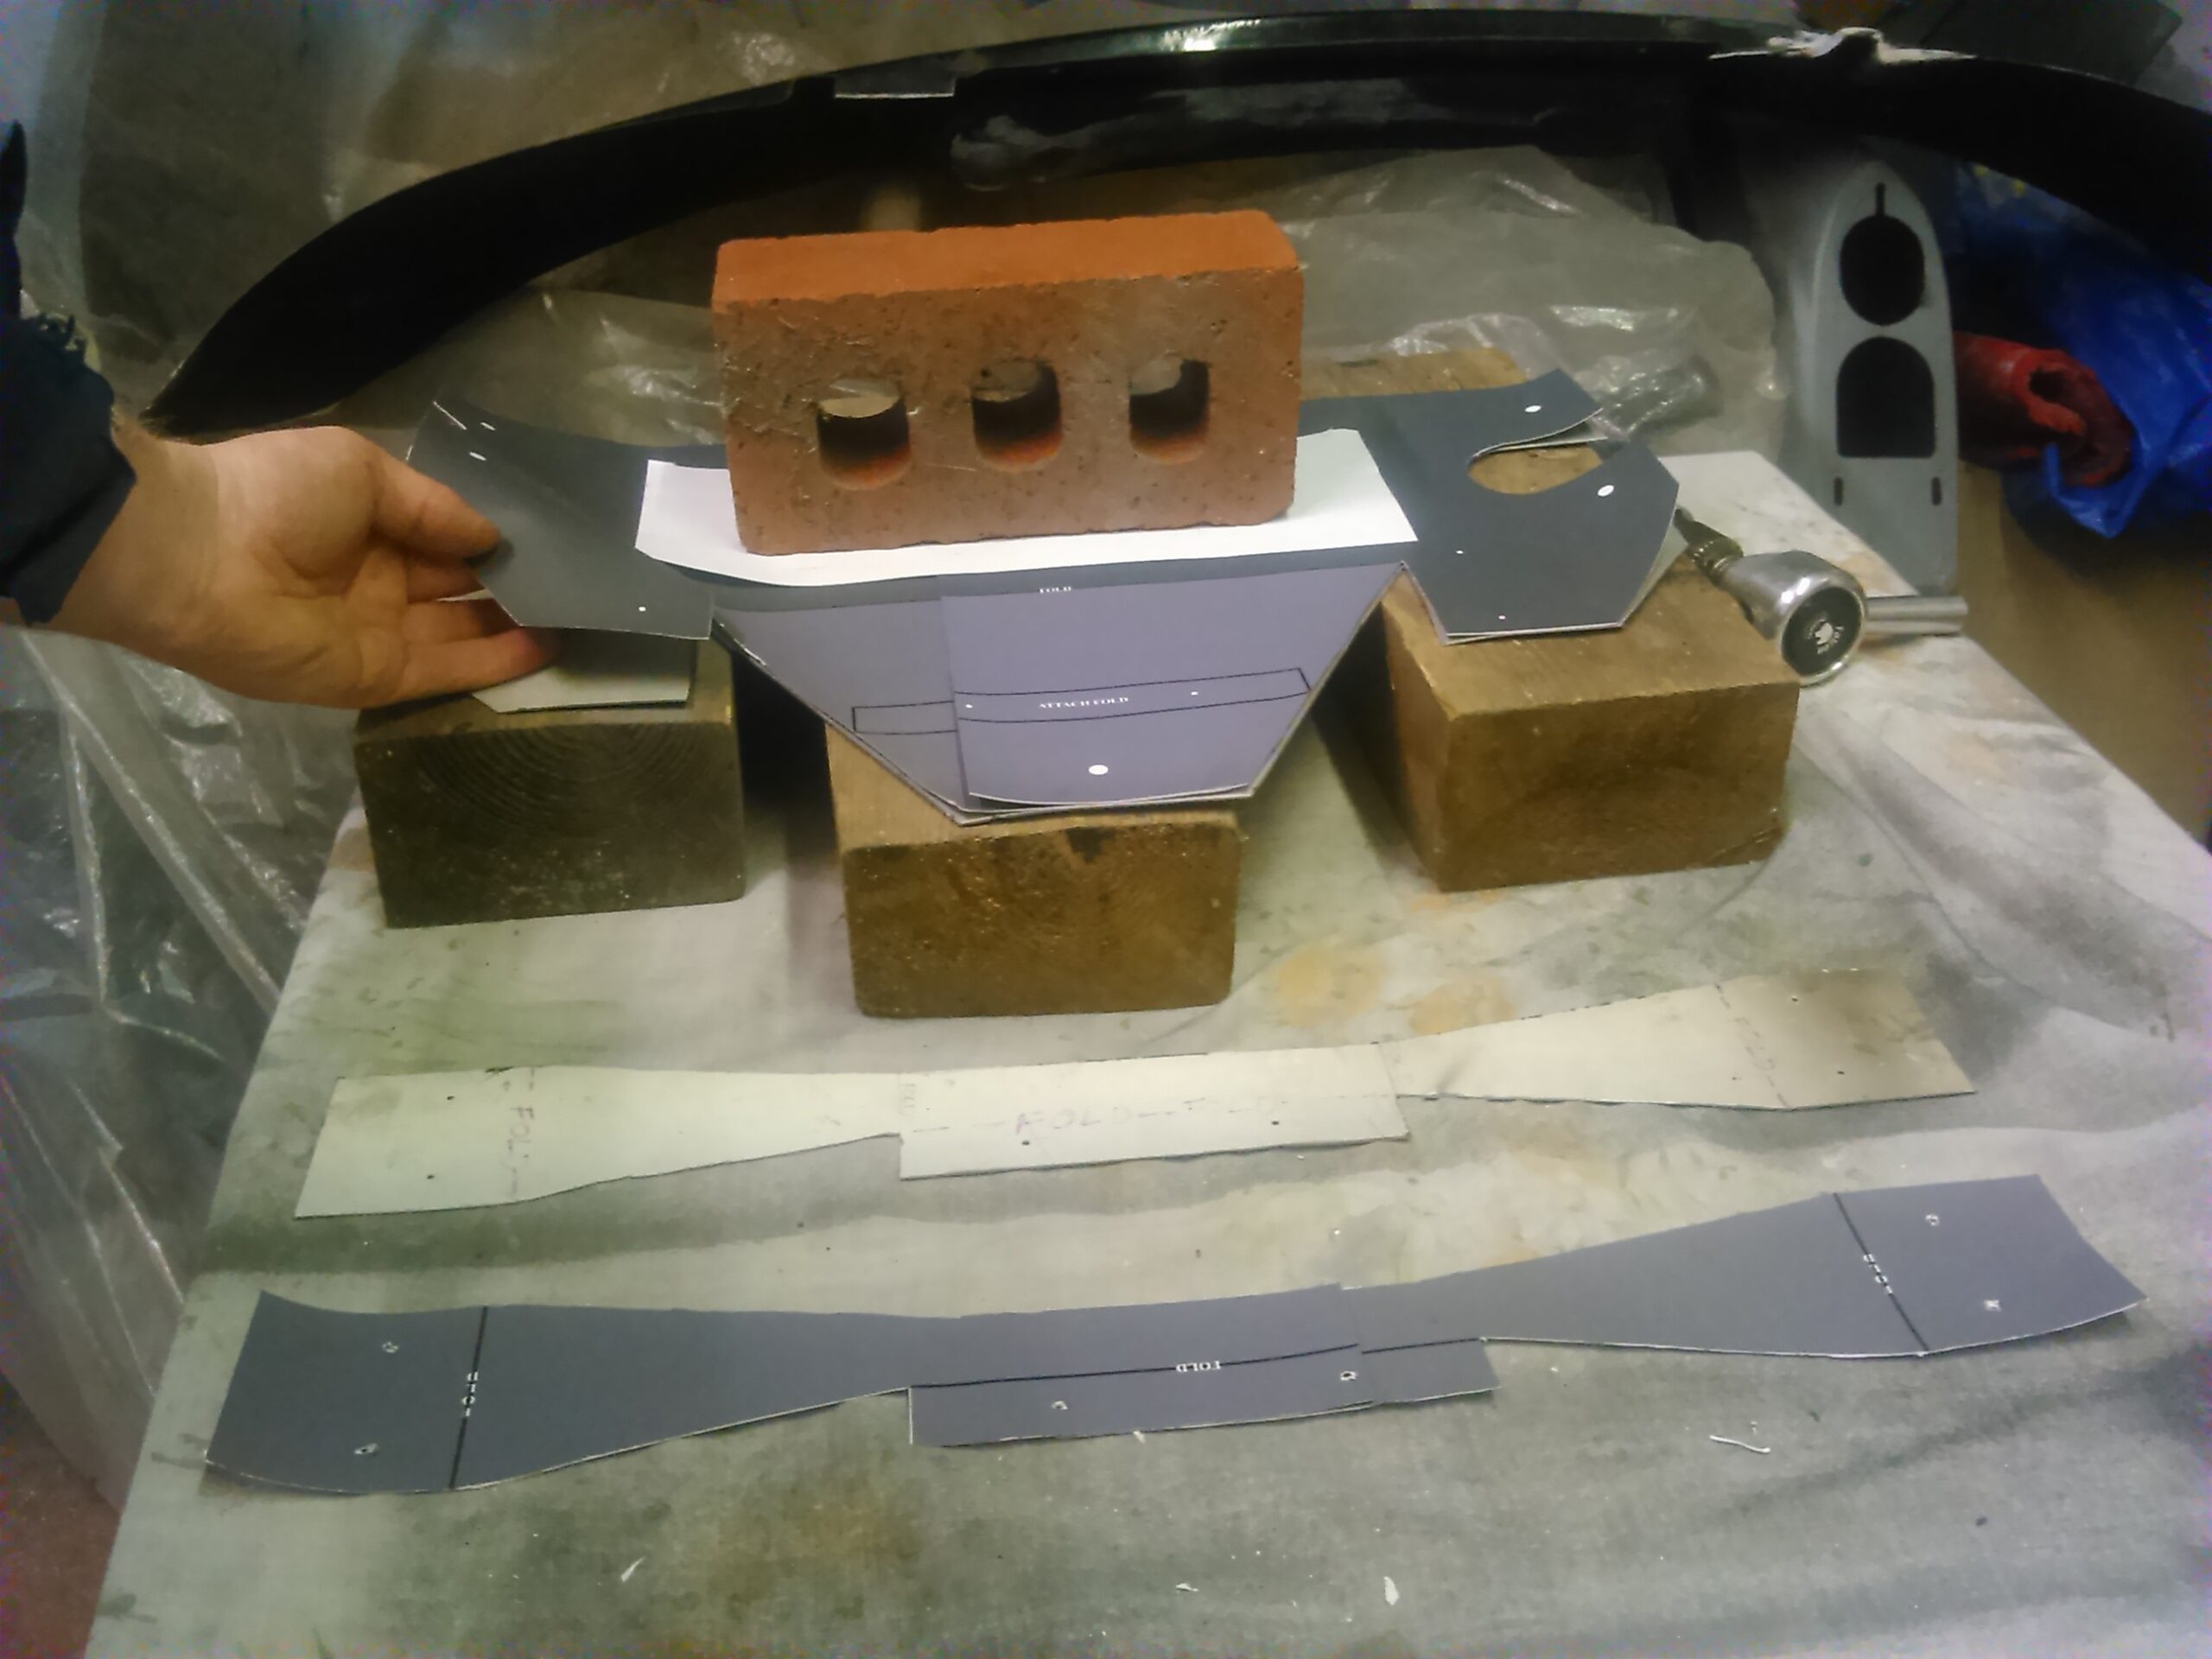
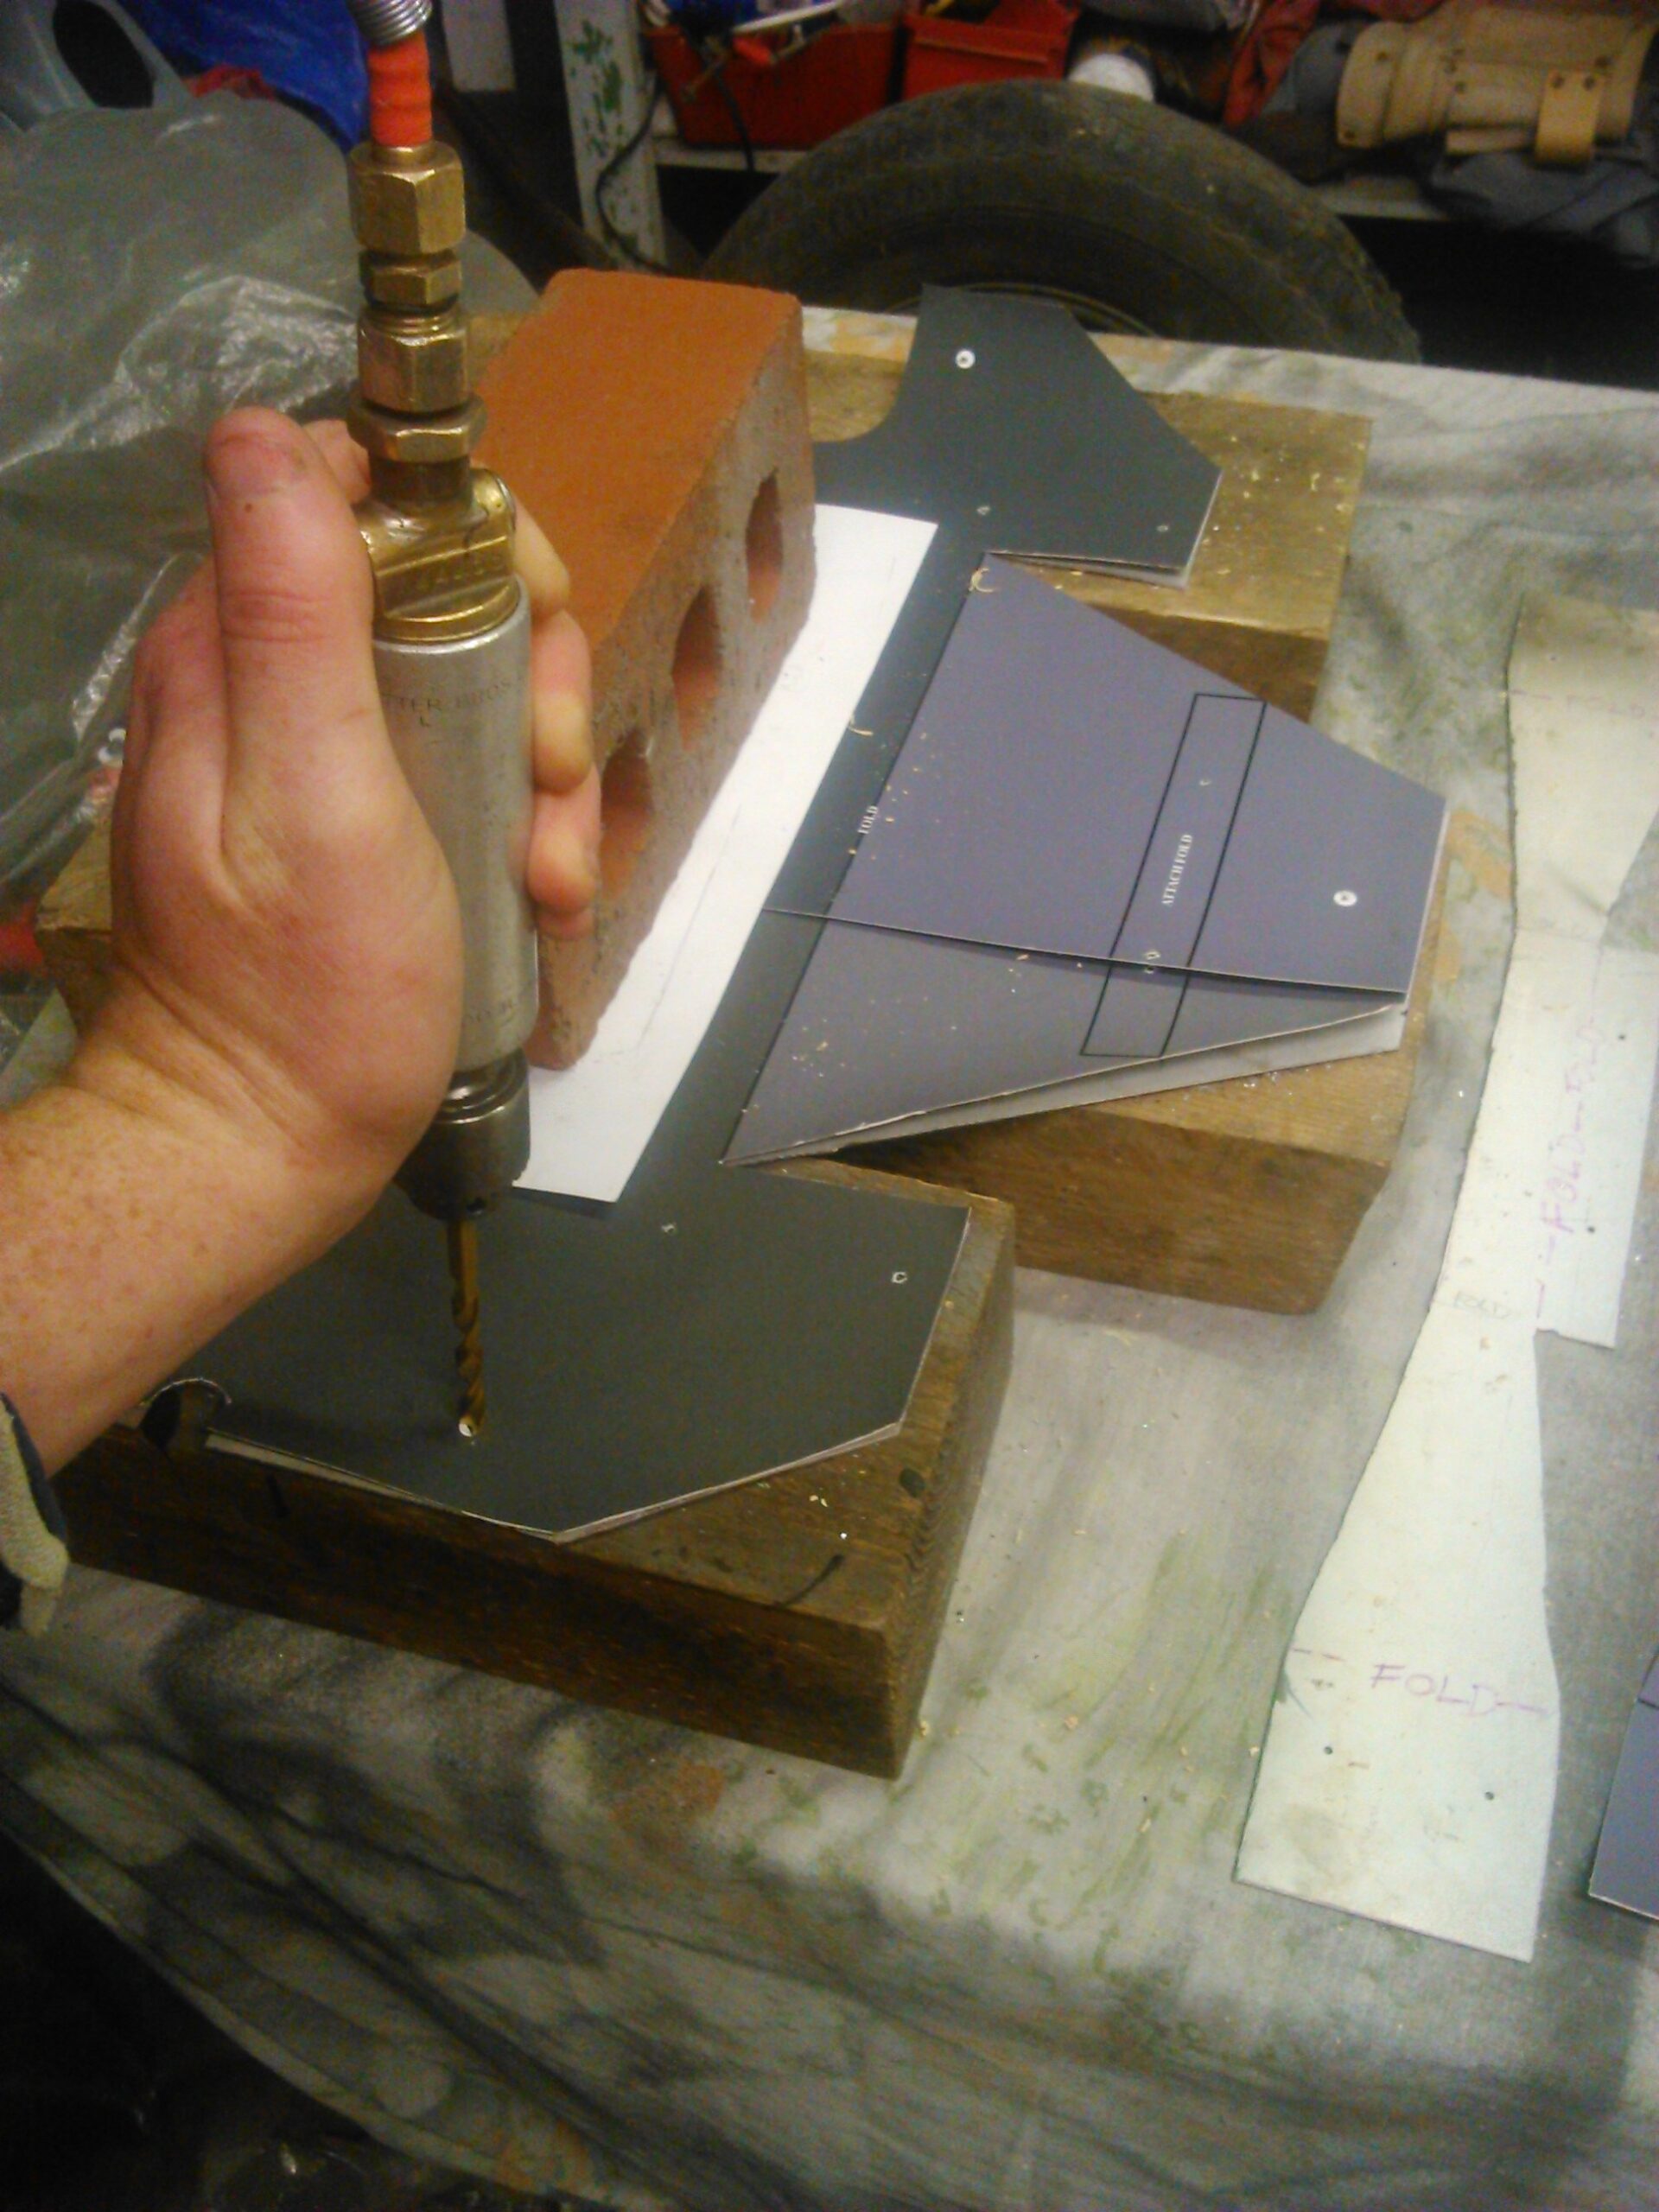
I placed both metal plates in turn on to some chunky bits of wood (didn’t fancy drilling through the table today, haha!).
For each part, I placed the relevant paper template on top of the metal plate, then held it firmly in position with a brick (Tip: use a scrap piece of paper under the brick, just to protect the paper template.)
Using a 6mm drill for all the mounting holes, and a 2.5mm drill for the rivet holes, drill away!
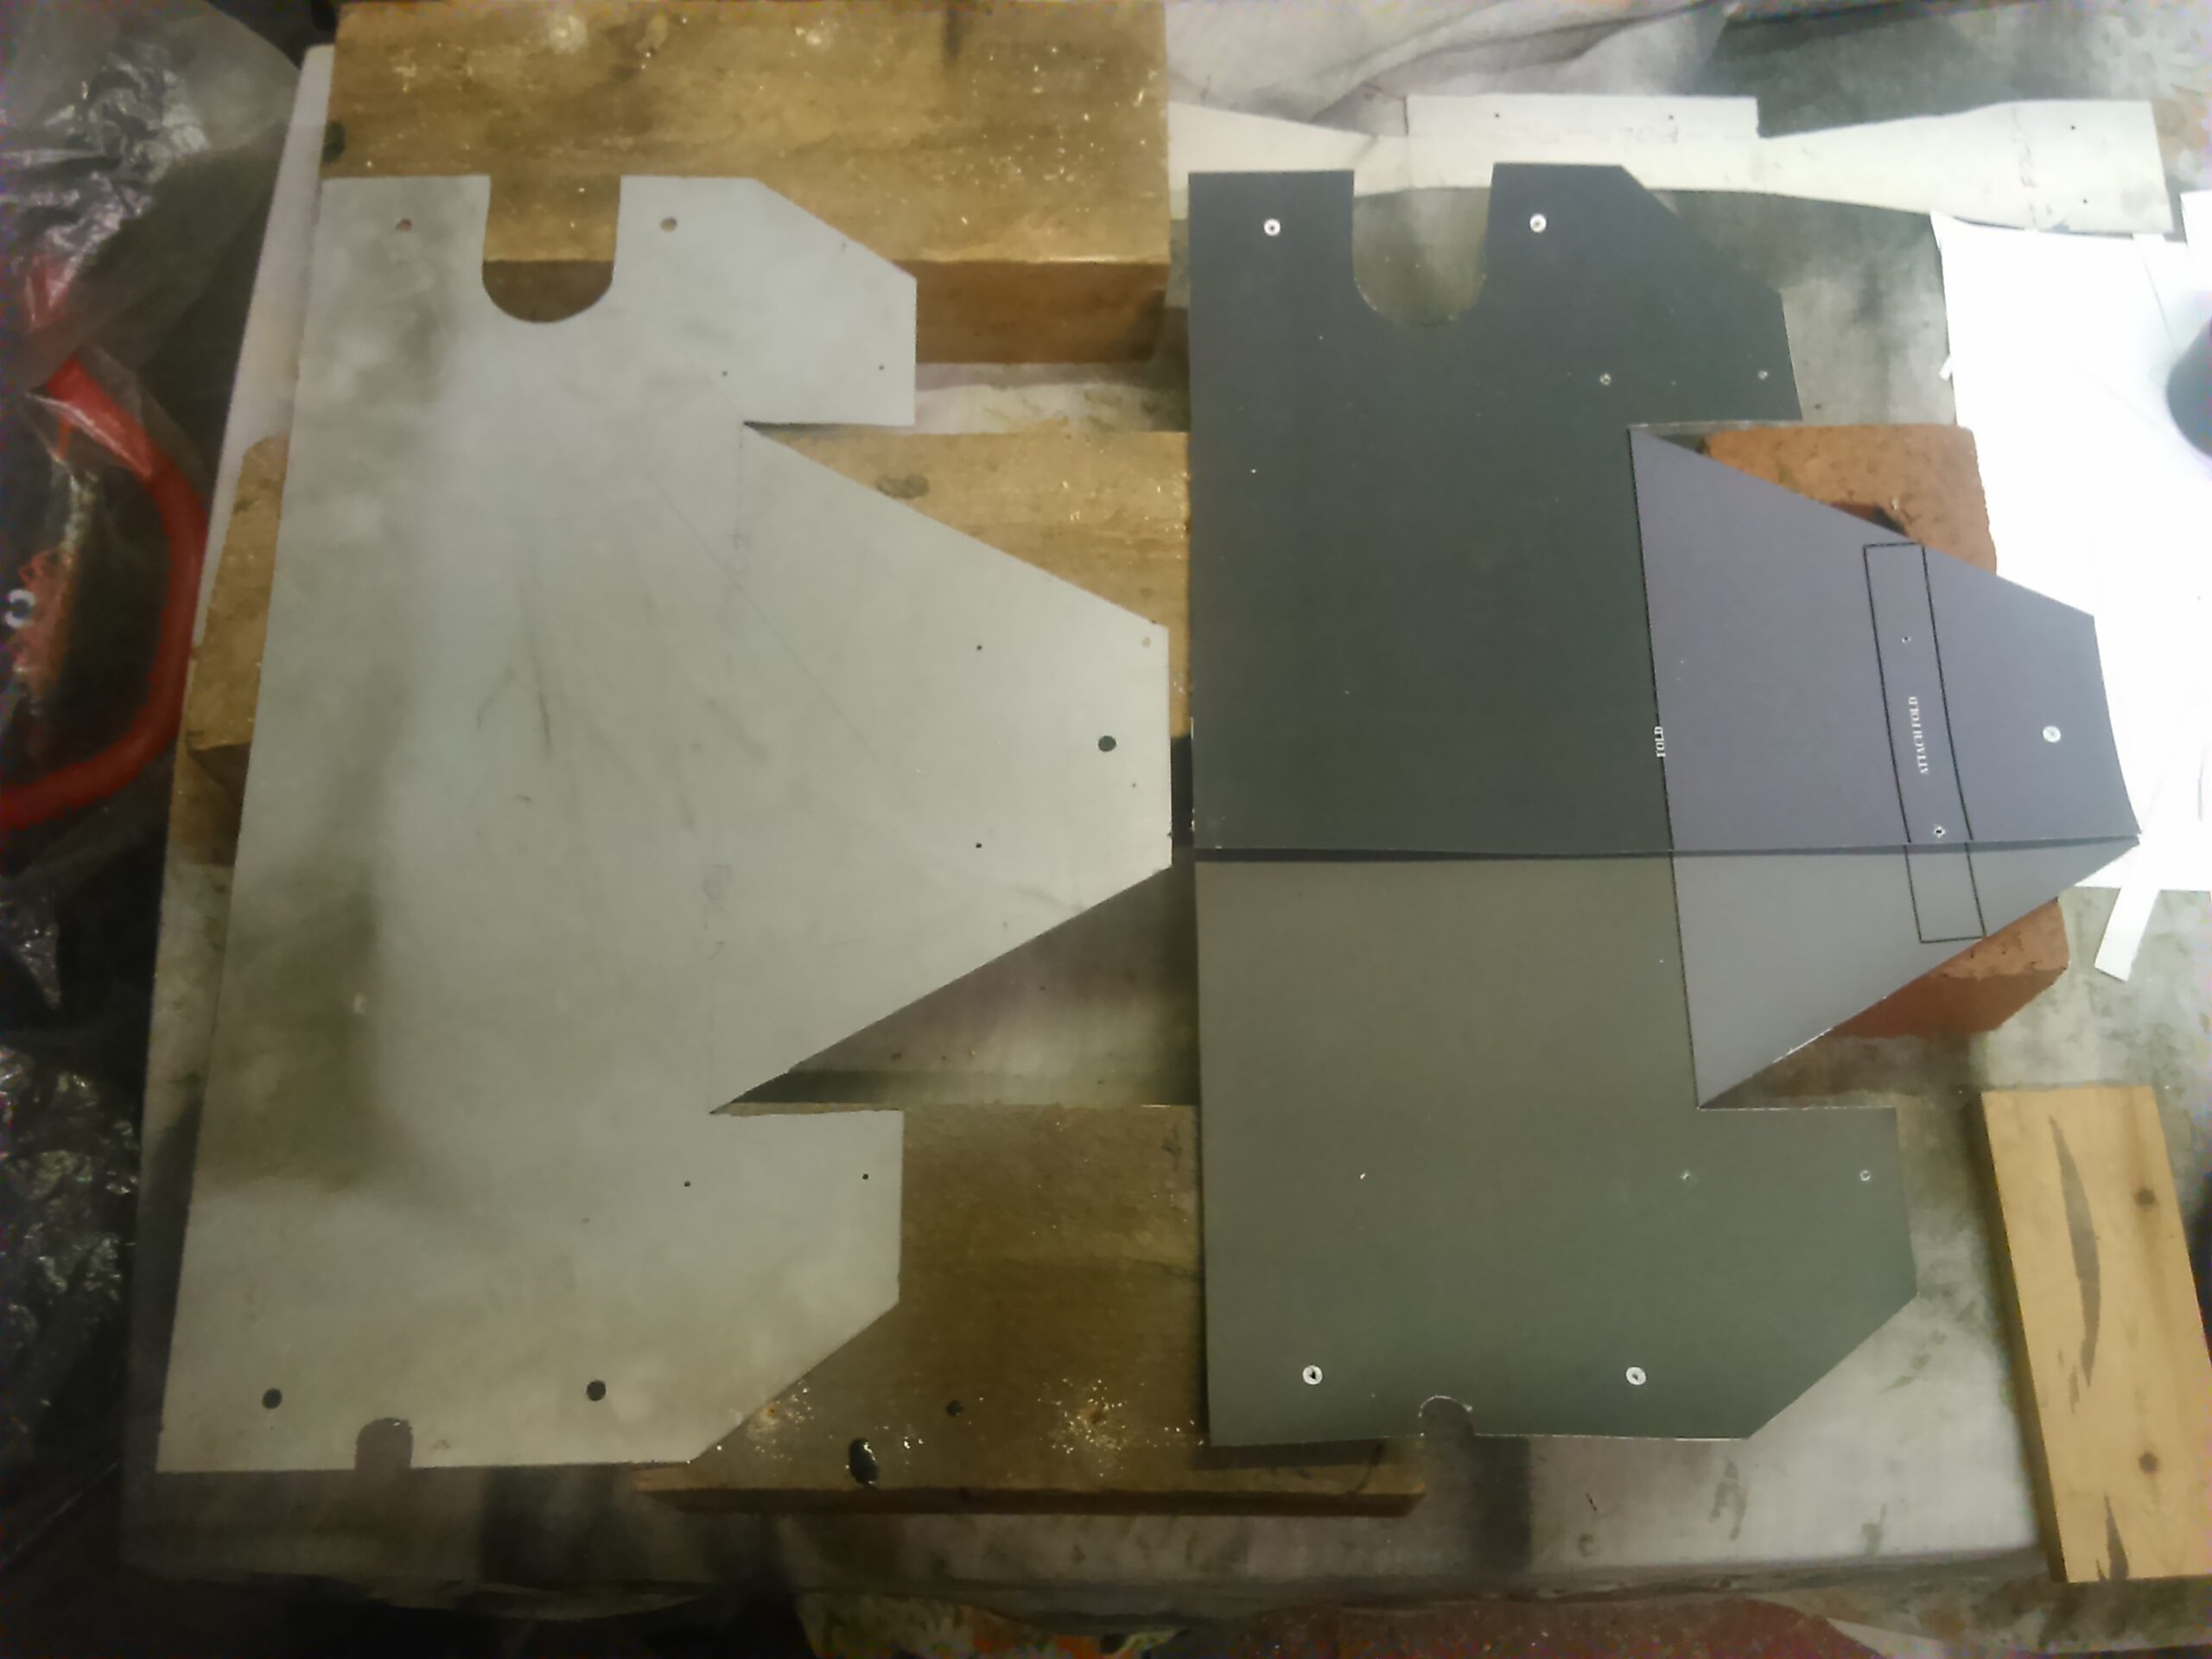
And there we go, 2 completed parts ready cut & drilled for the next stage.
Folding the Plates:
At this point, we need to score/dent along the previously marked fold lines.
Warning: Be Very Careful not to score too deep, otherwise game over, start again!
You only want to score it slightly on the “inside of the fold”, just enough to aid folding.
There is the one main fold on the large plate section, and five folds on the smaller plate section.
I found the easiest and neatest way to do this scoring, was to use a chunky hammer and a wide semi-blunt chisel.
On a hard surface (concrete floor for example), place a piece of 3″ x 2″ wood just underneath the current fold line you are doing, then use your chisel accurately along the line to create the scoring we need (AGAIN: BE CAREFUL DOING THIS, NOT TOO DEEP !!)
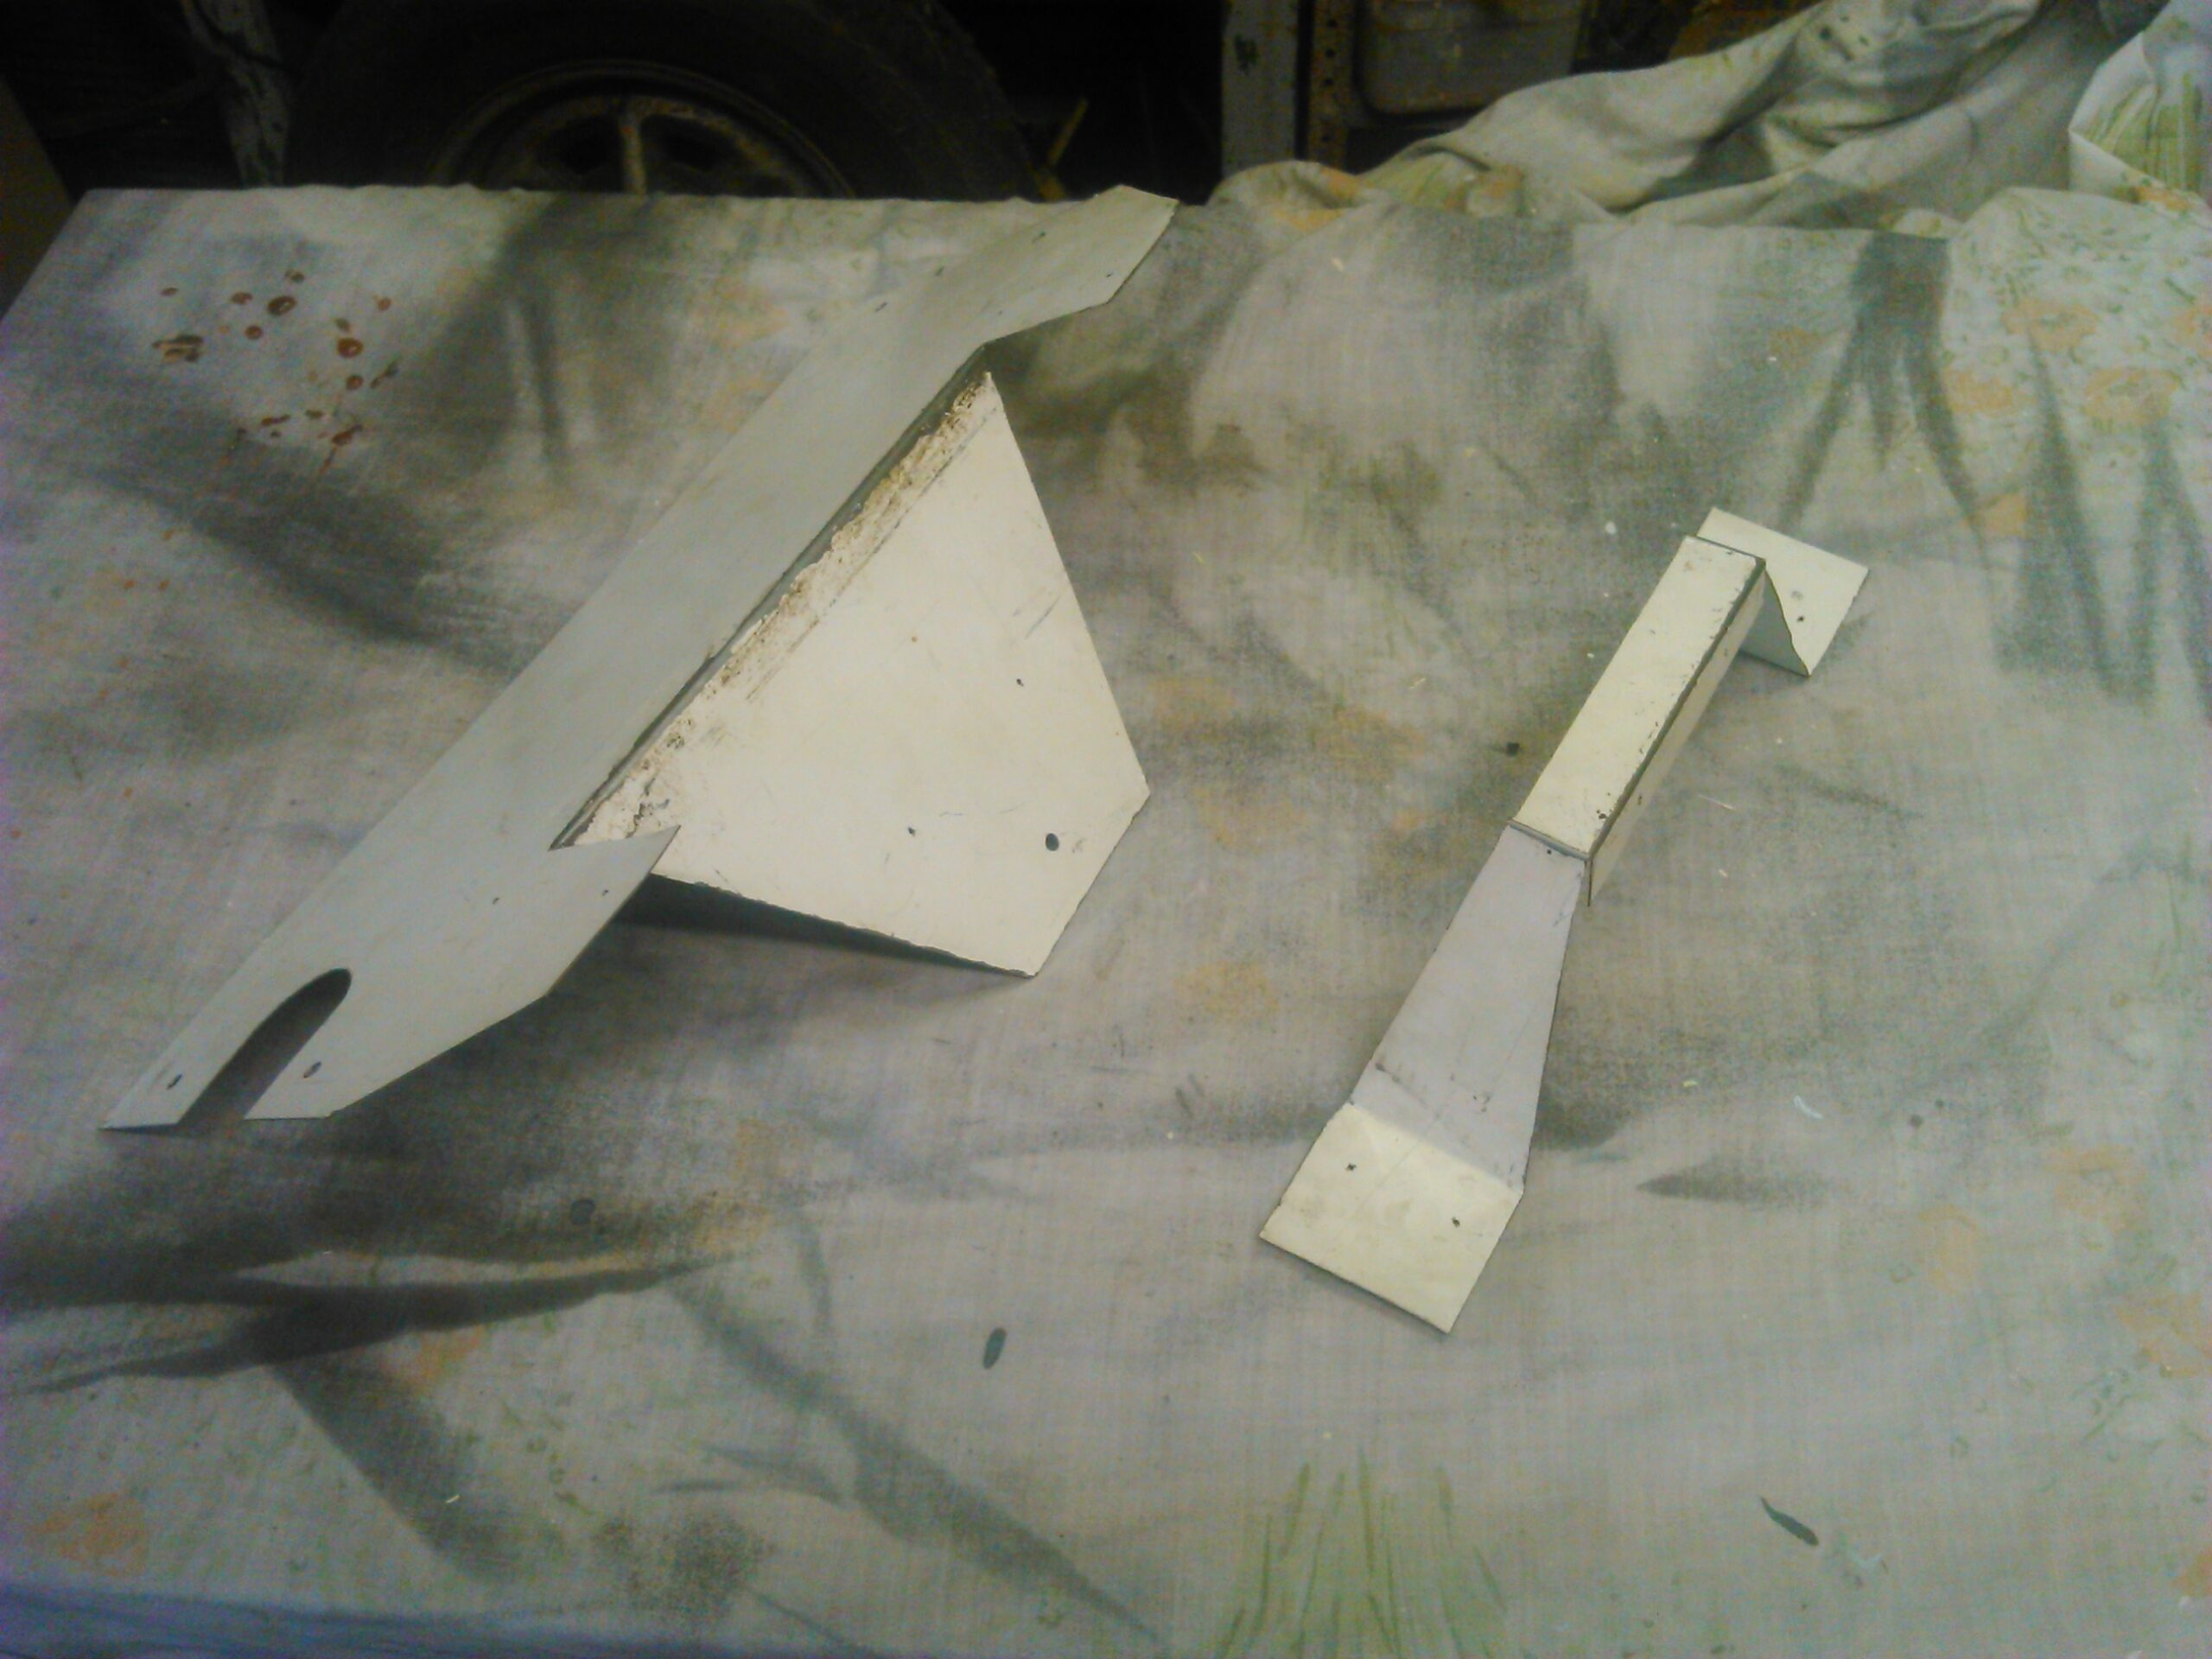
And there we go, with a bit of careful effort and accuracy, we have the two basic parts, yey!
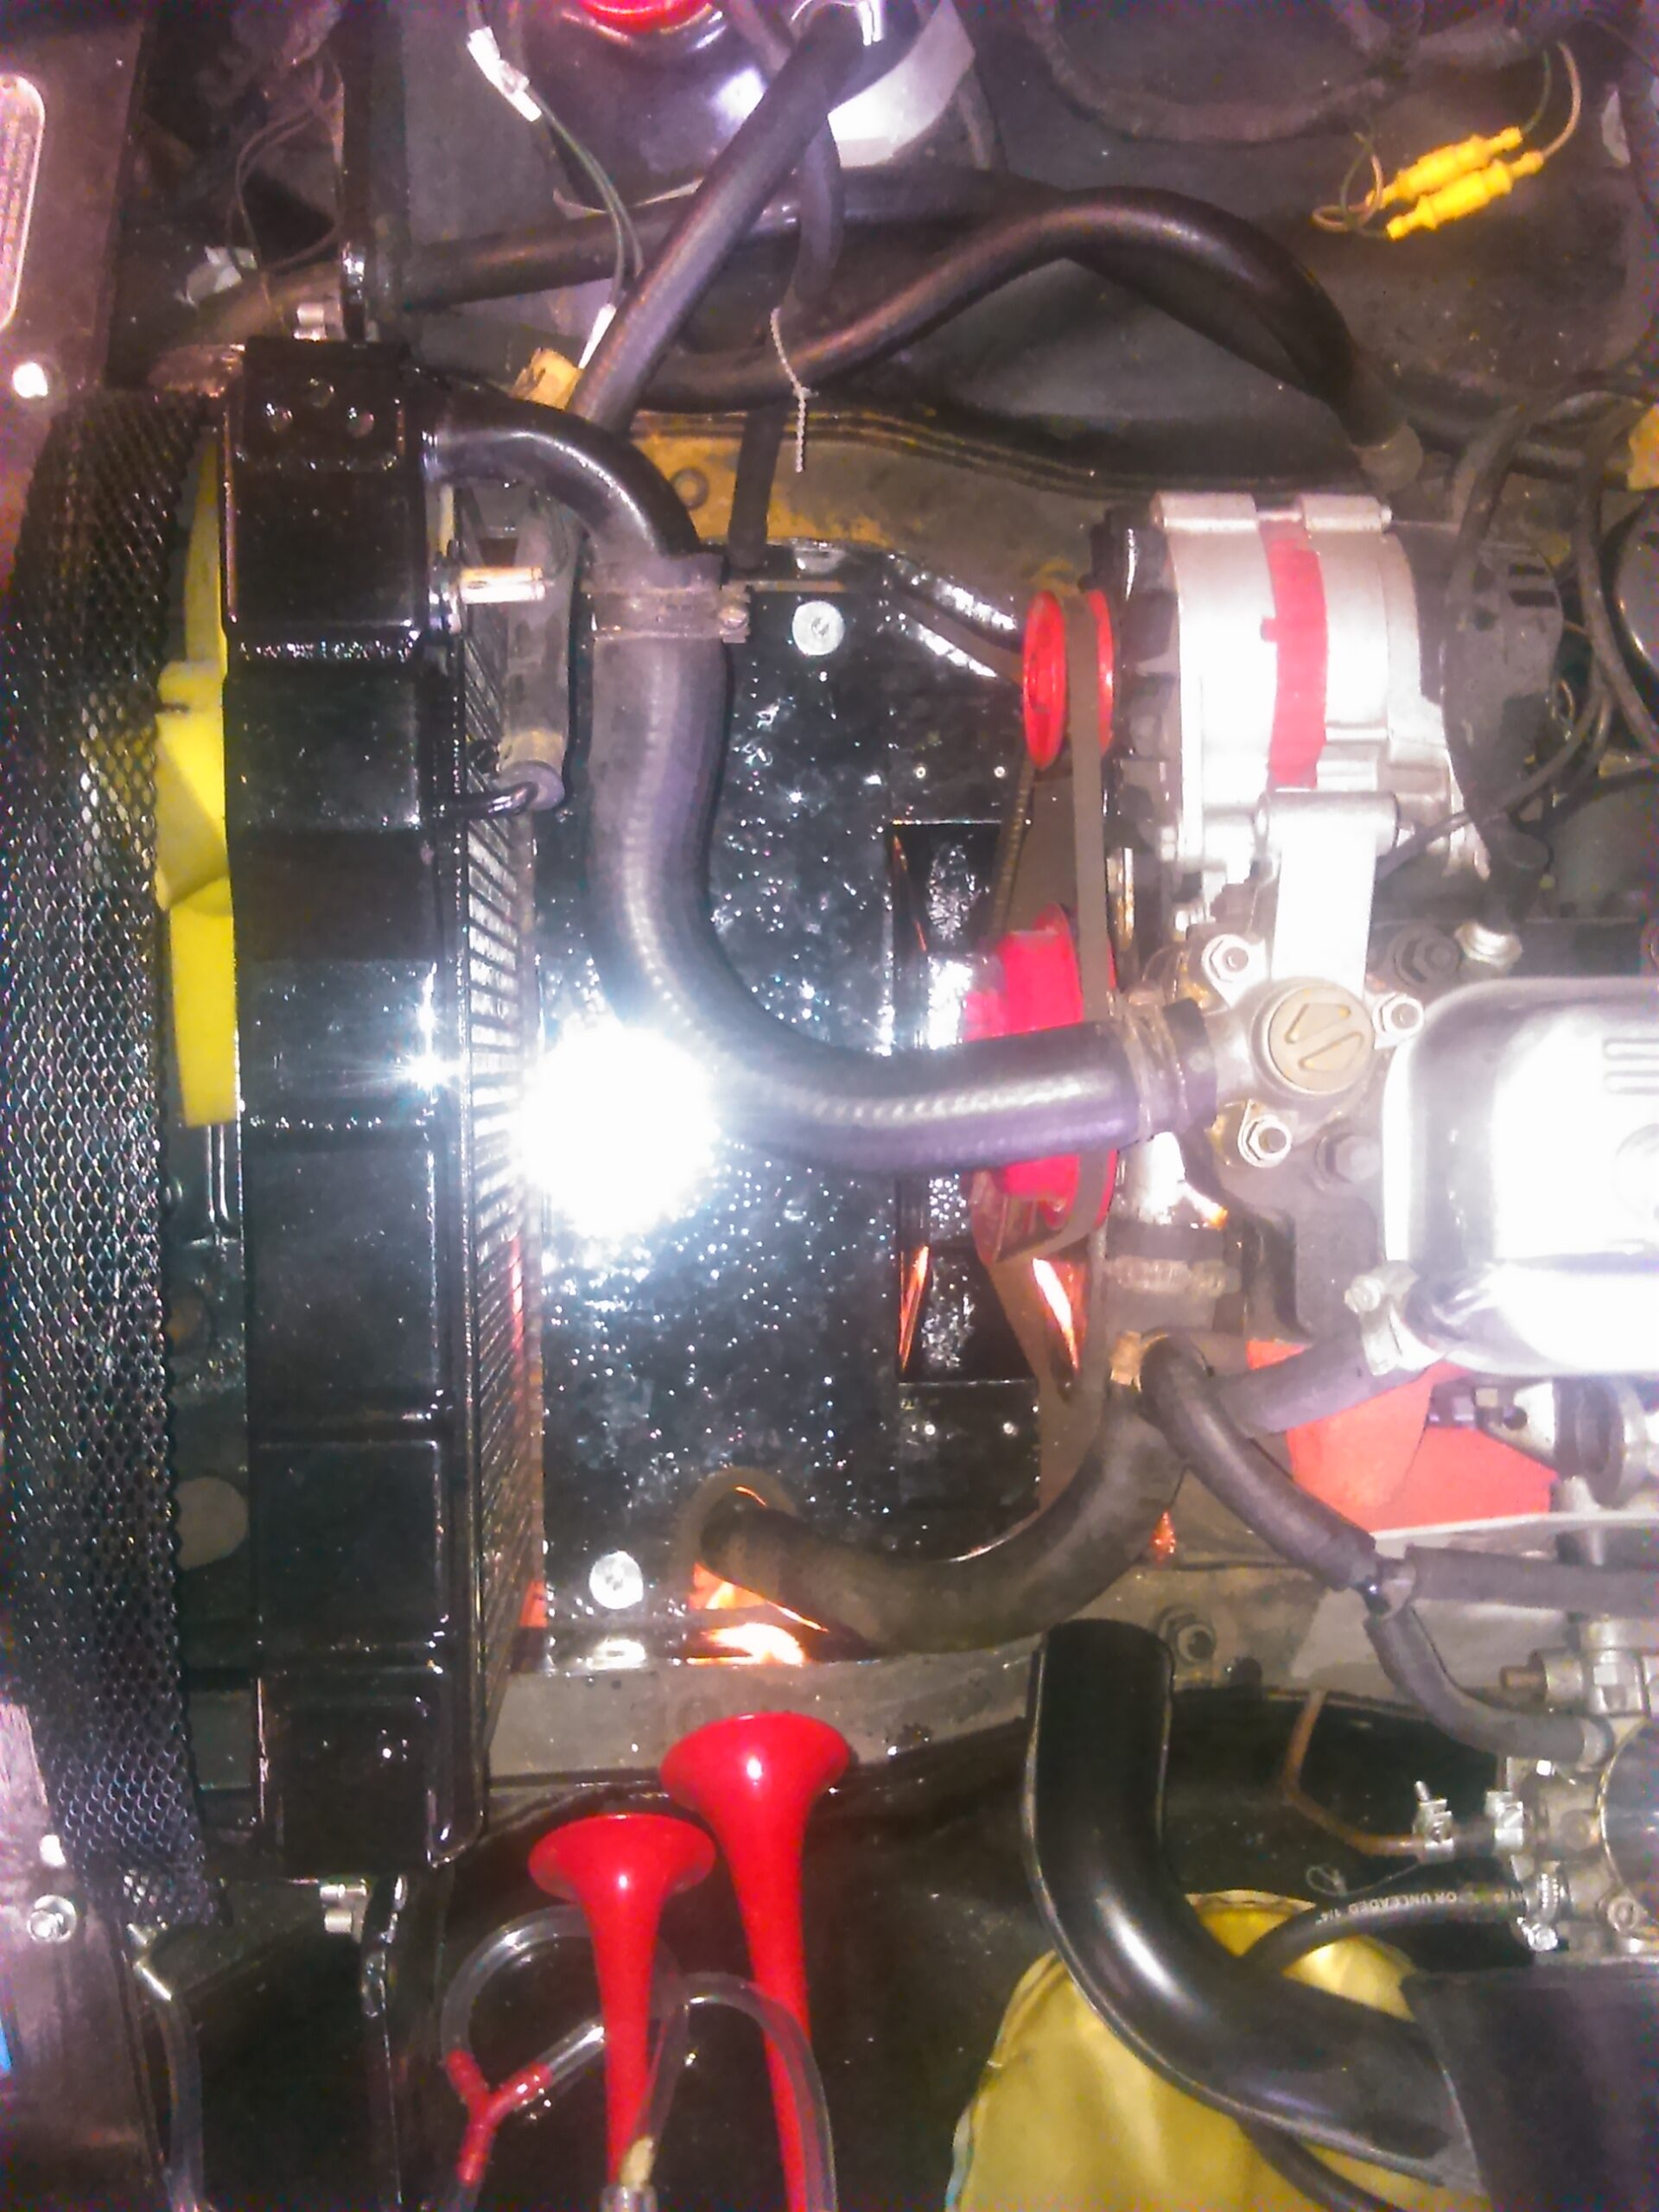
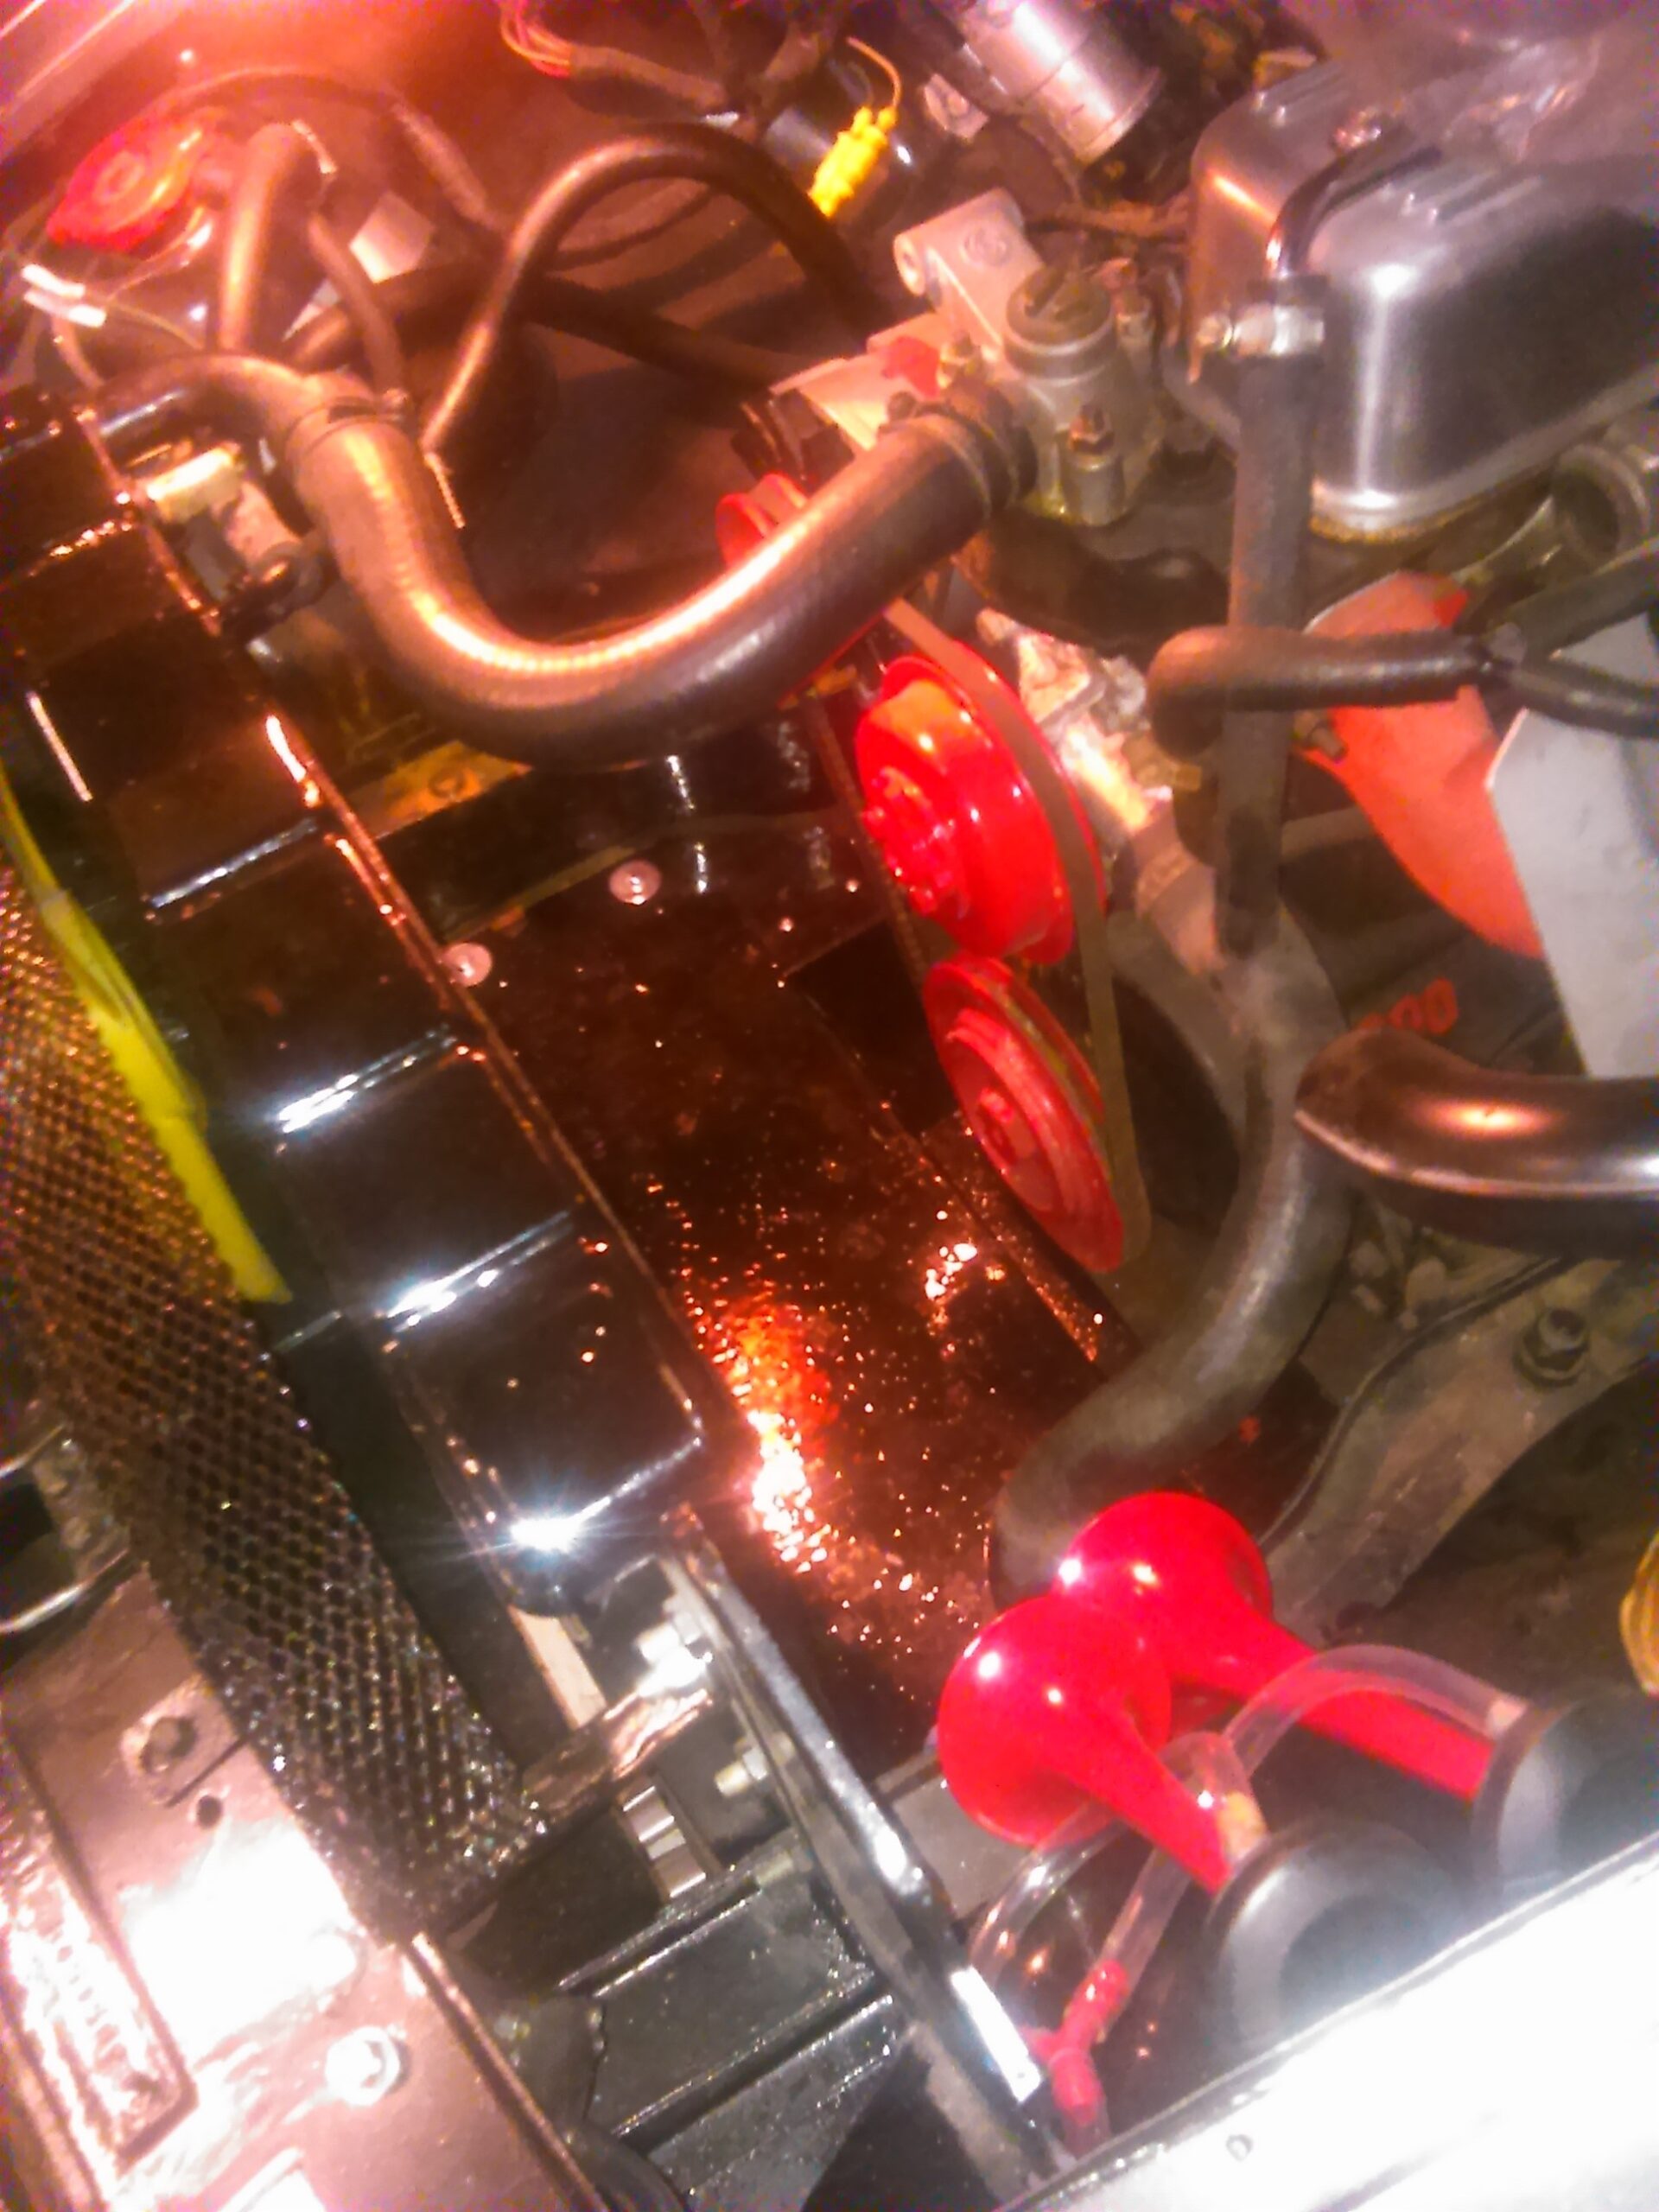
Trail Fit:
At this point, I decided to have a trial fit of the main plate, as any alterations required would be made very difficult if they were joined.
Important: double check the plate for no sharp edges, especially important for the hose cut outs!!!
Perhaps even put some PVC tape temporarily around the edges.
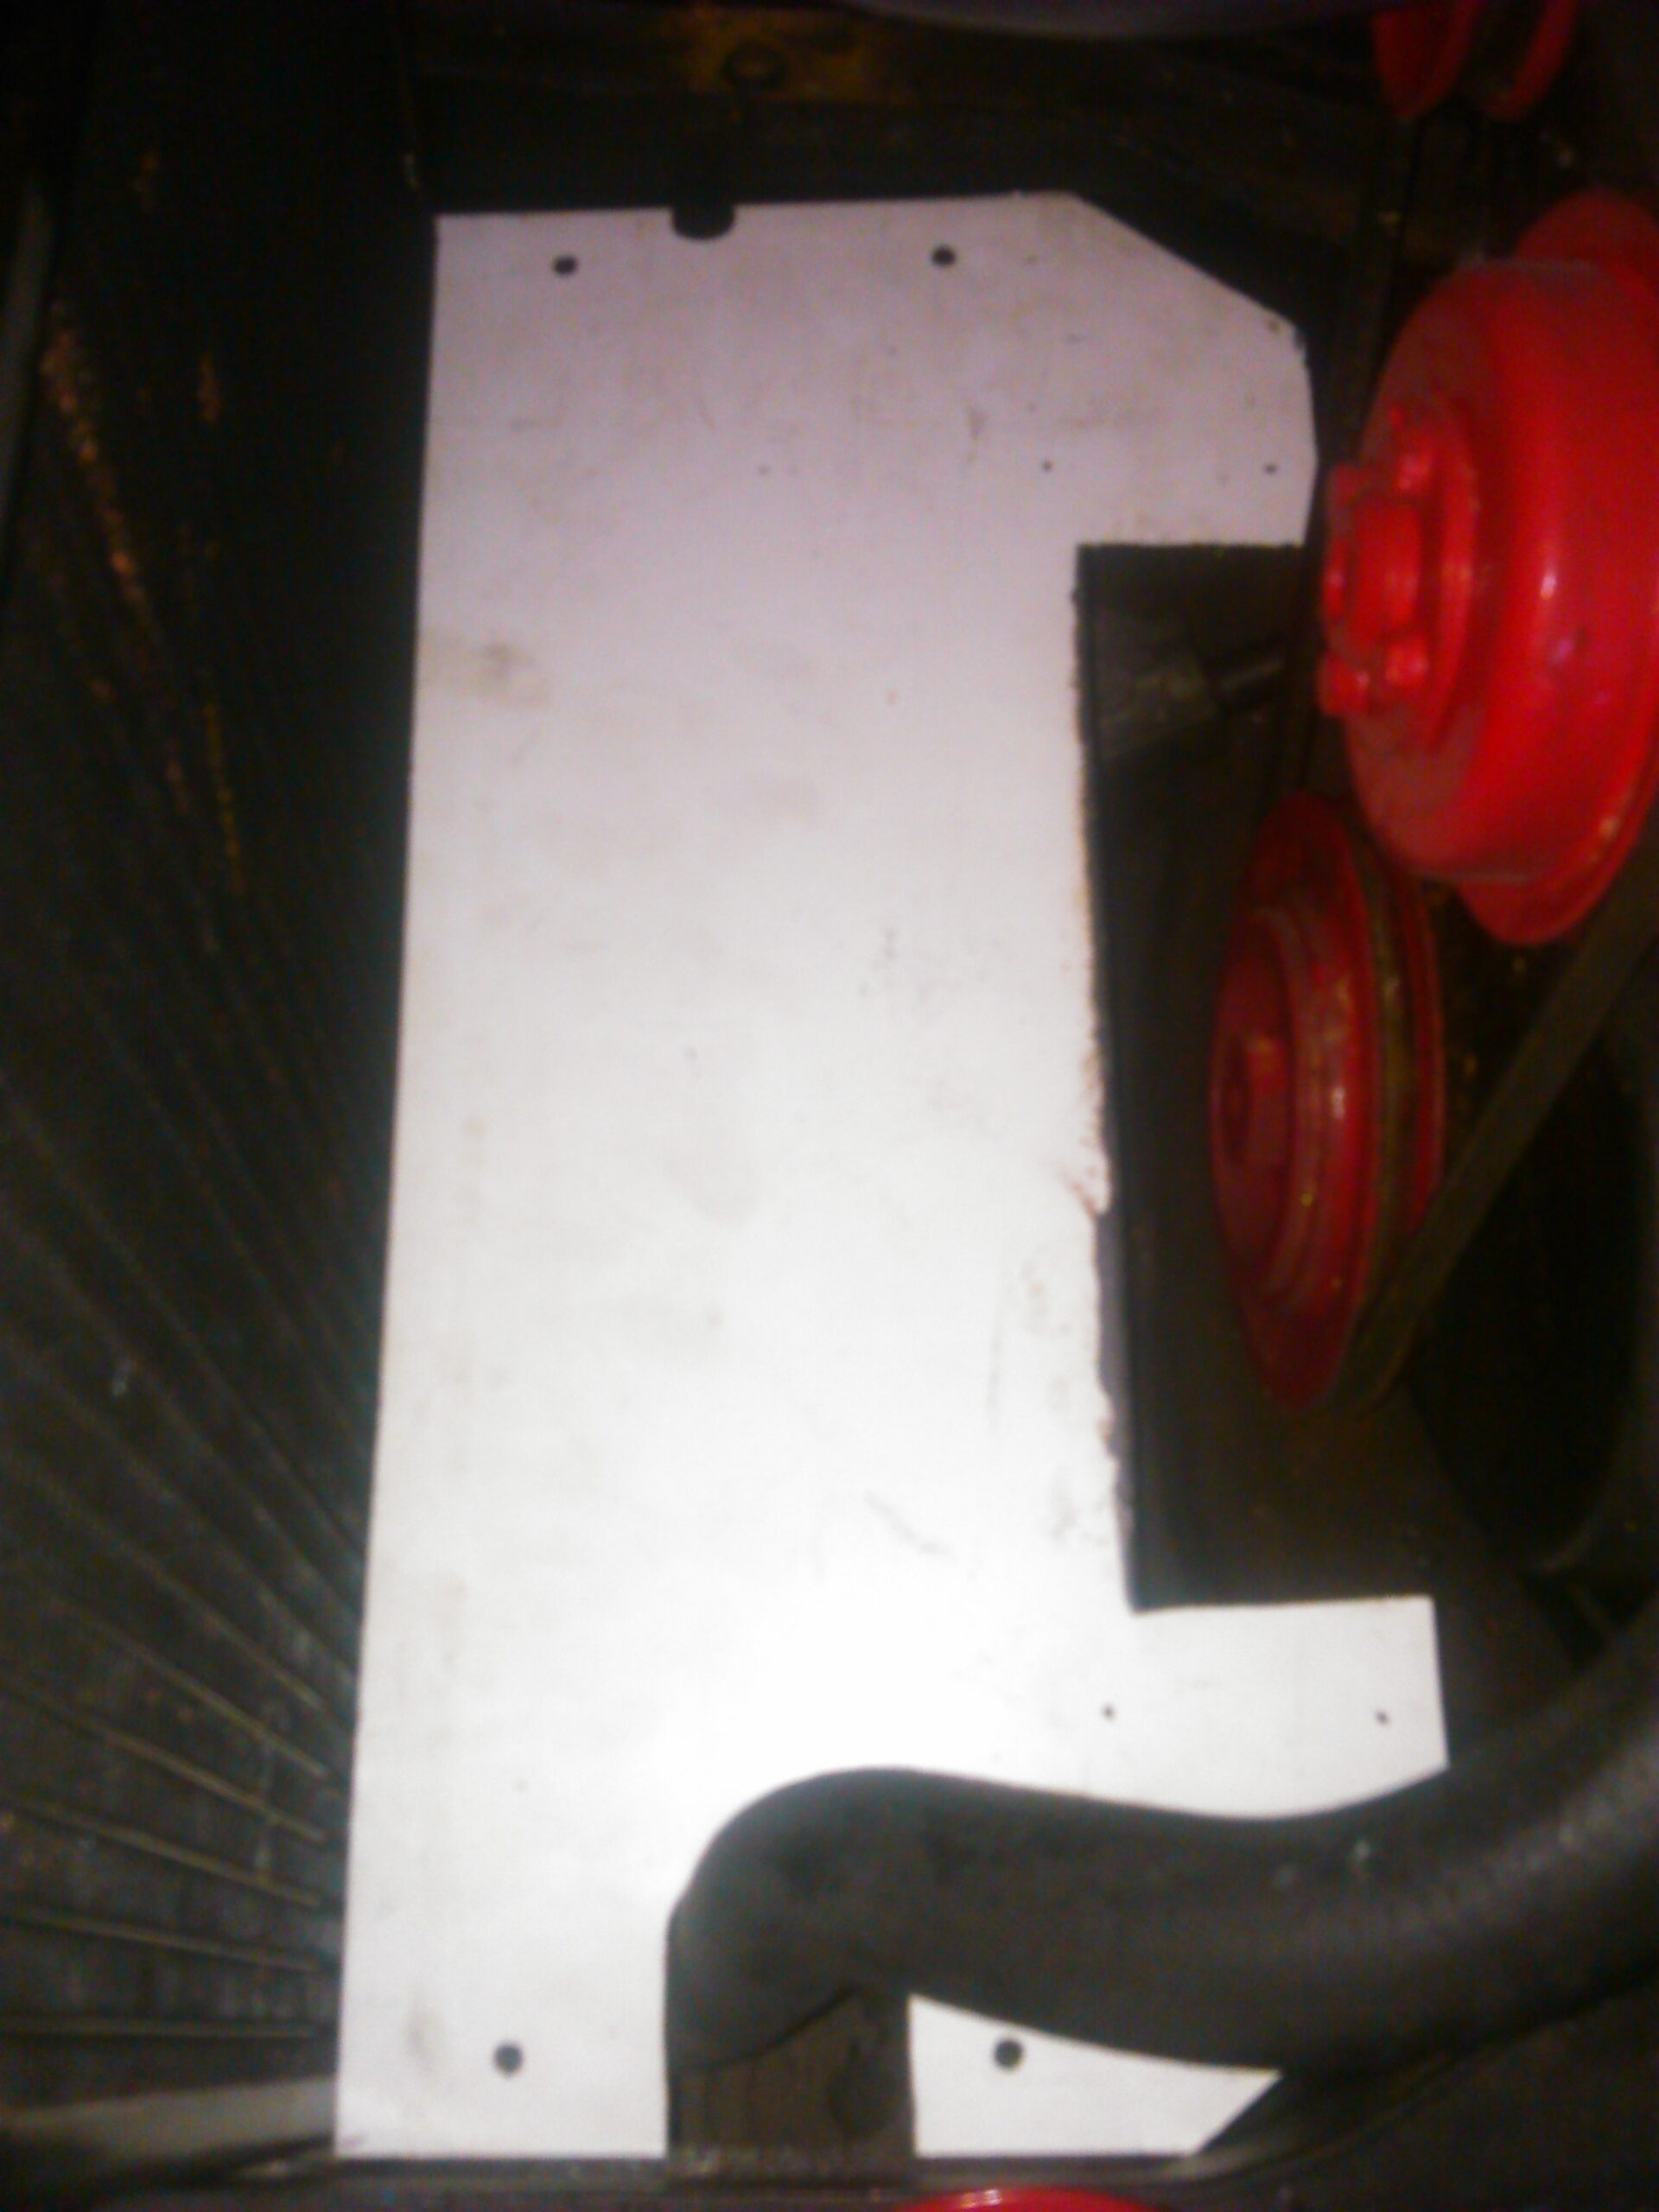


This was handy I was soon to find out, as it was a very tight fit. As you can see in the right hand photo, I found the corner above the coolant hose to be very tight up against the chassis member (Note: can’t remember if I mirrored this alteration to the opposite side or not).
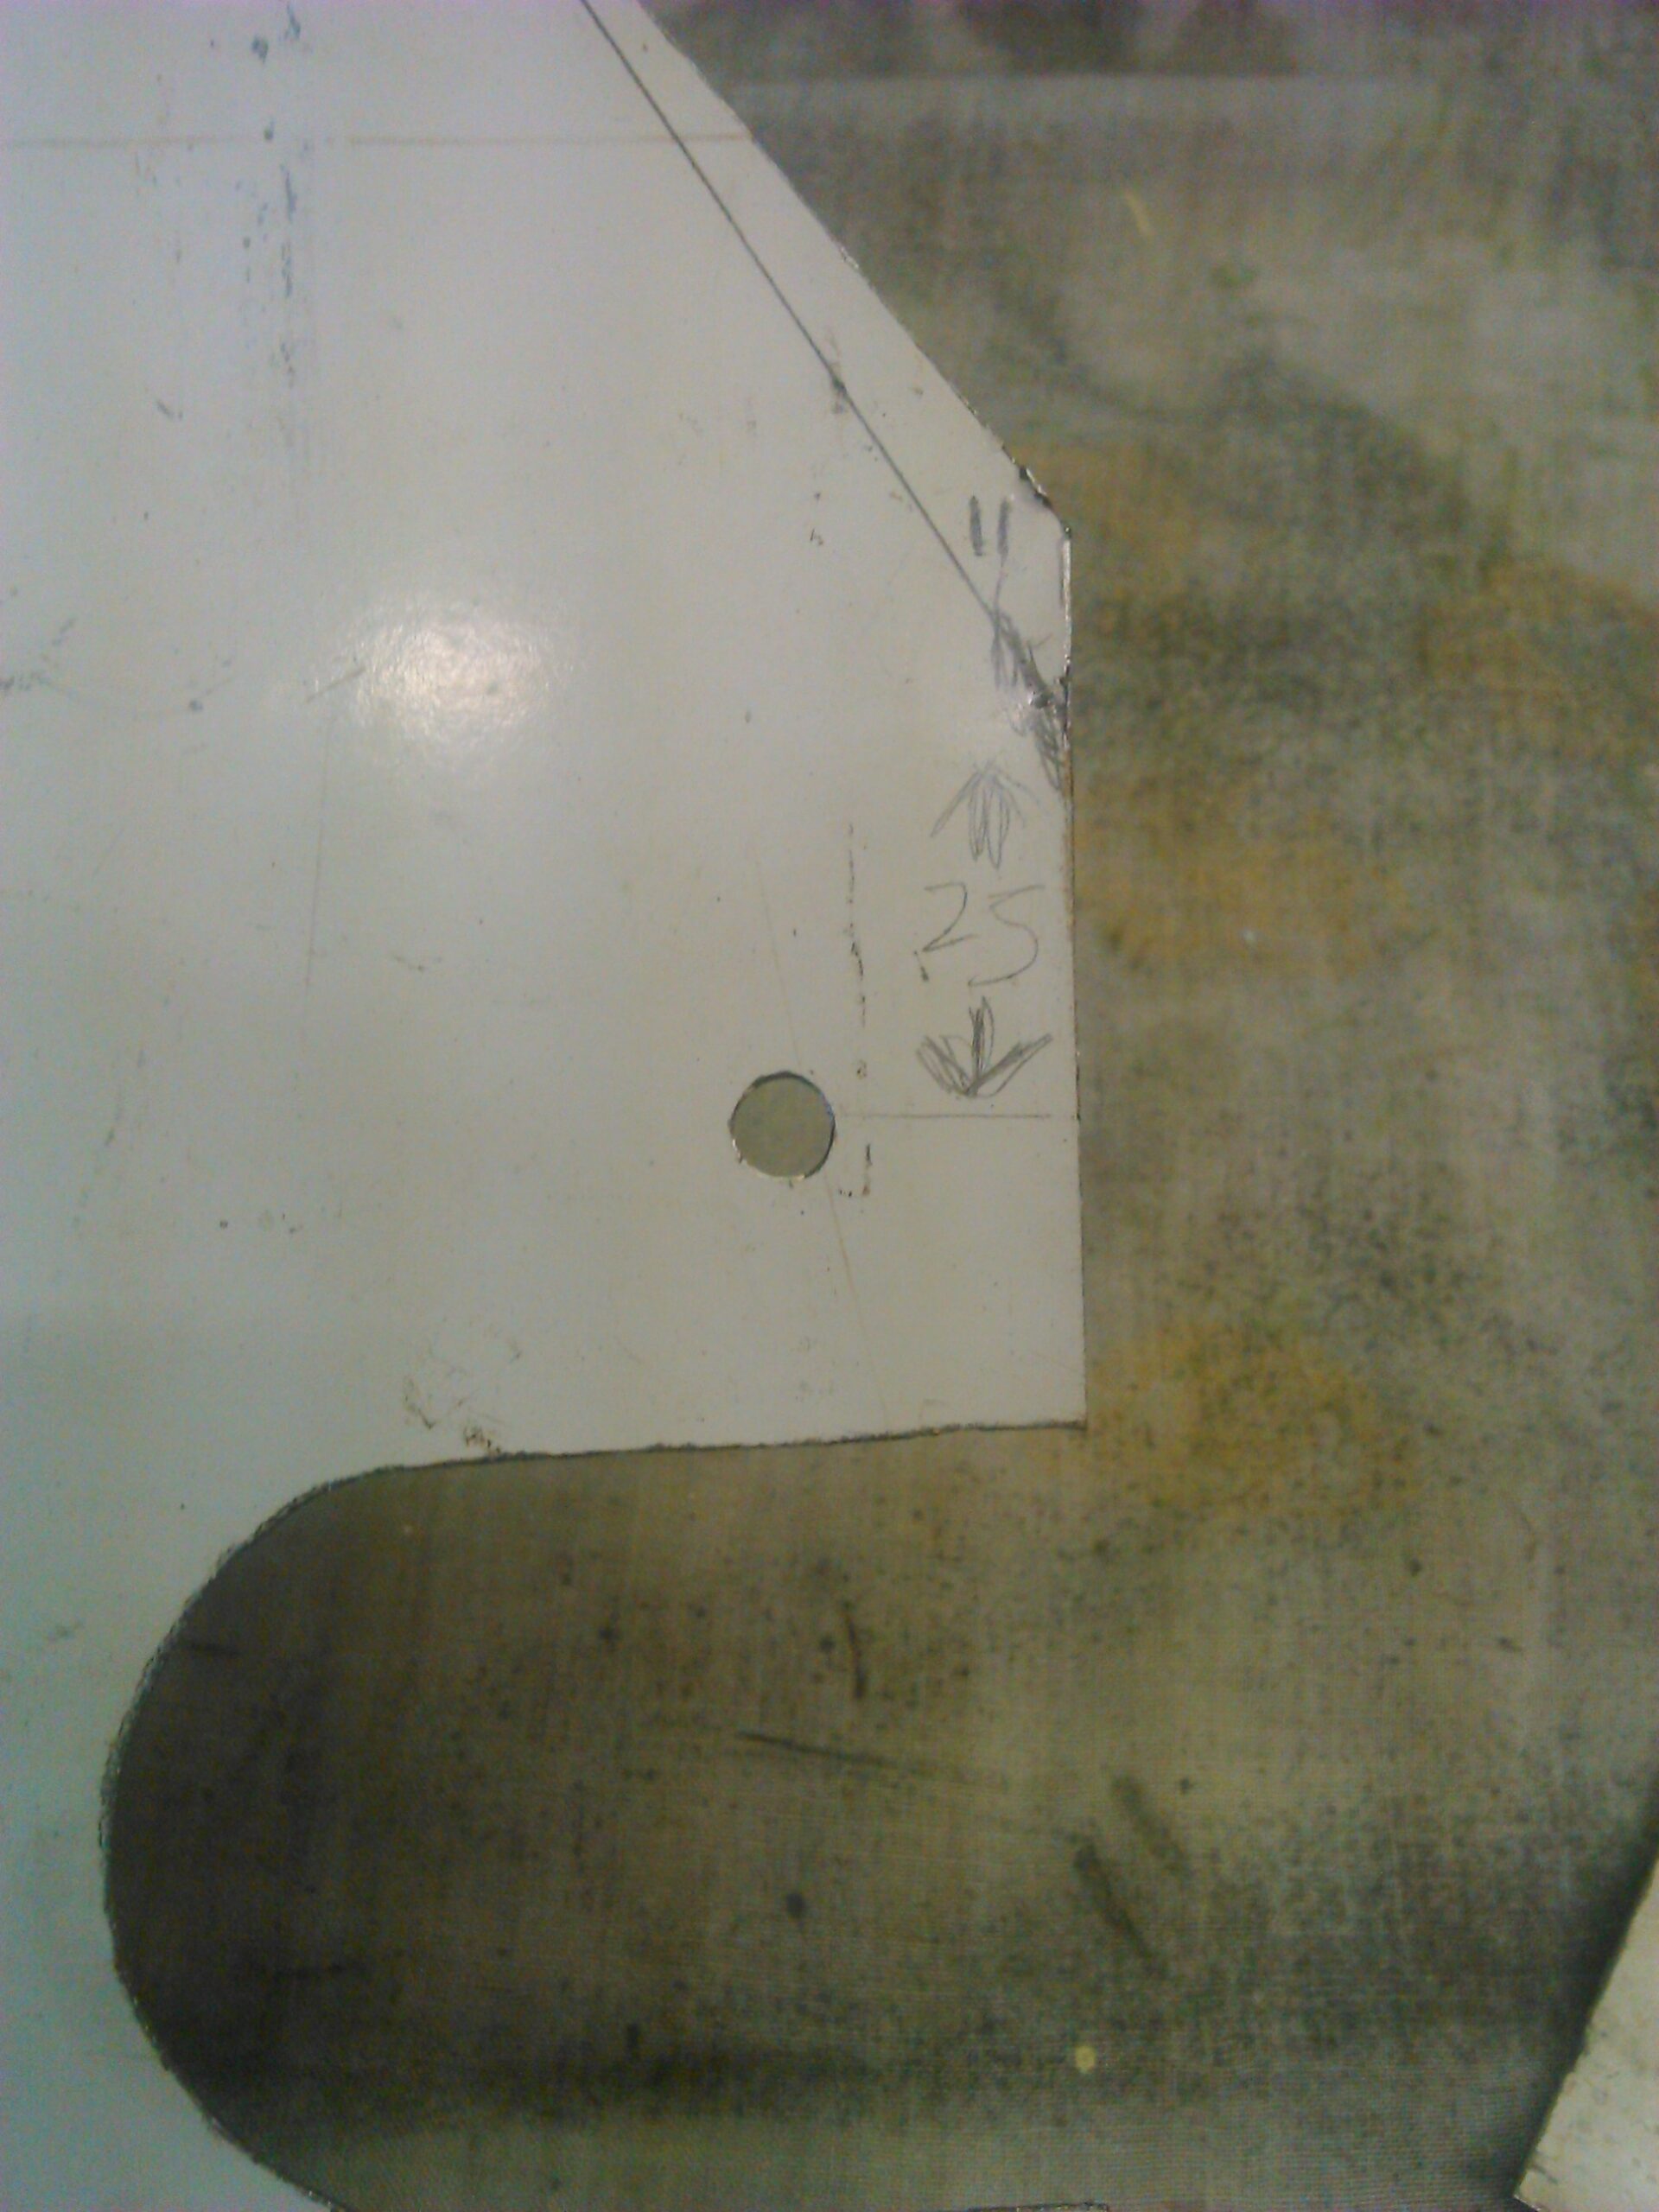
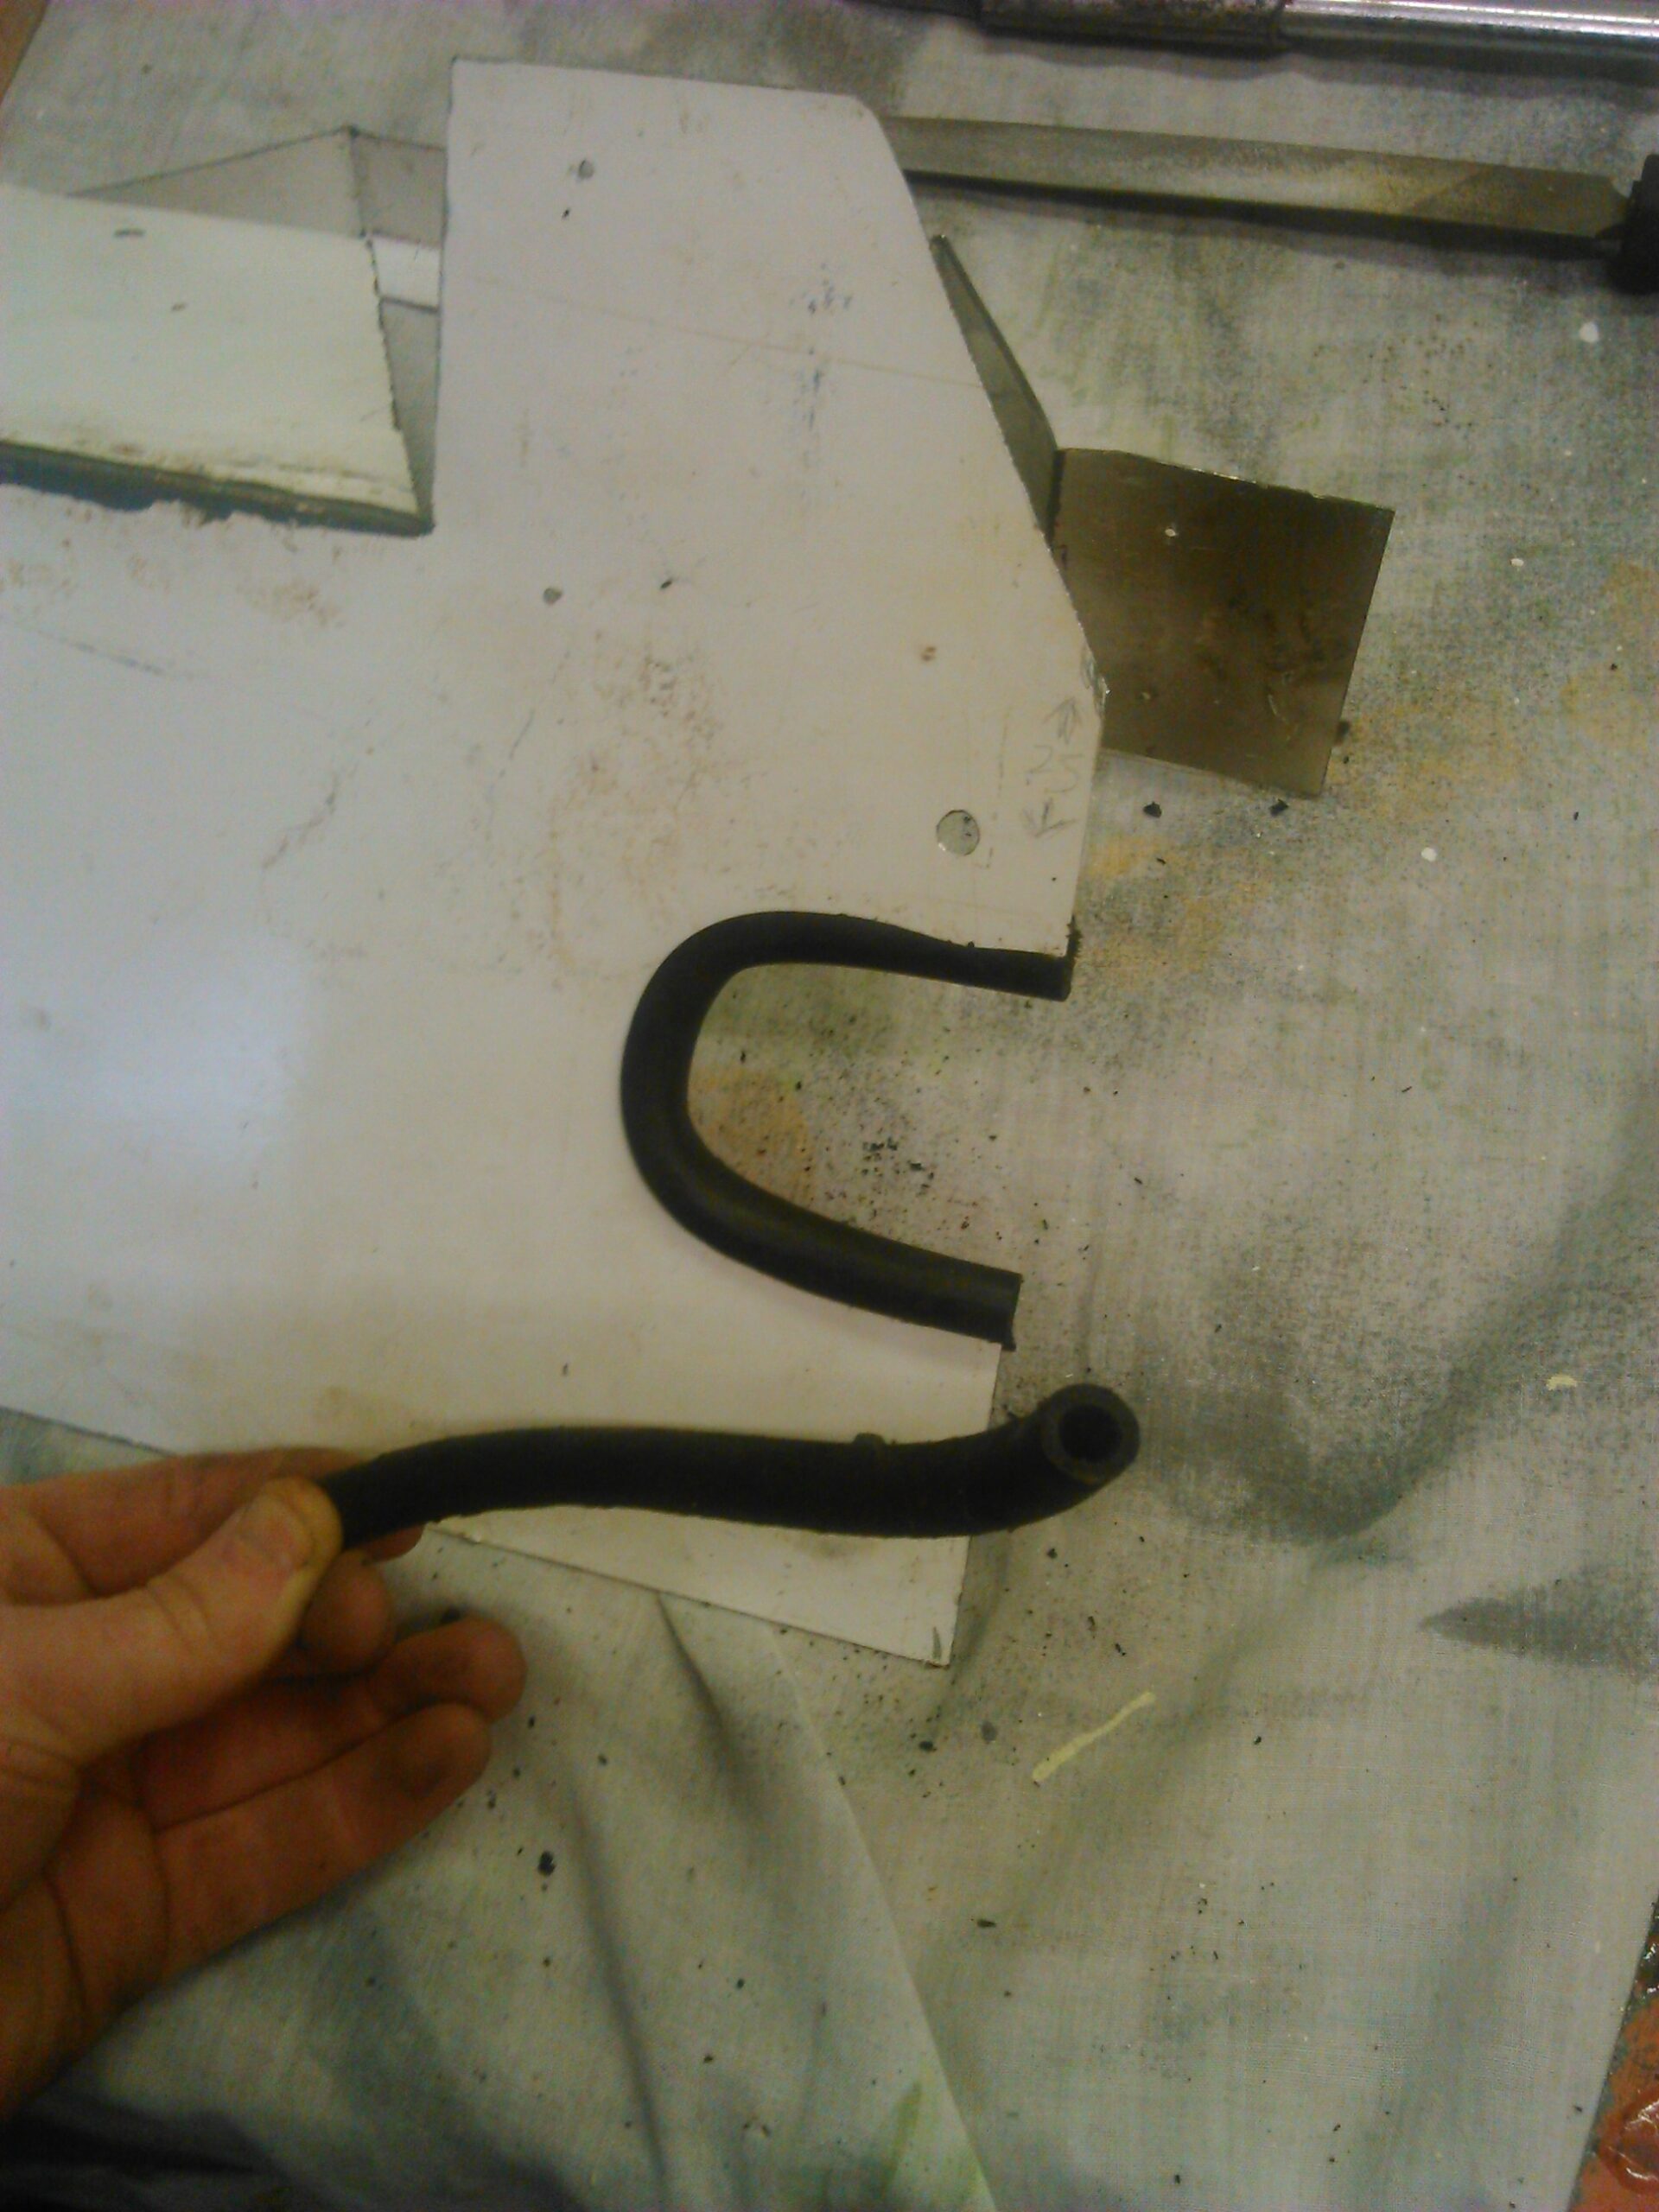
So I marked it up by eye, and trimmed off that diagonal edge to a lesser angle (as you can see from the photo below, the new corner now being 25mm from the nearest hole center).
Once trimmed, I took this opportunity to cut and slice a piece of old hose to line the edge of the coolant hose cut-out (sharp edge protector for the coolant hose).
Painting & Riveting:
The final stage of the actual making of the mud shield, a lick of paint, and riveting the two parts together.
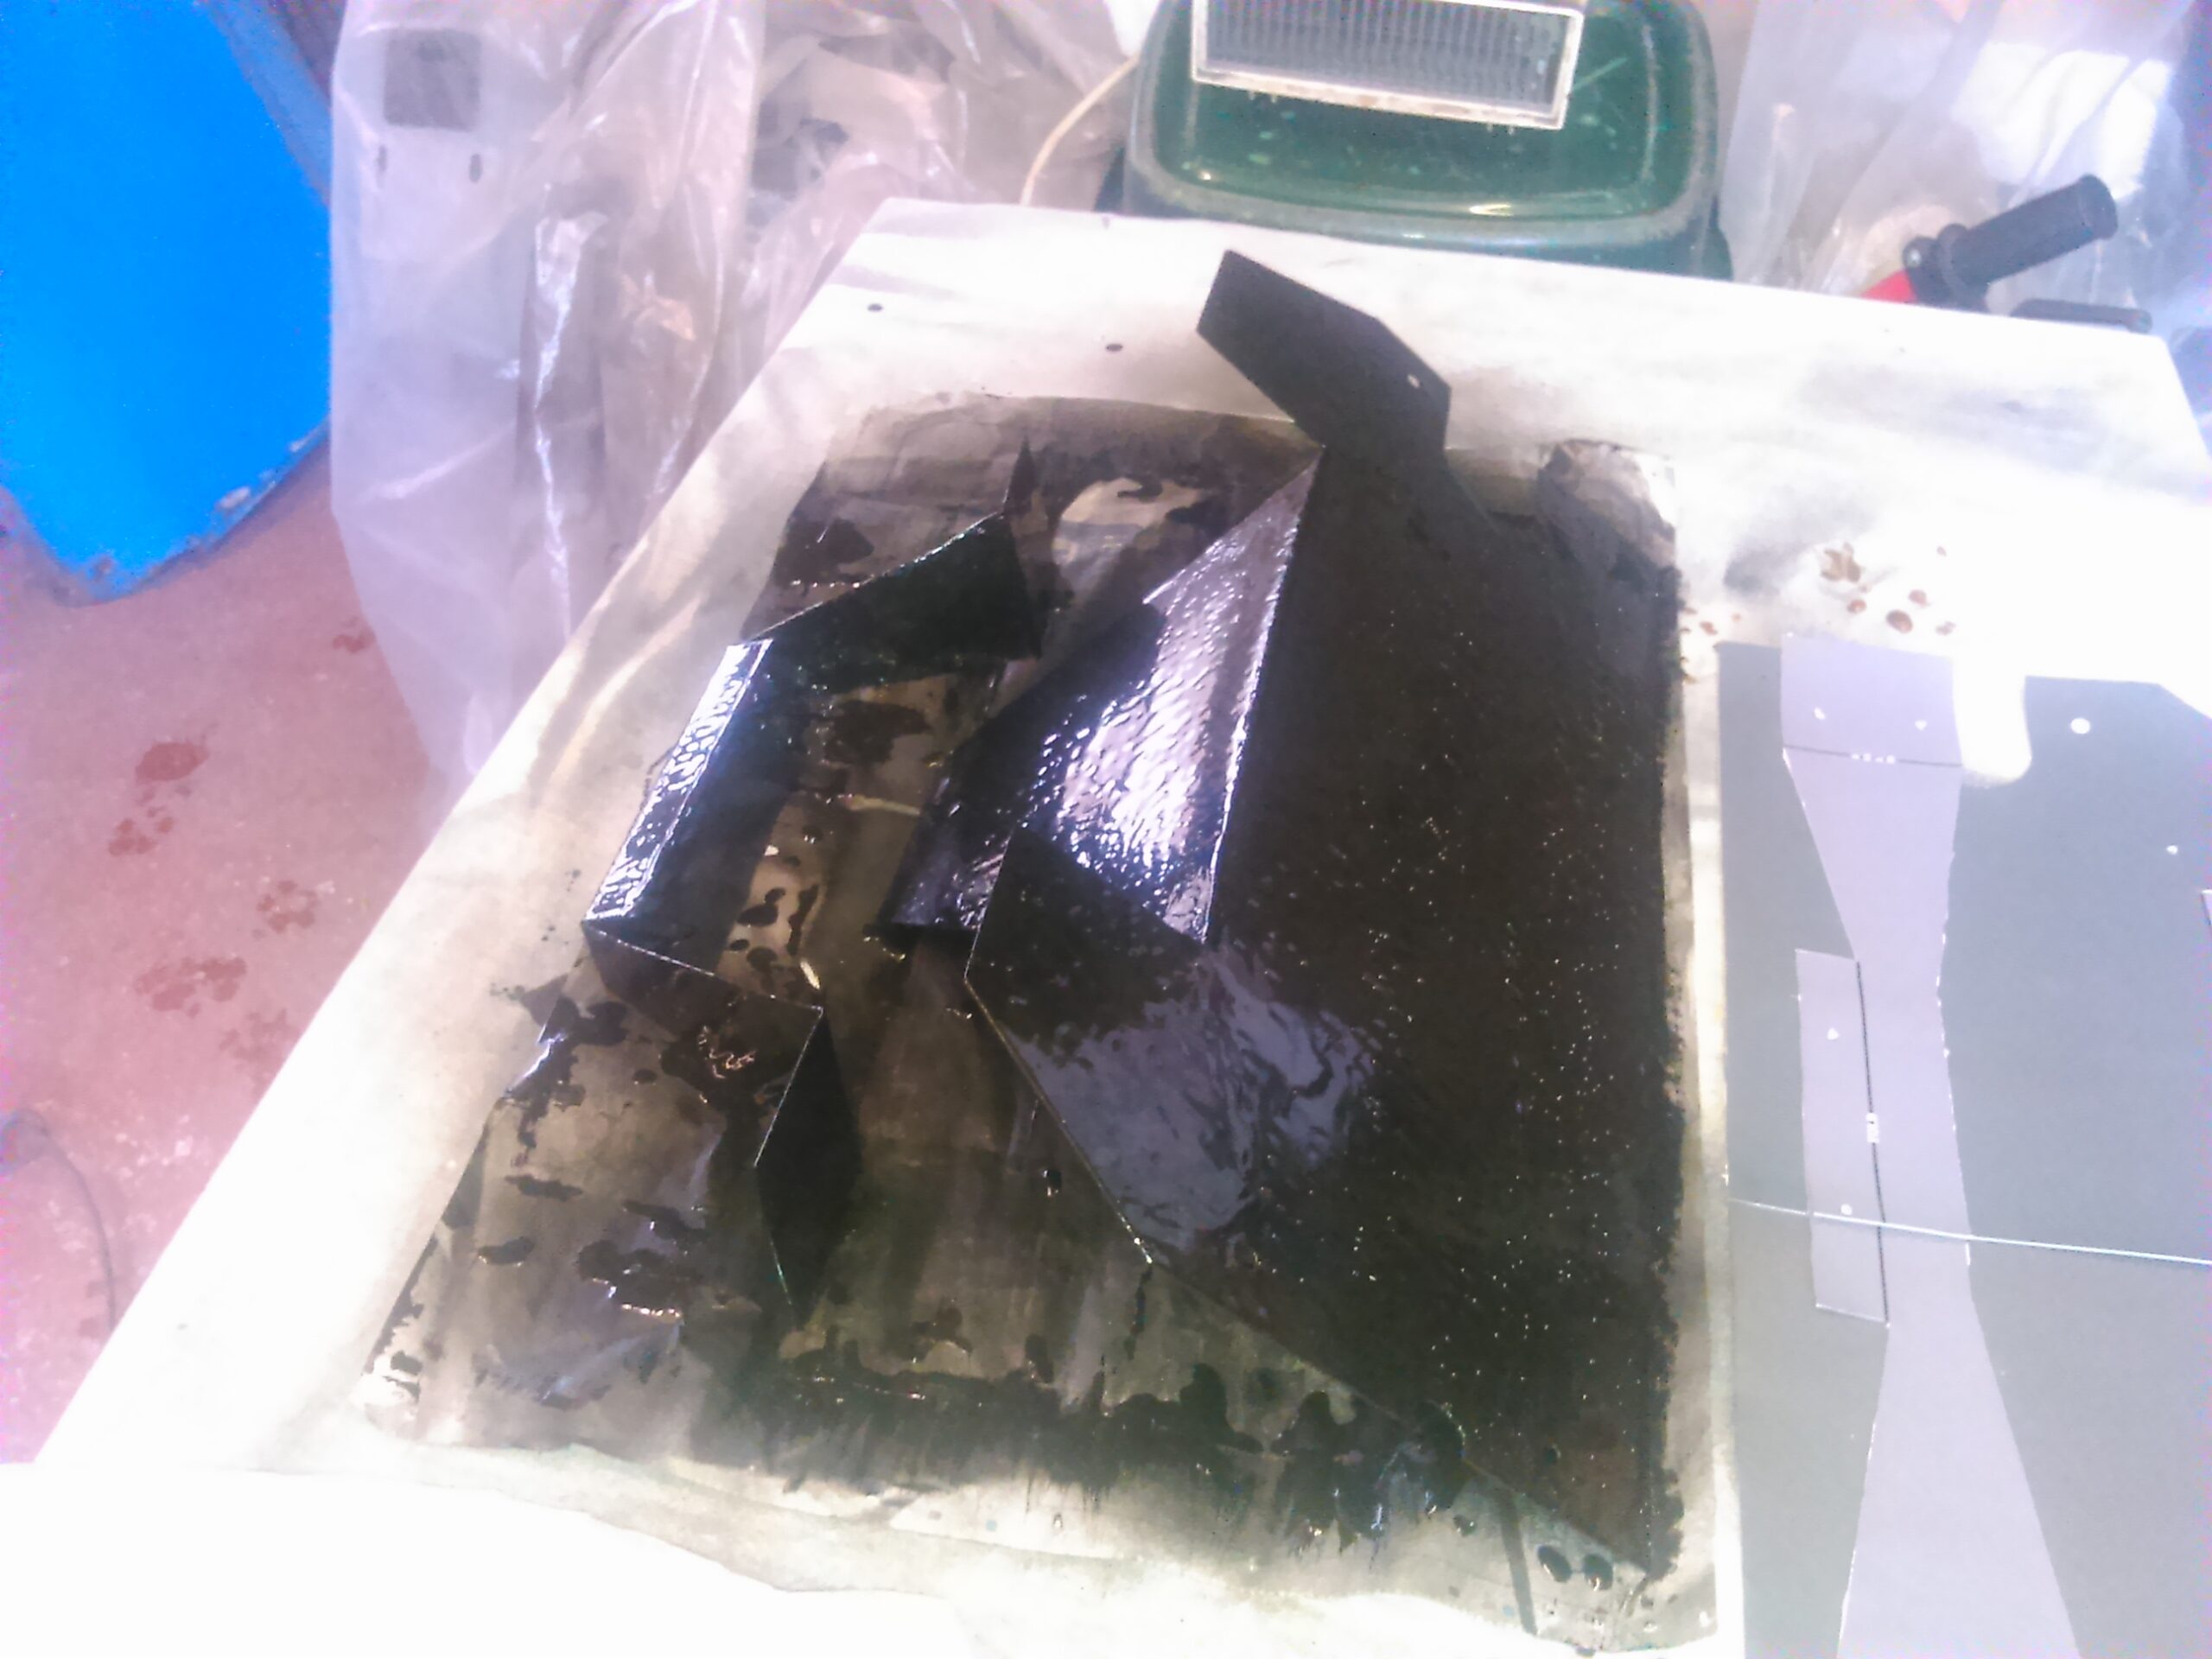
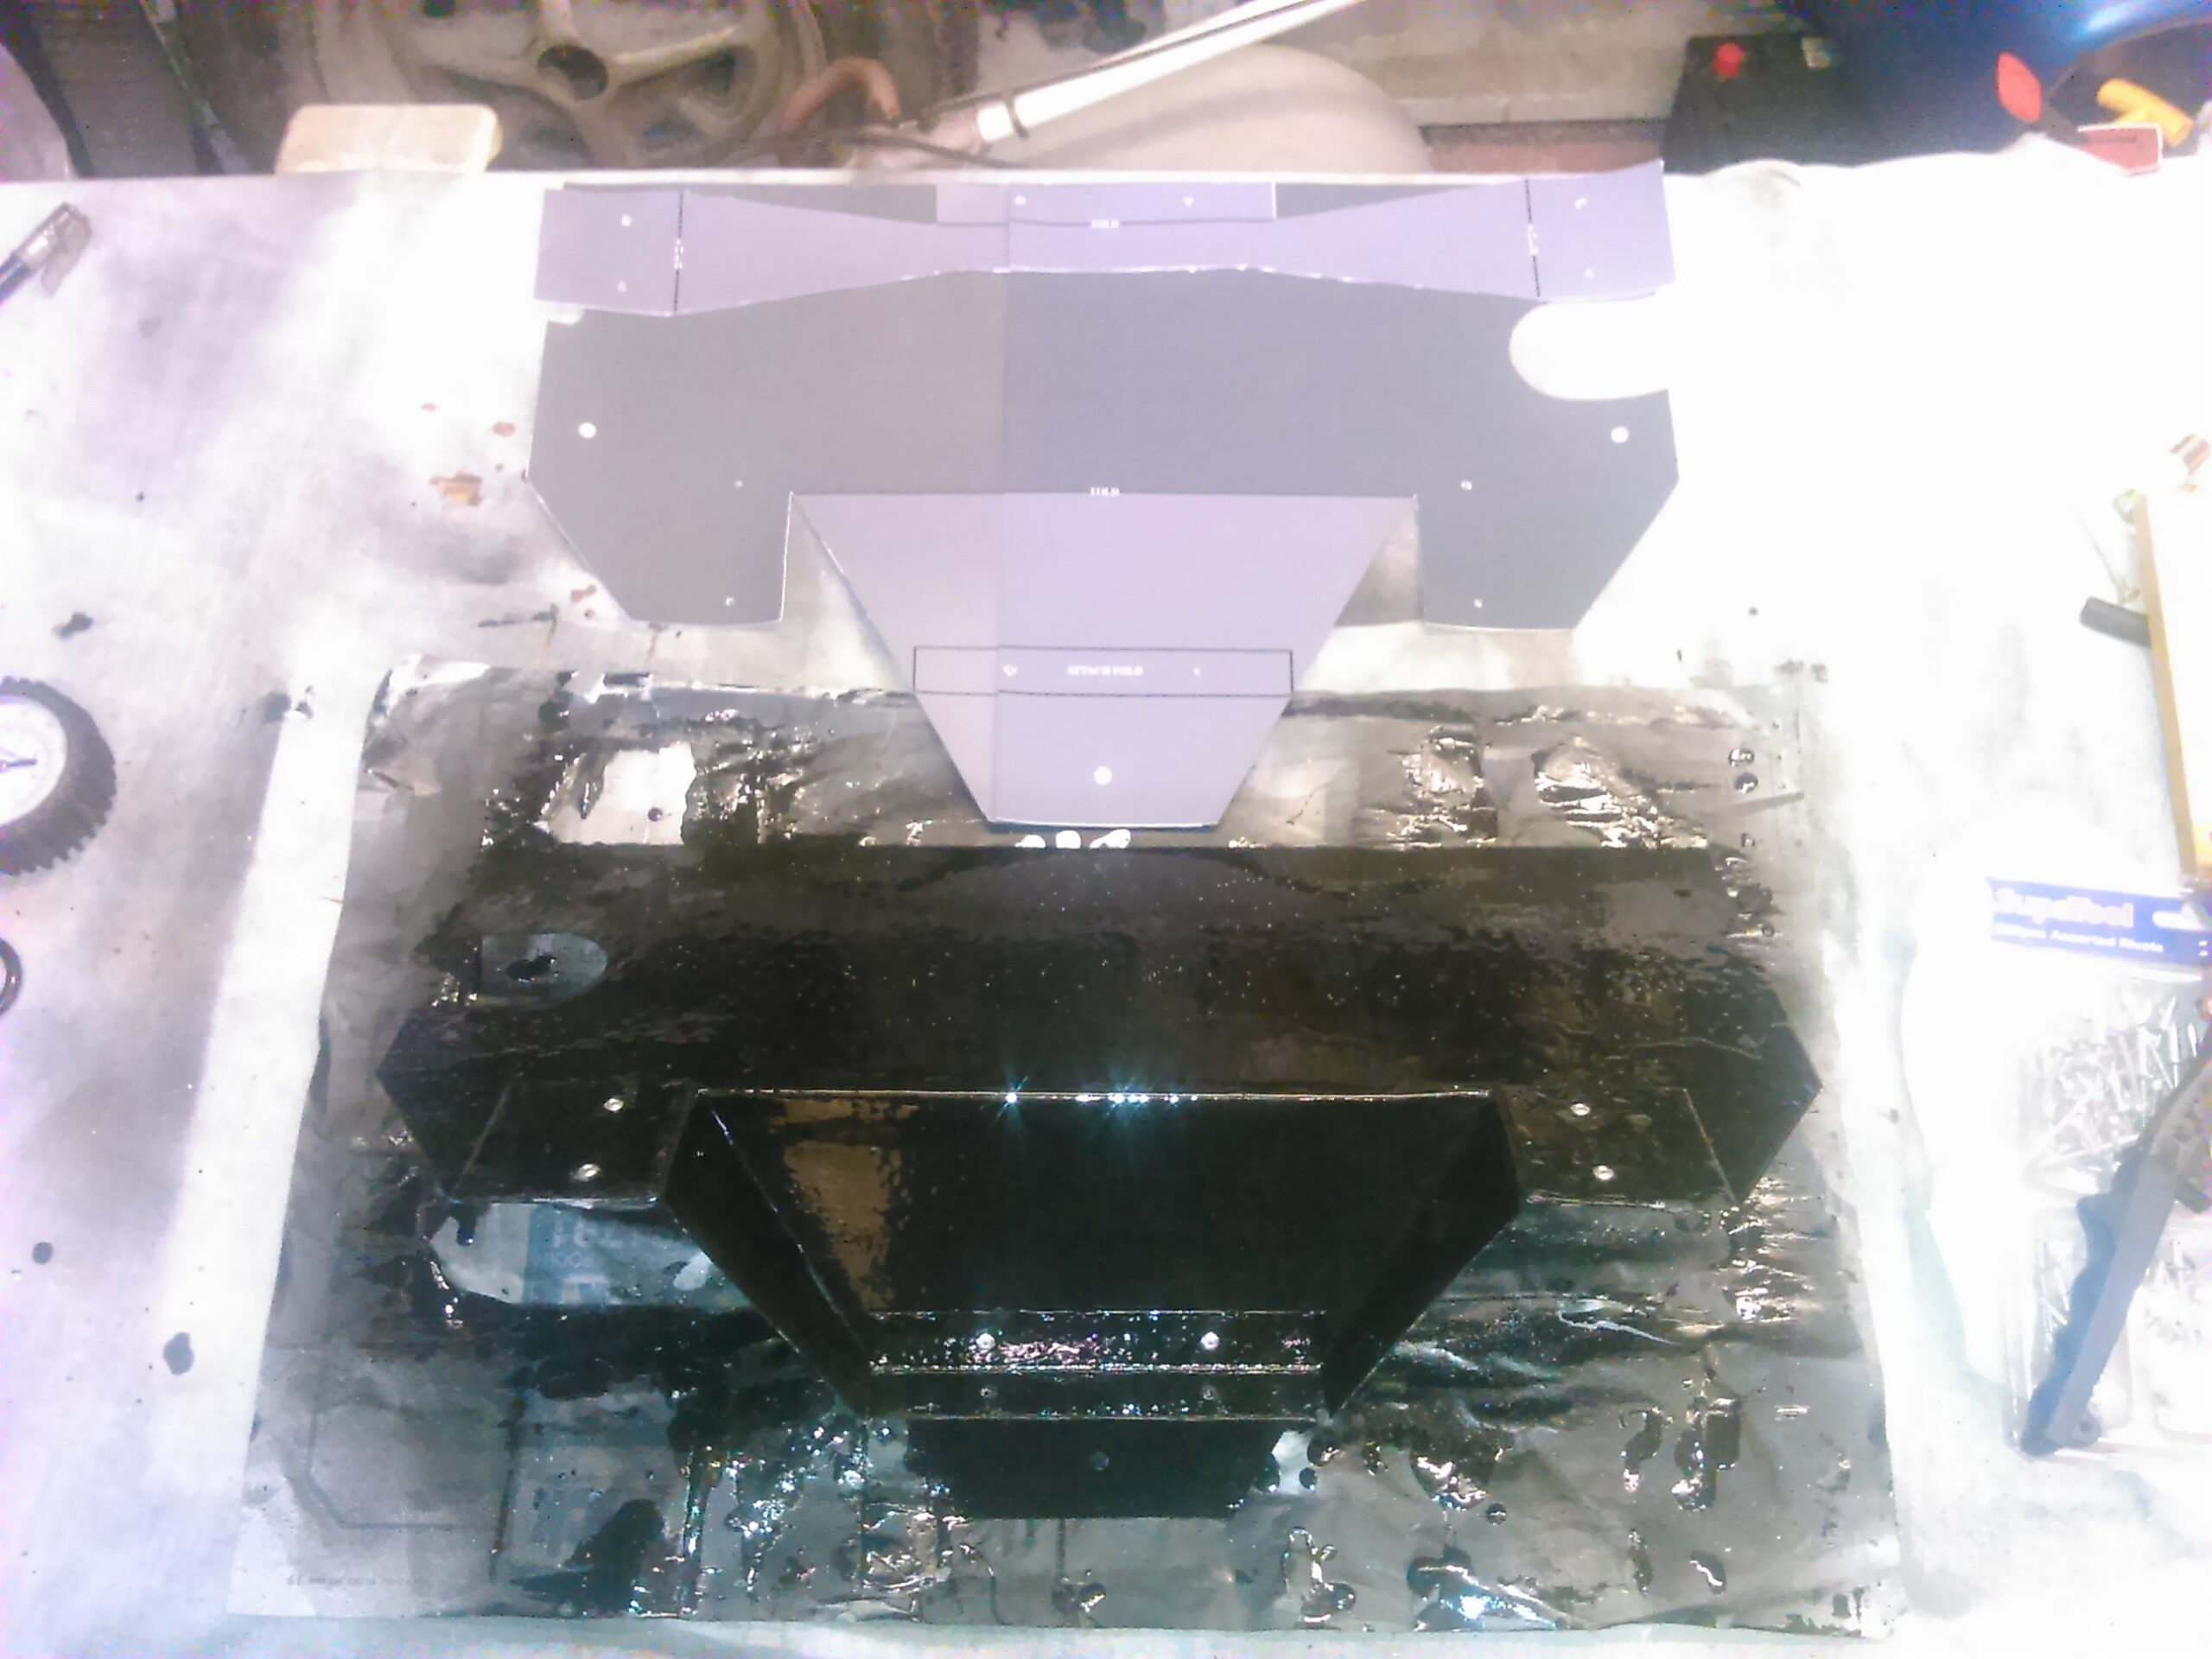
With this mud shield never to see the light of day again once fitted, I decided to opt for thick brush on Hammerite black paint, for best duration of protection hopefully.
I applied a single thick coat to both sides of both parts (yes as you will see, painting is certainly not my ‘cup of tea’, haha!)
Then once the paint had dried and hardened for a couple of days, I simply riveted the two parts together.

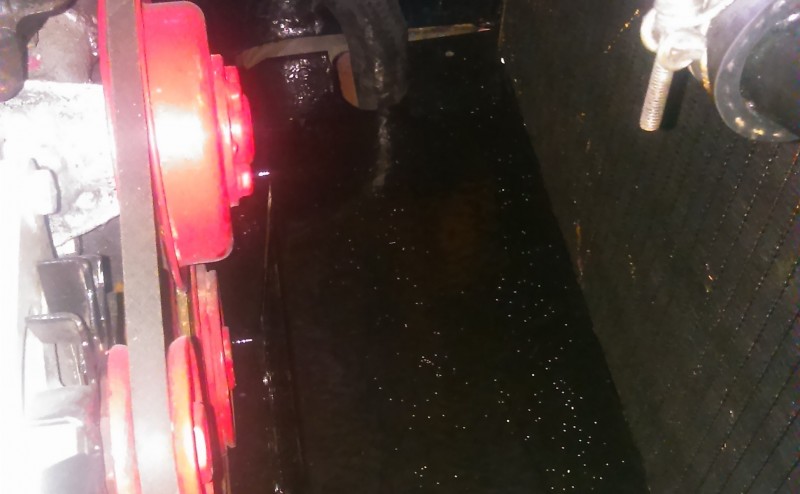
Re-discovered one final job required before fitting:
Due to the old original cardboard / composite mud shield simply rotting off over the years, the fixing screws/rivets were still left behind in the small mounting plates attached to the two side chassis members, plus also one underneath the car on the cross-member.
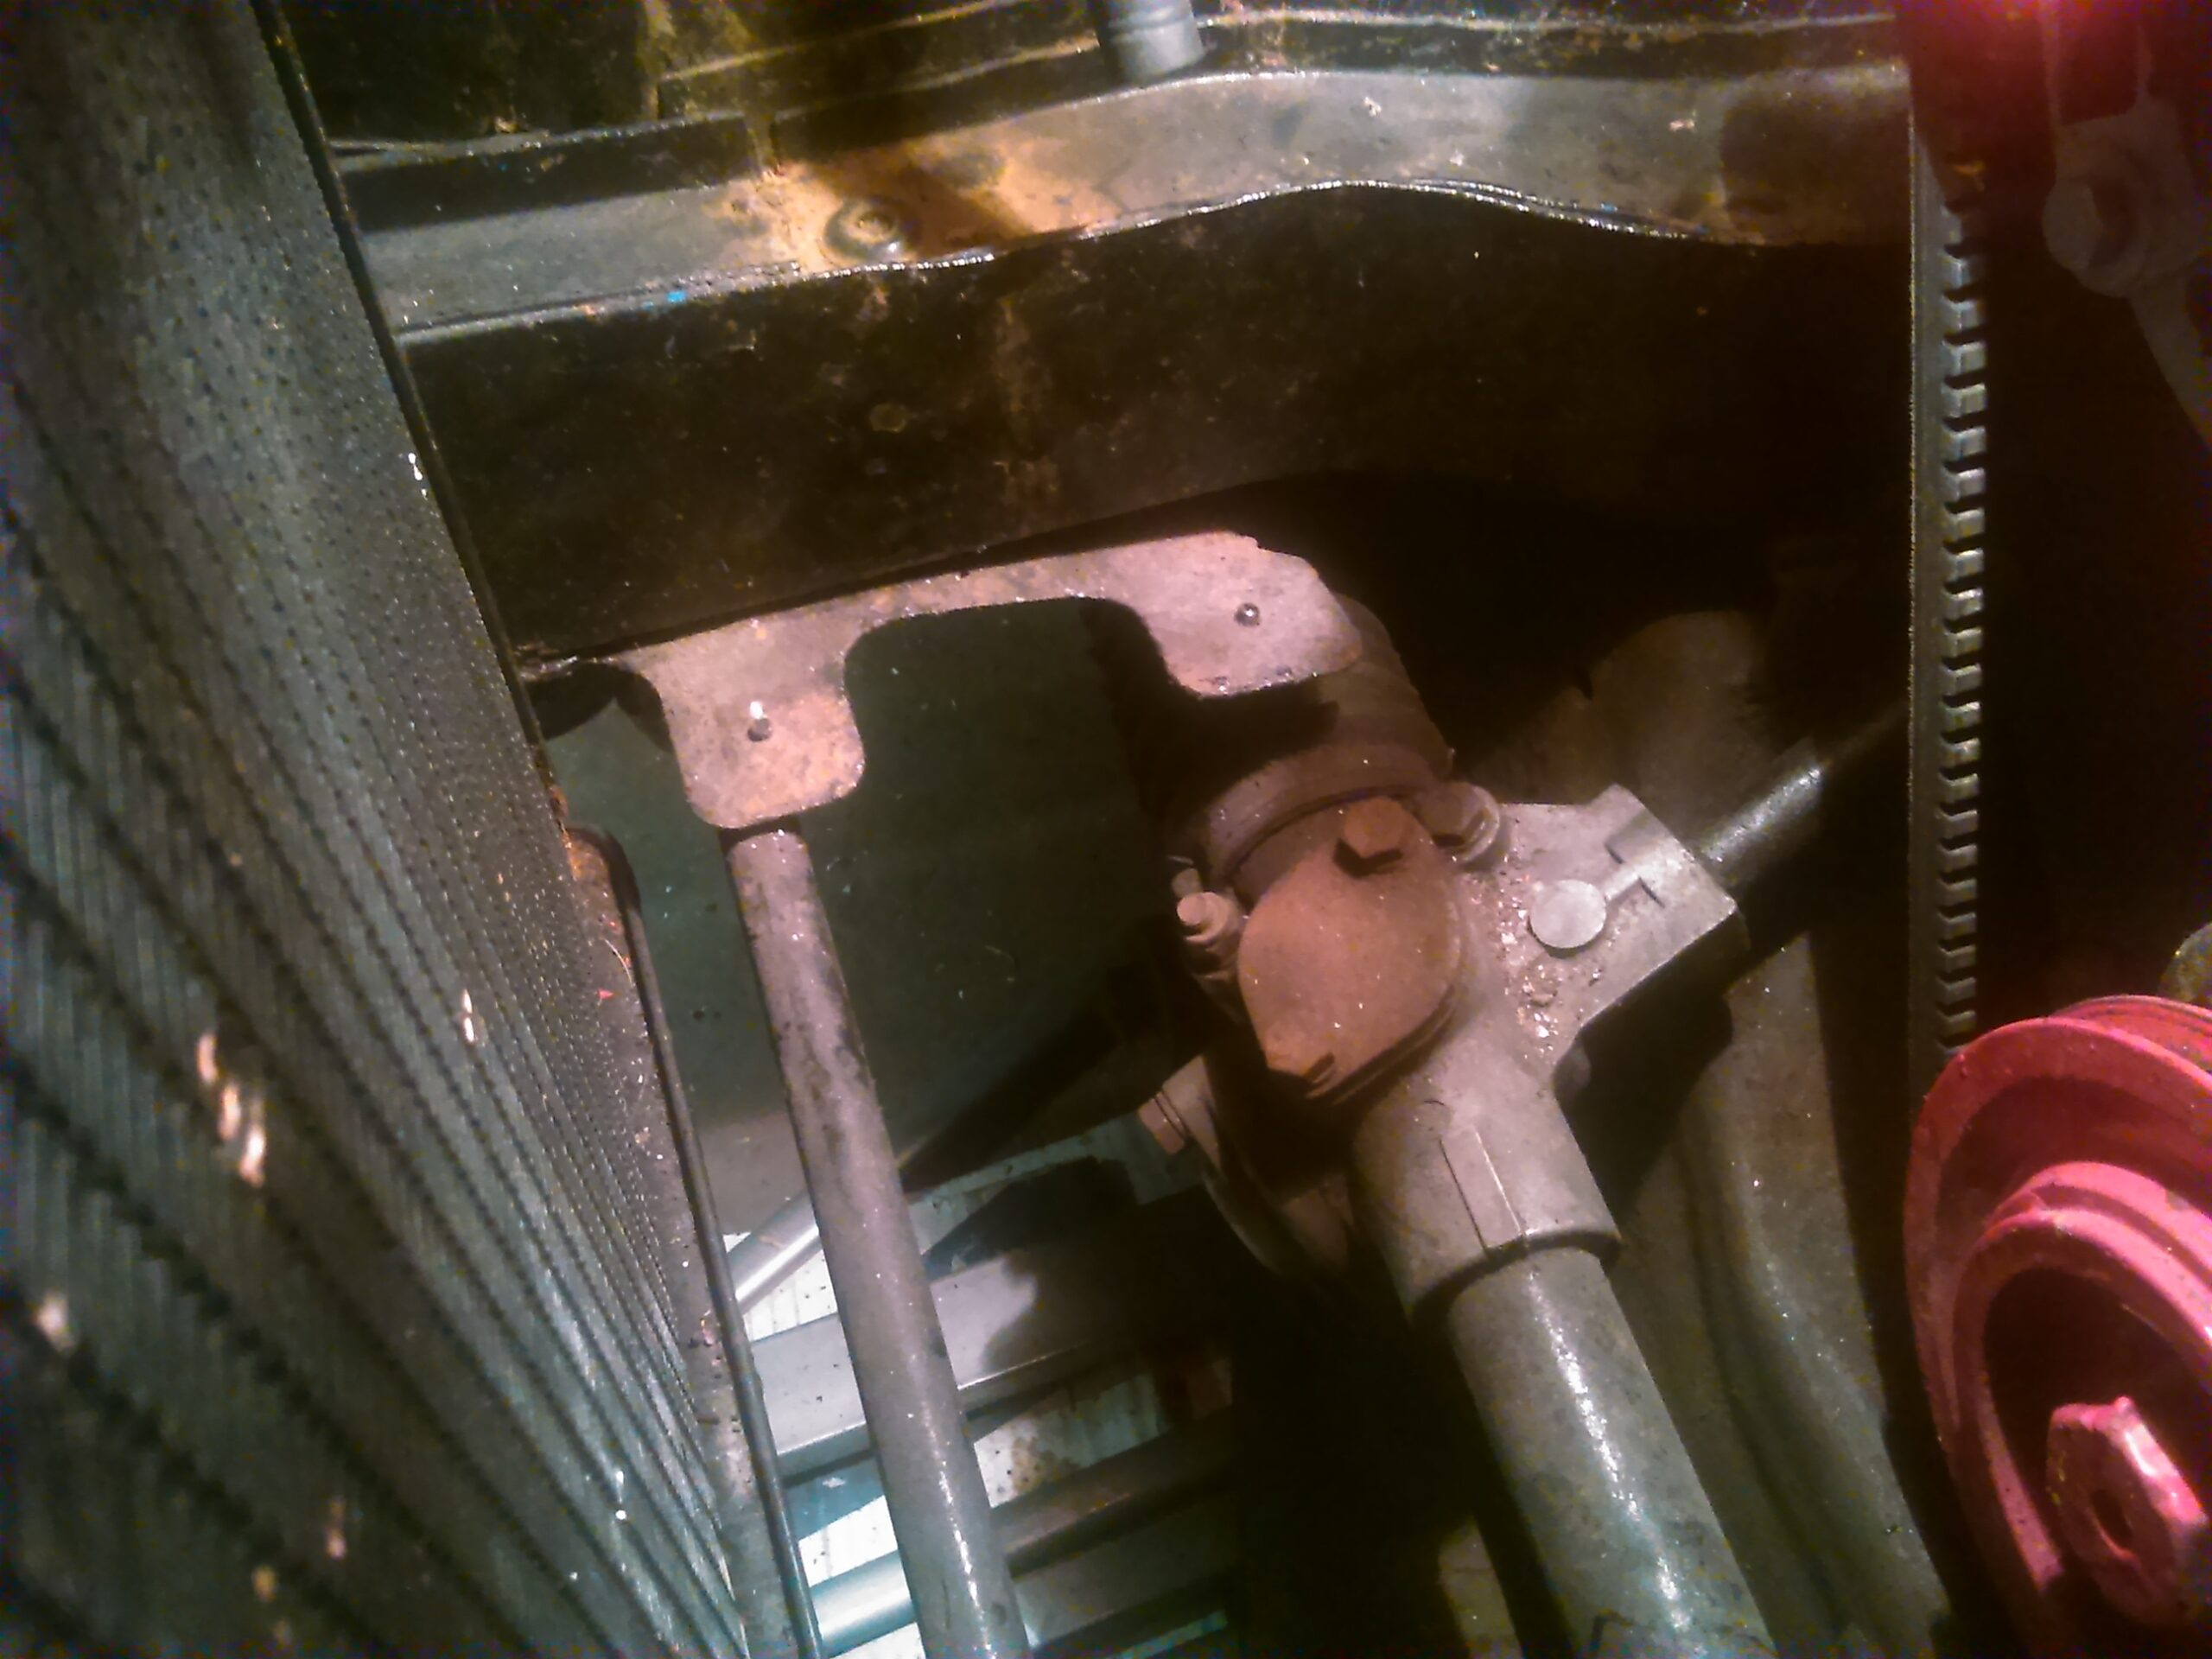
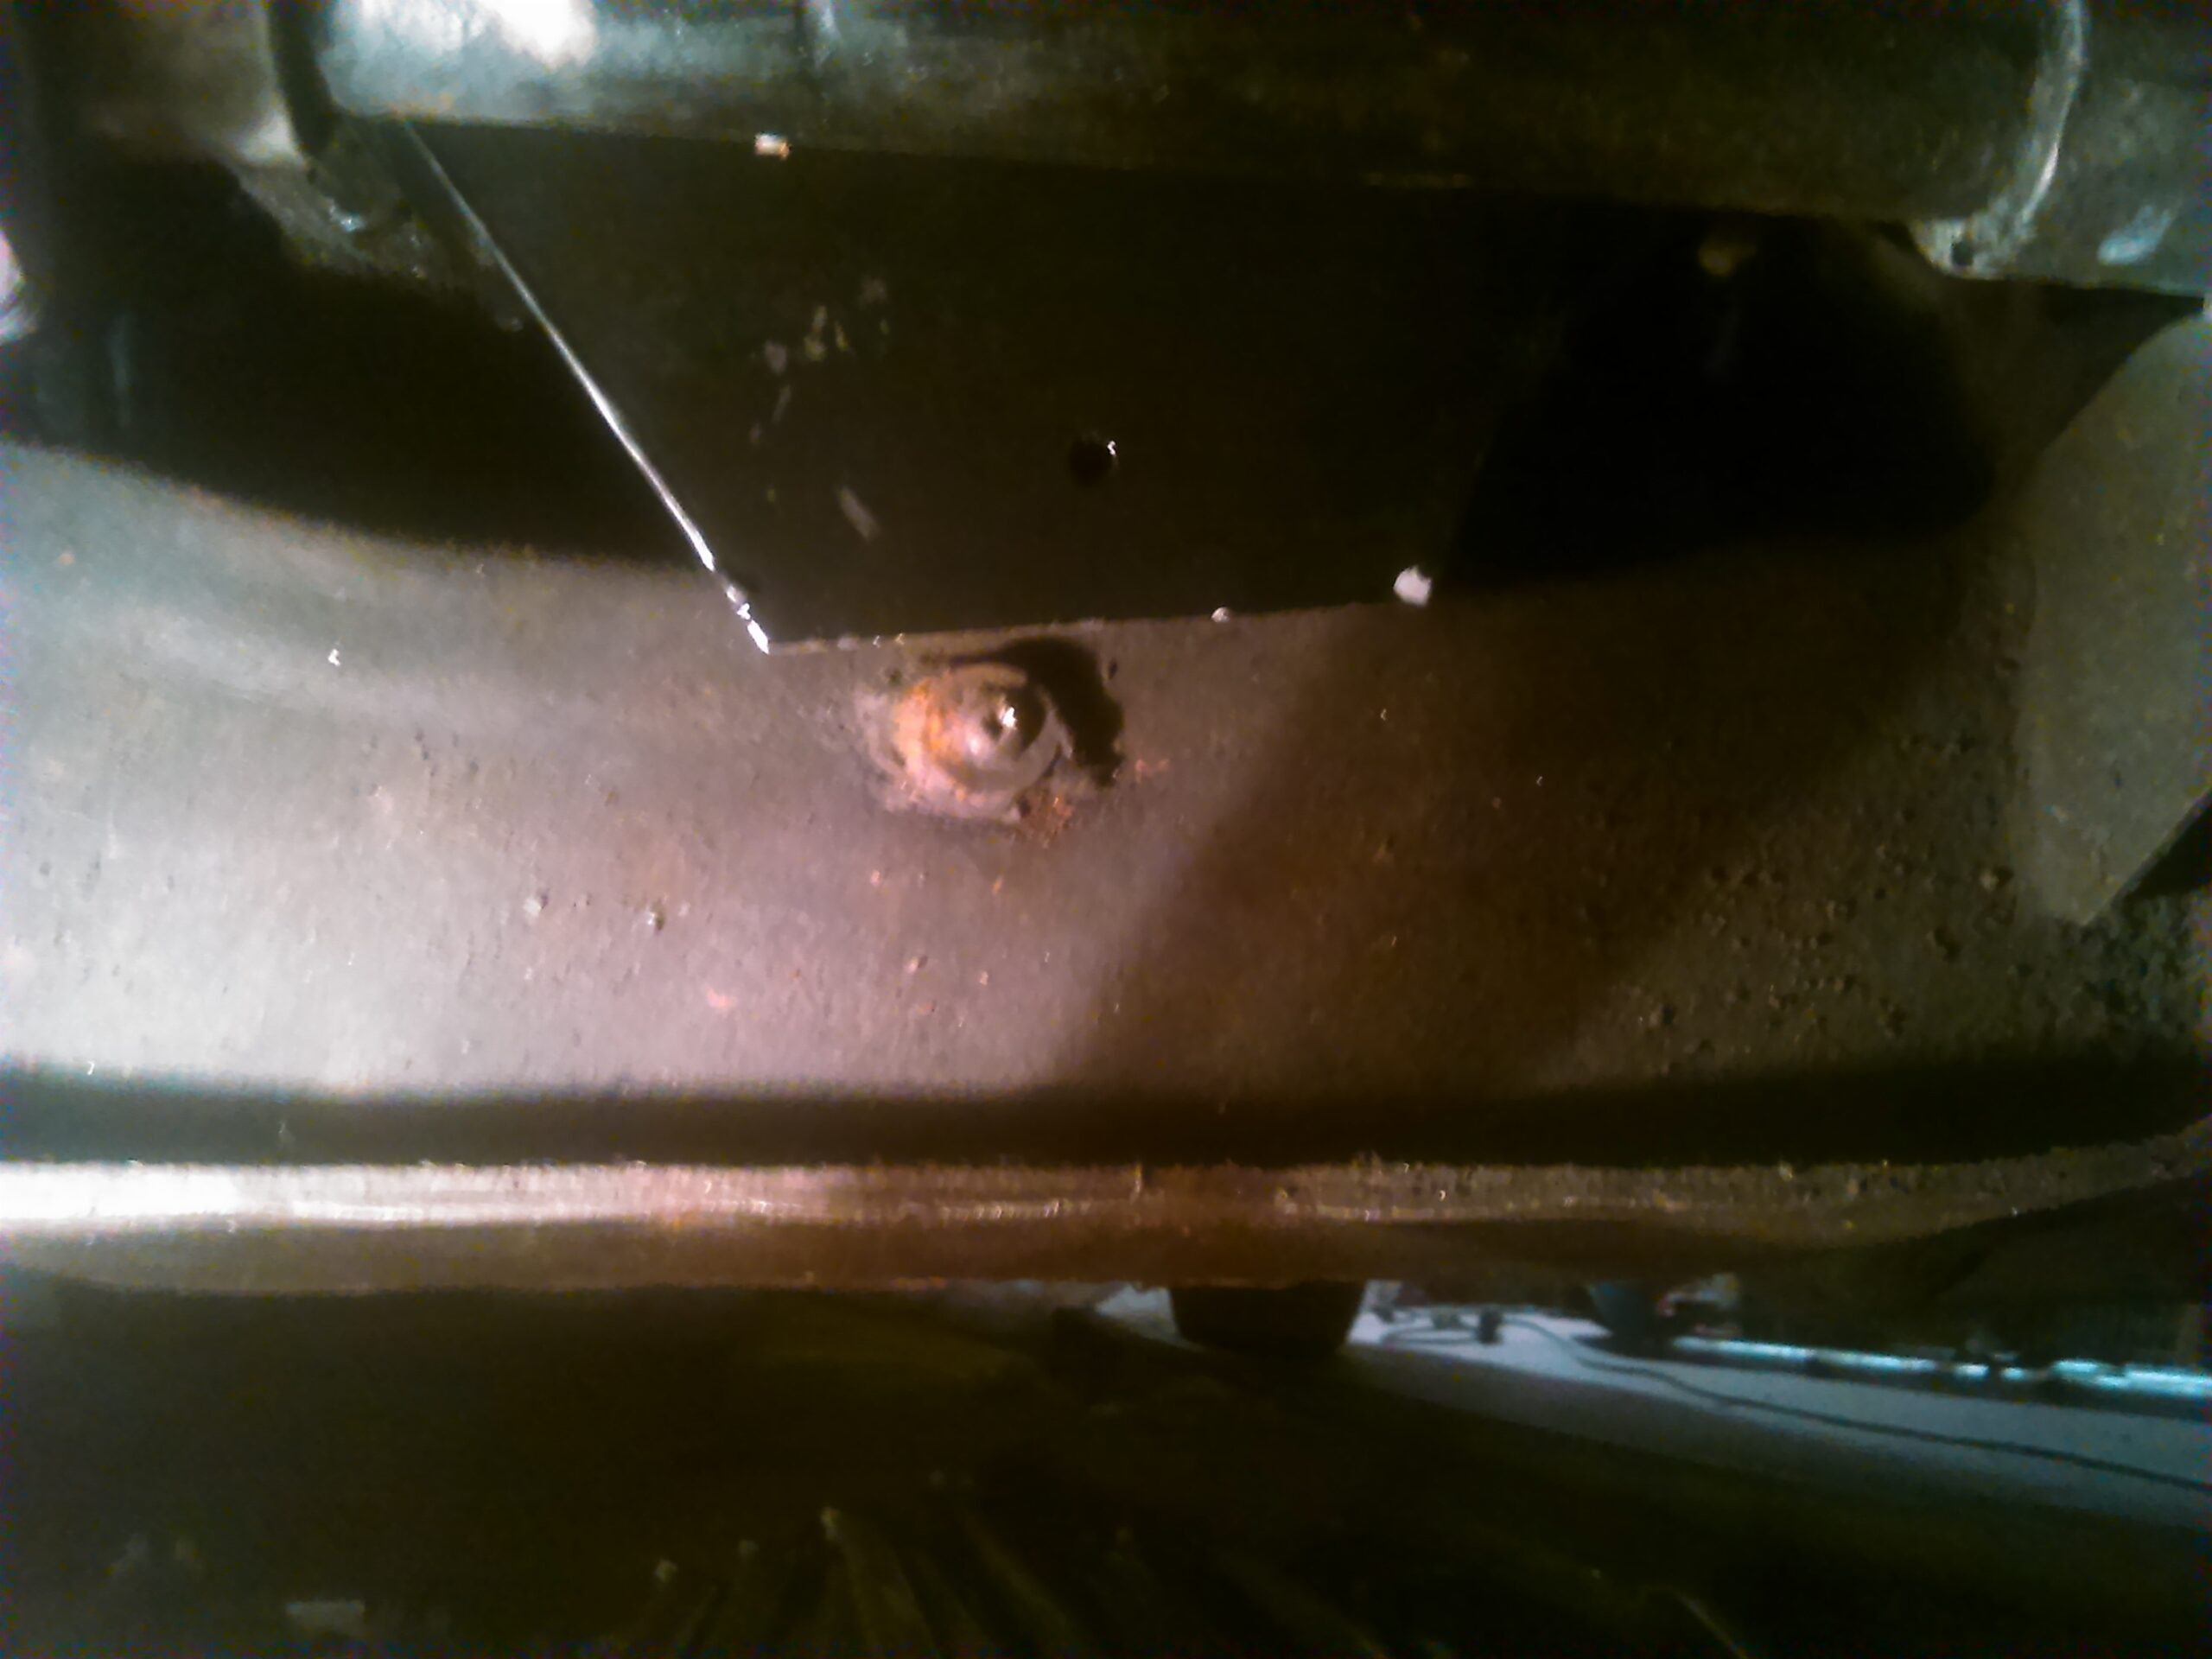

As you can see in the left photo, the metal tabs have what seemed to be old rivets / broken small bolts sticking out.
I seem to remember these were fortunately reasonably easy to simple punch out with a hammer and end of an old screwdriver.
This just left the old screw underneath on the cross beam. As you may well expect, being rusty and partly corroded over the years, it was never going to be undone with a screwdriver. But as you can see in the right hand photo, with it having a large head, it was good for simply grabbing & unscrewing with a pair of mole grips.
Drilling, Edging & Fitting:
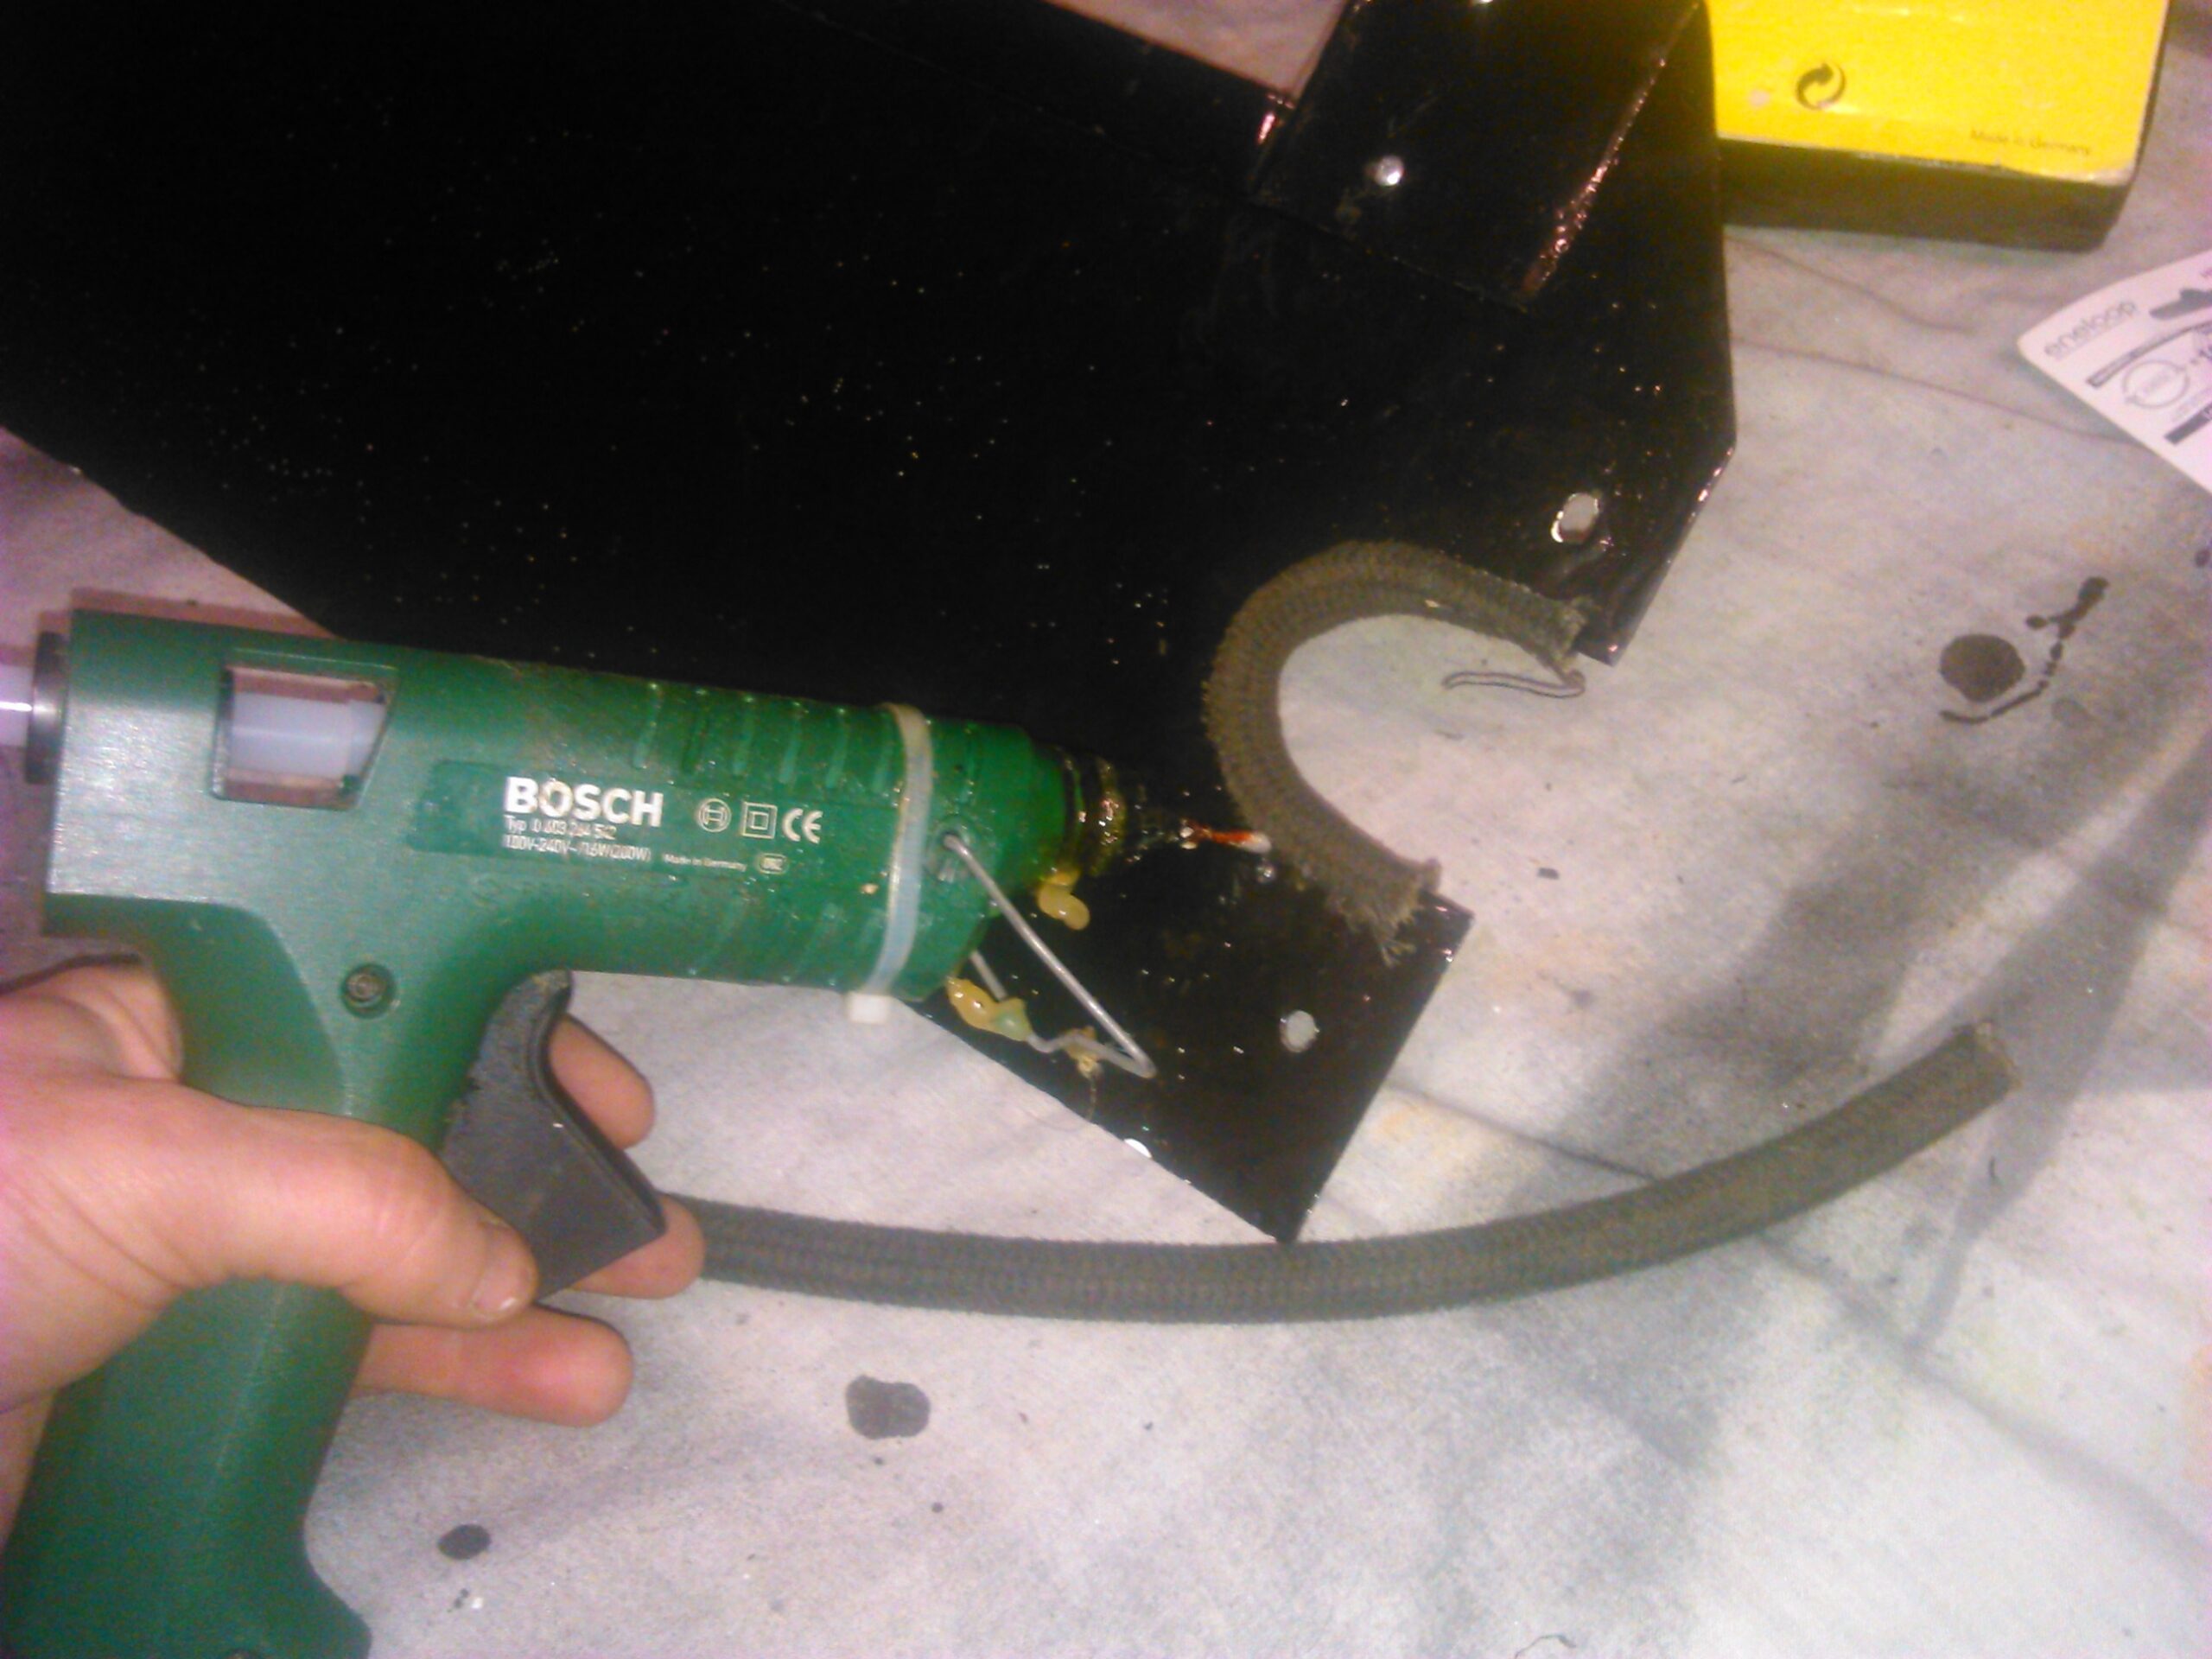
With the mud shield now 99% complete and old fixings removed, I just remembered to fit the rubber coolant cut out protector, which I prepared earlier.
This I simply fastened in place and squirted Hot Glue in between the rubber and the metal all the way round the edge of the cutout.
A lass, I popped the new mud shield into position with a very satisfied feeling, as it was “snug as a bug in a rug” as the saying goes.
At this point, all I needed now was to use the 6mm drill to open up the holes in the original metal tabs, using the new mud shield mounting holes as the accurate guides.
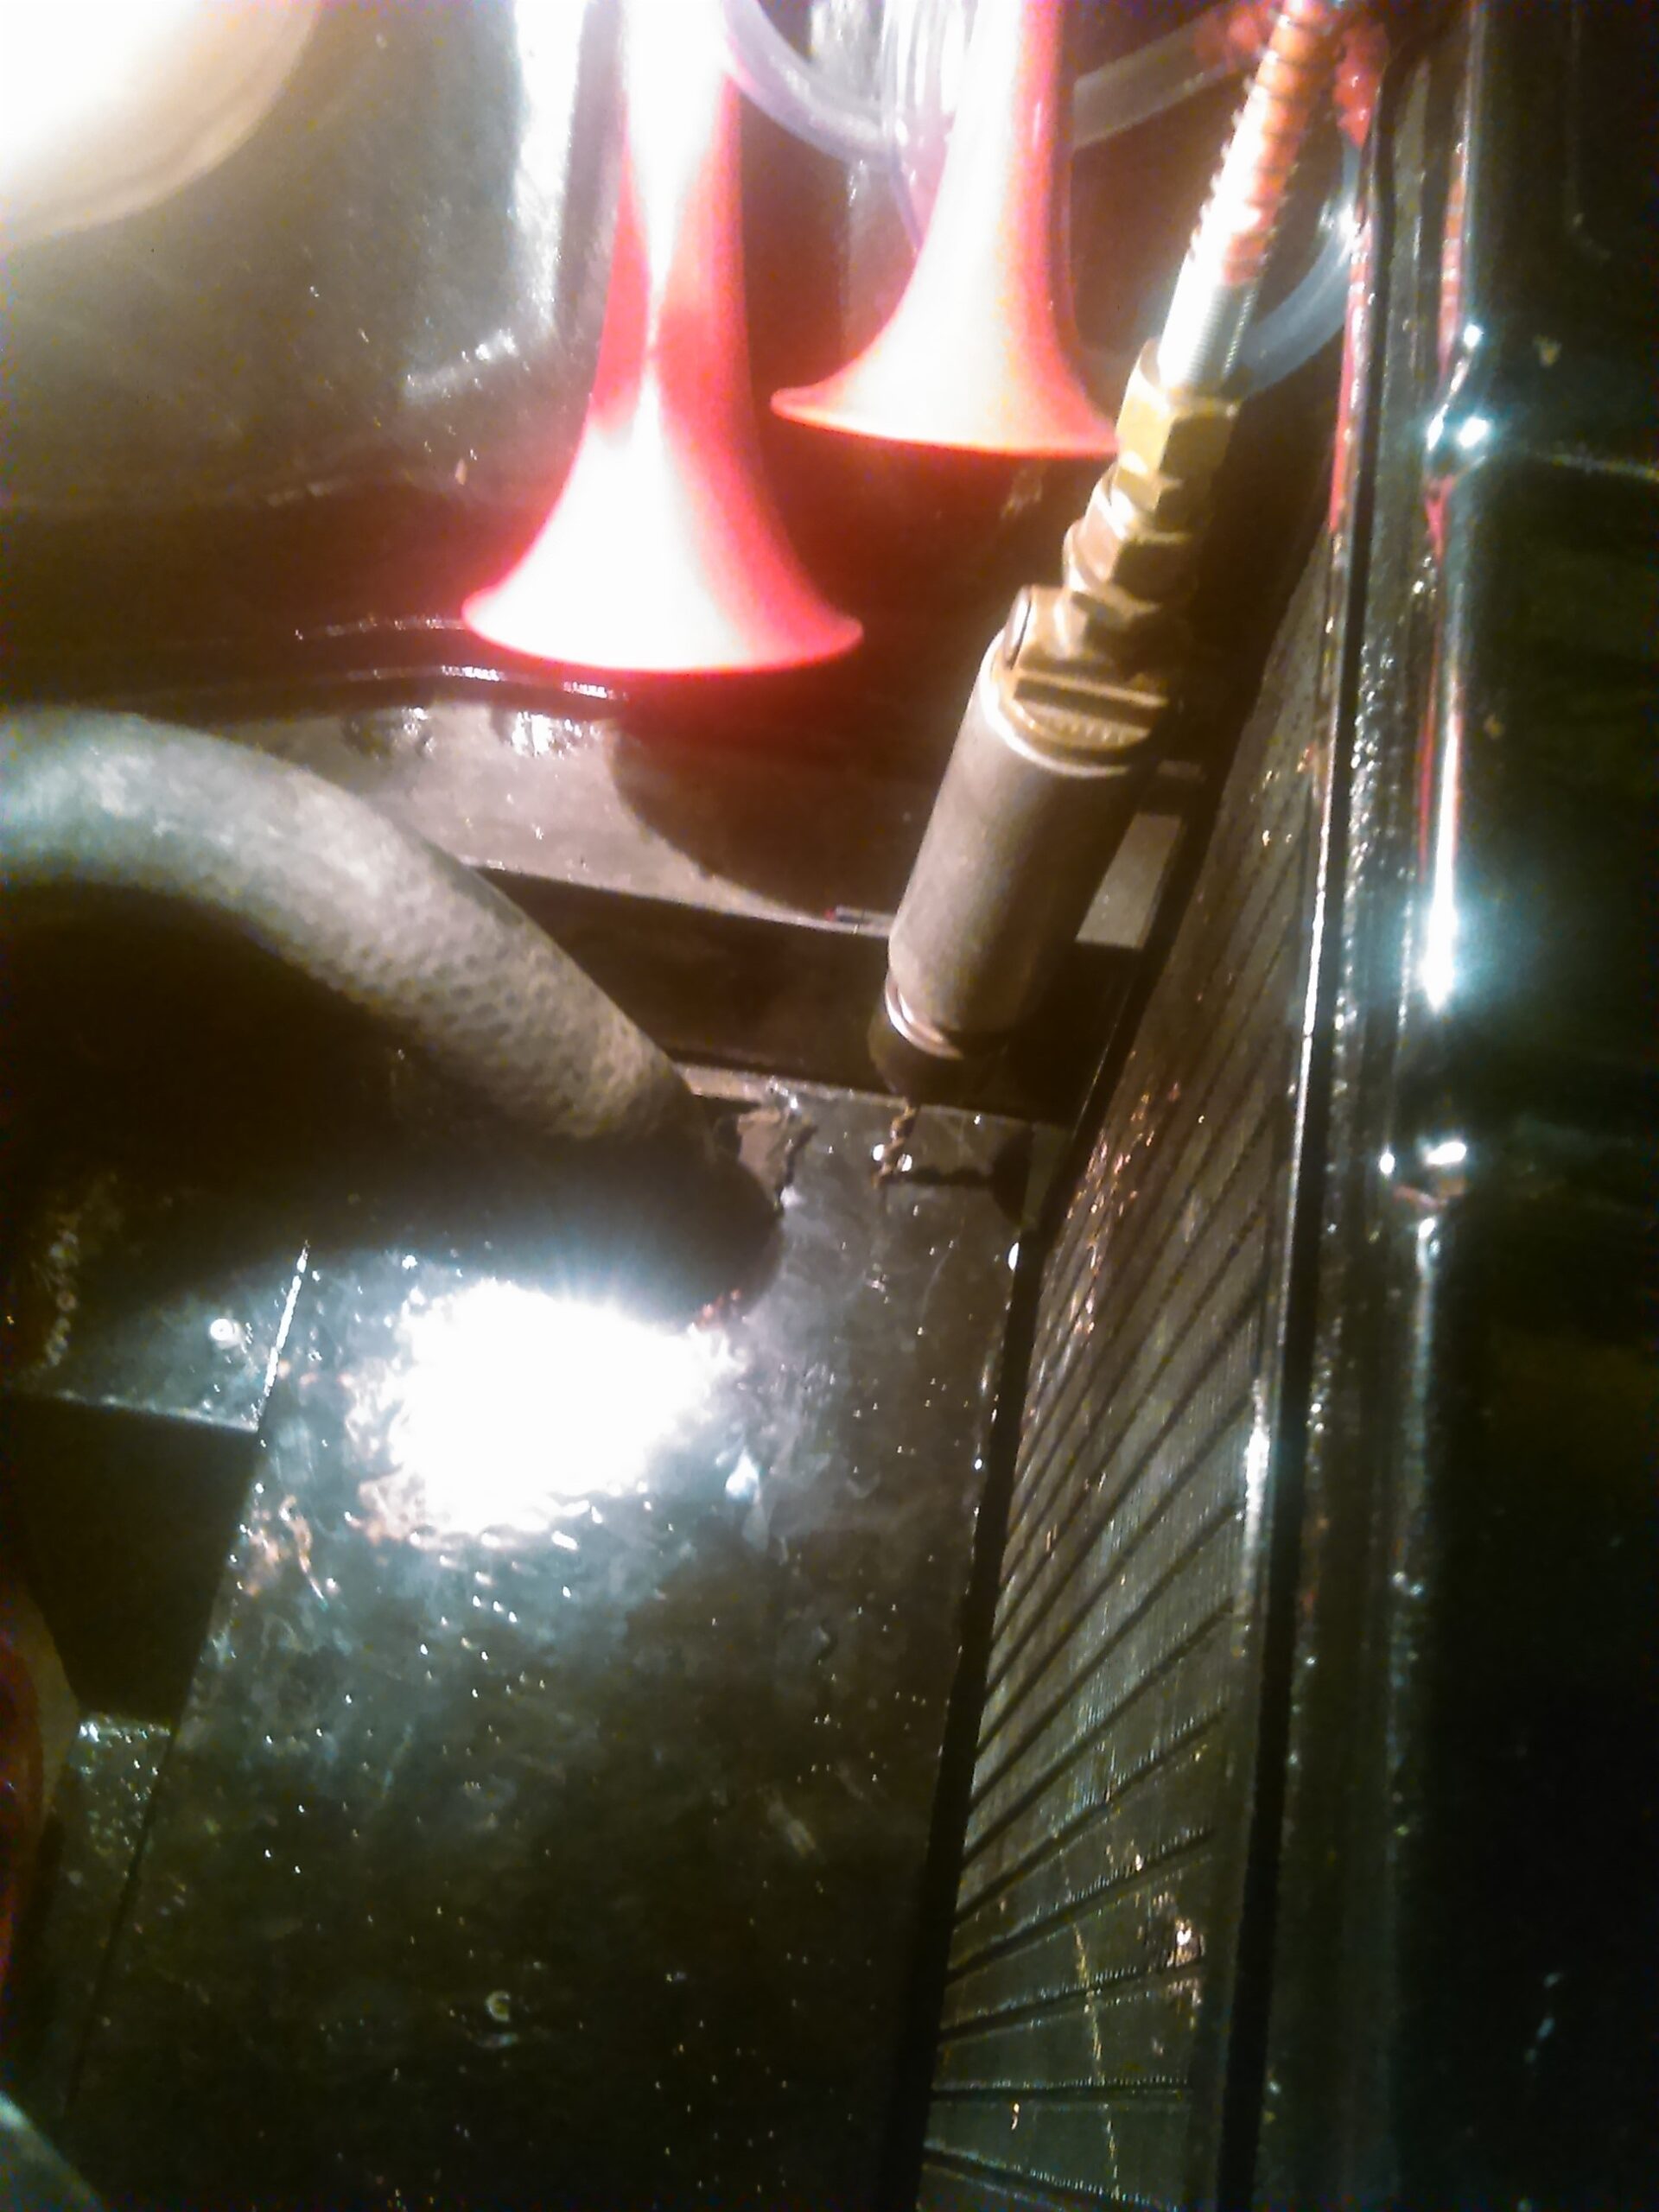
This just left the quick job of fitting the 4 new sets of 5mm nuts, bolts, and wide washers (Tip: You may need to trim the lengths of the two front bolts, if the bar underneath causes an obstruction).
Followed by replacement screw & washer for the cross beam, which I used the old one to compare against, and found one in our spare nuts & bolts box on the shelf (every good DIY’er has one of these stashed on a shelf somewhere).
(◕‿◕) TA’DA!! THERE WE HAVE IT !! (◕‿◕)
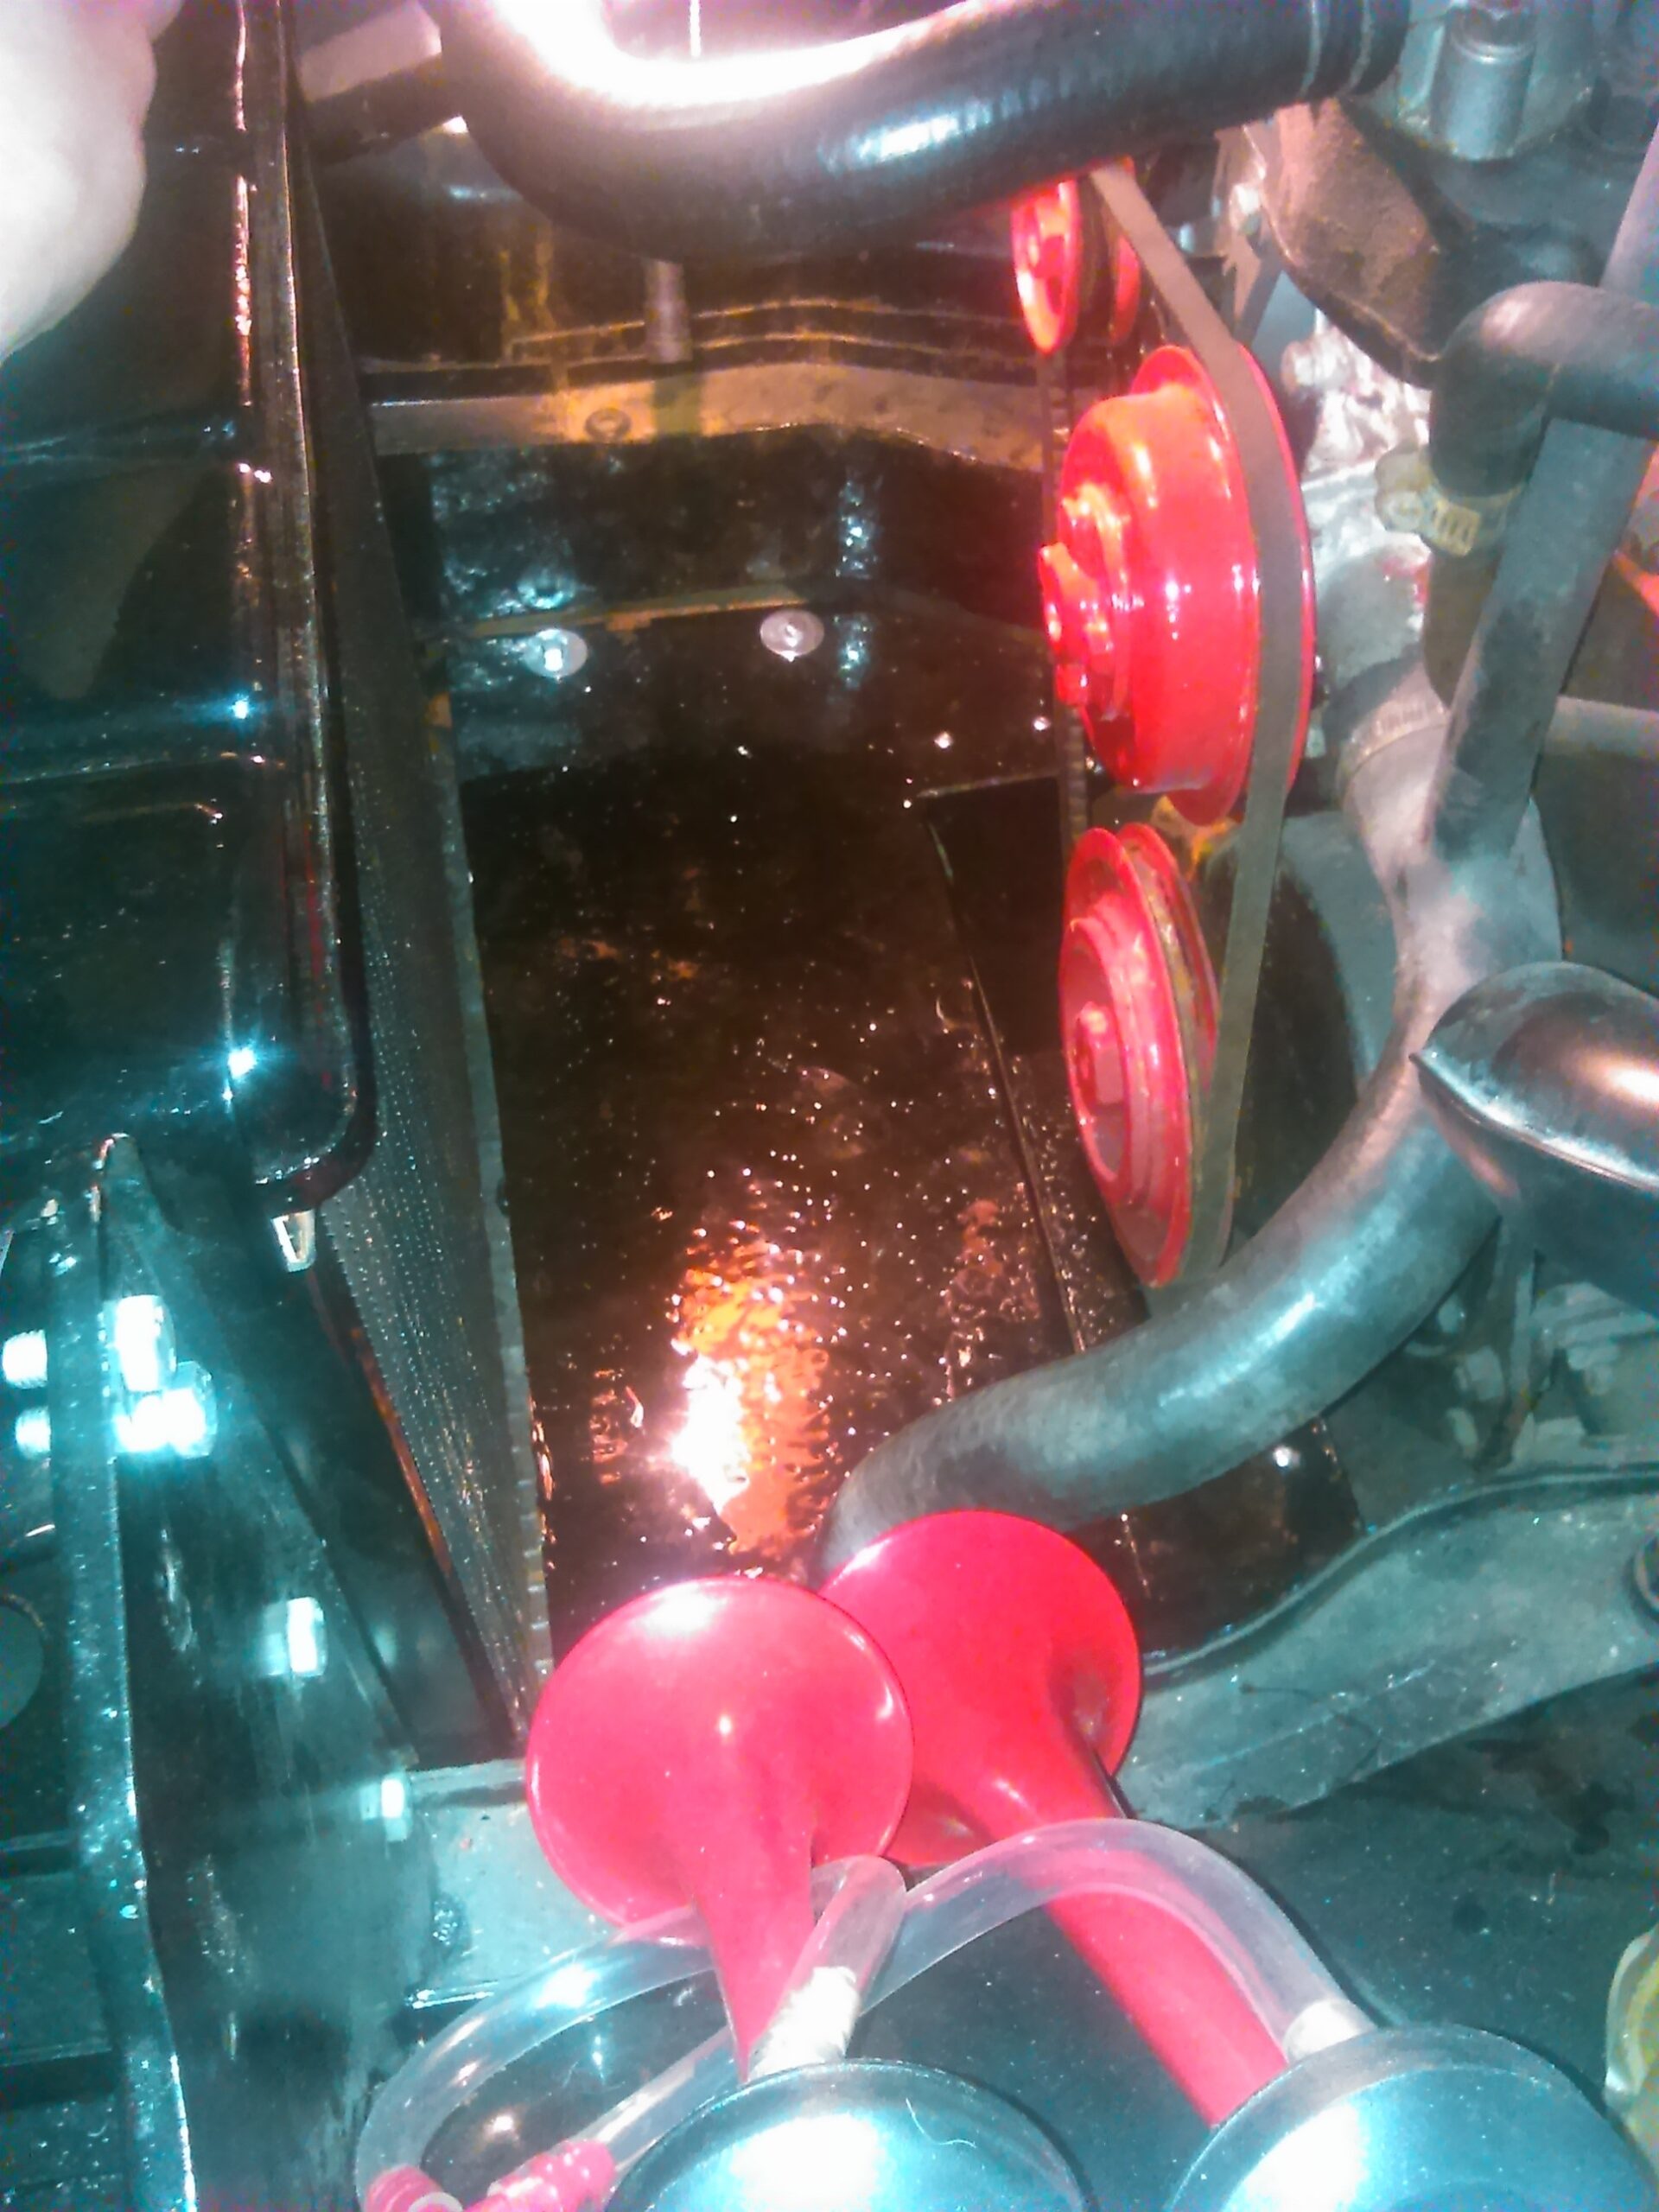

Constructed from scrap metal, with only the small expense of the nuts/bolts/washers and black paint.
A durable long lasting DIY REPLACEMENT MGB GT MUD SHIELD.
PLEASED AS PUNCH!
Template Download:
I really hope you have enjoyed reading my experience (took nearly as long to write up as building the mud shield in the first place, haha!)
You can download the template files from here:
(To prevent abuse of using the templates, the file is password protected.)
Once downloaded, please email me chris@bitsathisbitsathat.uk to obtain the password.
If you have found this article useful, and would like to donate towards keeping my site up and running,
Please Click The Button Below.
We hope this proves useful to you.
Please share this BitsaThis, BitsThat article with all your friends & collegues.
Have a nice day!
 Email This Post
Related posts


Hi , I”ve been reading the MGB Lower Radiator/Engine Mud Shield project but it appears only the first part of the write up is available. Would it be possible to share the template with included dimensions so I could fabricate one. Thanks in advance. Steve.
Hey there Steve.
Firstly thanks for your interest. Yes indeed, you’re quite right, I never did get that article completed (lost in time, lol).
I will do some digging to see if I can find my original notes / template, and reply back to you with news one way or the other.
(I’ll have to do some very deep rummaging, so please check back in next couple of days).
Many Thanks,
Chris 🙂
Thanks for that Chris, much appreciated.
Hey there Steve.
Just wanted to let you know, I did some serious physical digging in boxes a drawers yesterday, but found nothing.
HOWEVER, GREAT NEWS is, I’ve found my original design and all construction photos I took throughout the process.
So please just allow me a day or two, and I’ll get cracking with the rest of the article when I’m not working.
cheers,
Chris.
Hi Chris, that’s brilliant mate ,thanks a million.
Good Afternoon Steve.
Just wanted to give you a heads up, I’ve now fully completed the Mud-Shield article.
Really hope it proves very useful to you 🙂
Best,
Chris
Good Morning Steve.
I’m just wondering if you found my finished article useful?
cheers,
Chris.